Instructions to fix camera error does not work on the phone
- Below are instructions on how to fix camera errors that do not work on the phone.
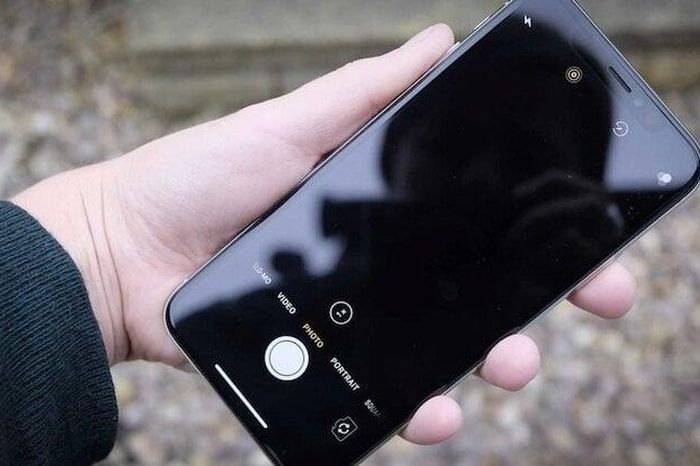
The camera is an important component that cannot be used on a modern smartphone. Therefore, many people were bewildered when the phone encountered a camera error that could not be turned on, could not take pictures. This may be due to the camera being used by another application, thus being inaccessible at the same time or due to improper user exit.
In addition, the long-term use makes the camera on the phone damaged hardware no longer ensure the original quality, due to the phone is broken, or hit hard somewhere. When encountering these errors, users only need to follow a few standard guidelines below to fix themselves, to avoid losing repair money.
So how to fix this error?
1. Reboot the device
Restart the phone by pressing and holding the Power button on the device and when the phone appears an option screen and then release. Then click Restart to fix the problem of not turning on the camera on Android.
2. Clear the camera application data
In case of restarting Android device that has not helped users to fix the error of not turning on the camera on Android, you can choose the next solution which is to delete the camera application data by accessing the Settings application. Settings (Settings) from the device's main screen, then click select Application management.
Then, to fix the error of not turning on the camera on Android, users will search and click on the camera application icon and confirm Clear data. At this point, a form will appear on the screen where it will select Delete Data and Delete Cache respectively as well as confirm Delete to do this. . Finally, go back to the camera app to check if it fixed the error of not opening the Camera on Android or not.
3. Restore original settings
If none of the above fix the user problem, you can try to Restore the factory settings. This way fixes most errors on Android.
Was this article helpful?
Your feedback helps us improve.
Related Articles
 7 common errors in Windows Phone 8 and how to fix it9 minutes read
 How to fix camera error on Mac does not work7 minutes read
 Instructions on how to fix iPhone camera errors effectively and quickly5 minutes read
 'Unfortunately, Camera Has Stopped' error on Android device, this is how to fix it10 minutes read
 5 tips to fix camera errors on laptops are extremely effective for you to use3 minutes read
 IPhone camera does not work: common problems and remedies7 minutes read
Reader Comments 0
Sign in with email or Google to join the discussion.