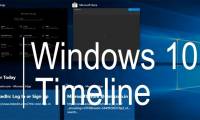
Instructions on how to use the Timeline feature on Windows 10
Instructions on how to use the Timeline feature on Windows 10. Windows 10 has a great new feature that helps users can manage many different data on the computer quickly. The Timeline appears on Windows 10 as a lifeline to those who work indiscriminately on their Windows Desktop.
Table of Contents
Windows 10 has a great new feature that helps users manage many different data on the computer quickly. The Timeline appears on Windows 10 as a lifeline to those who work indiscriminately on their Windows Desktop. Timeline on Windows 10 is used for many different purposes. Today, the Software Tips will guide how to use the Timeline feature on Windows 10.
1. Turn on Timeline on Windows 10
Normally, by default on all Windows 10 versions, Timline is always enabled. If your computer does not have it, you can enable it in settings.
Step 1: Press Windows + I to open the installation window. Then select Privacy .

Step 2: Open the Activity history section and turn it to On .

2. How to use the Timeline
To use Timeline, you need to click on the Timeline icon located next to Start on your computer.

At this time, there will be a table showing the applications used on your computer screen here:
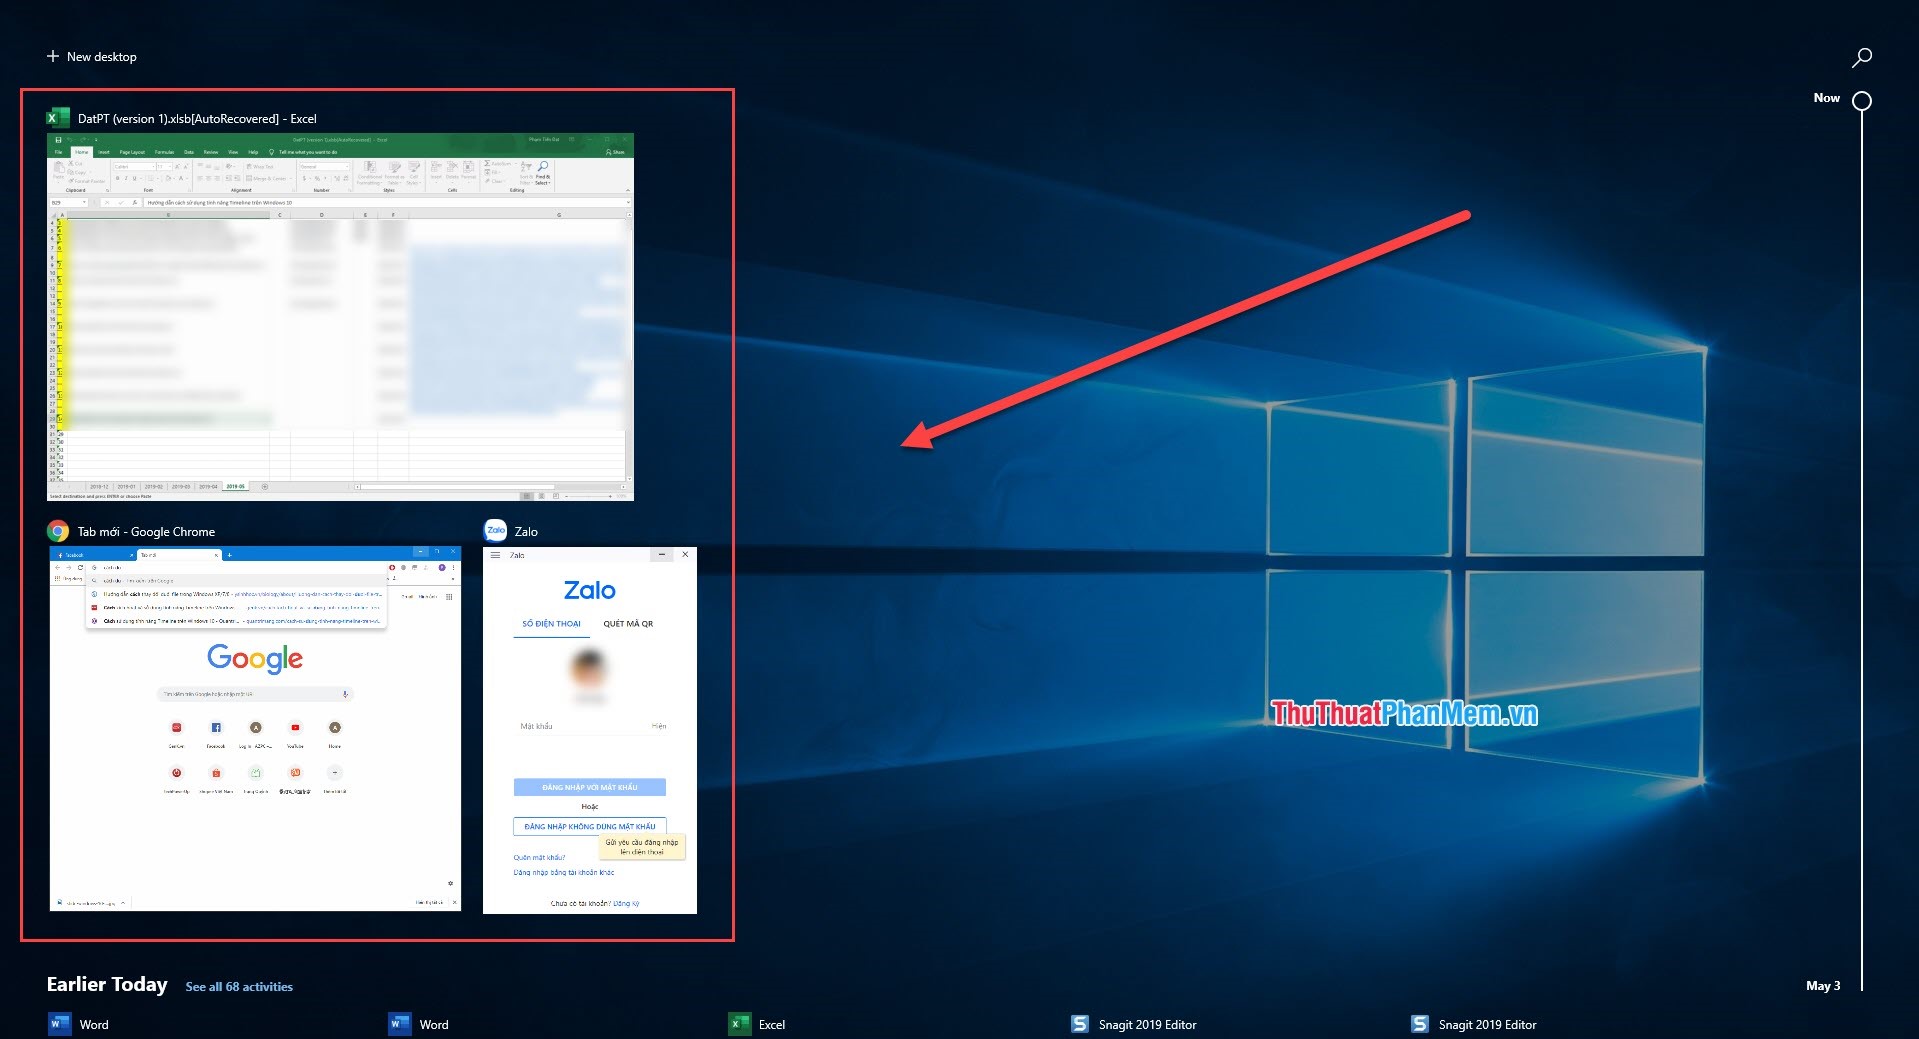
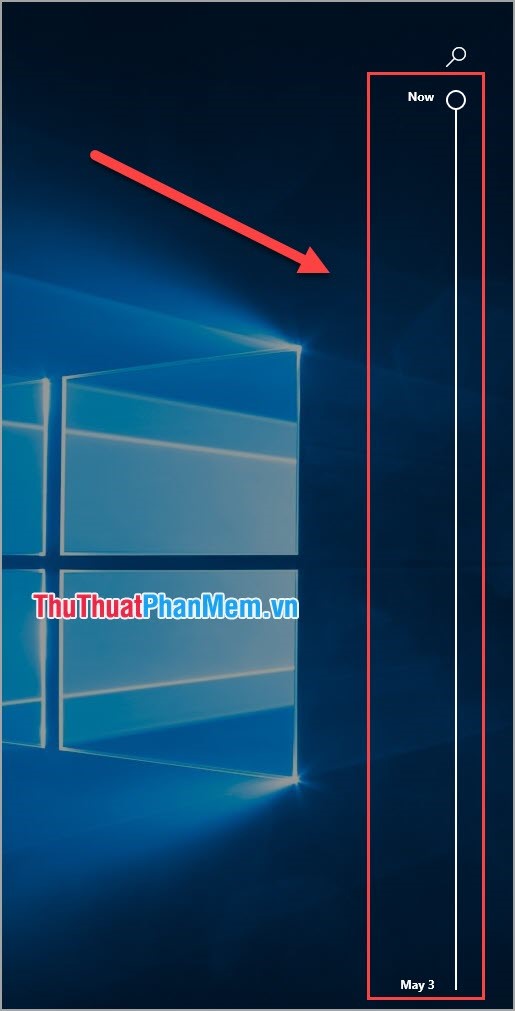
On the right hand side is the Time bar, which you can drag down to find data on a previous computer screen.
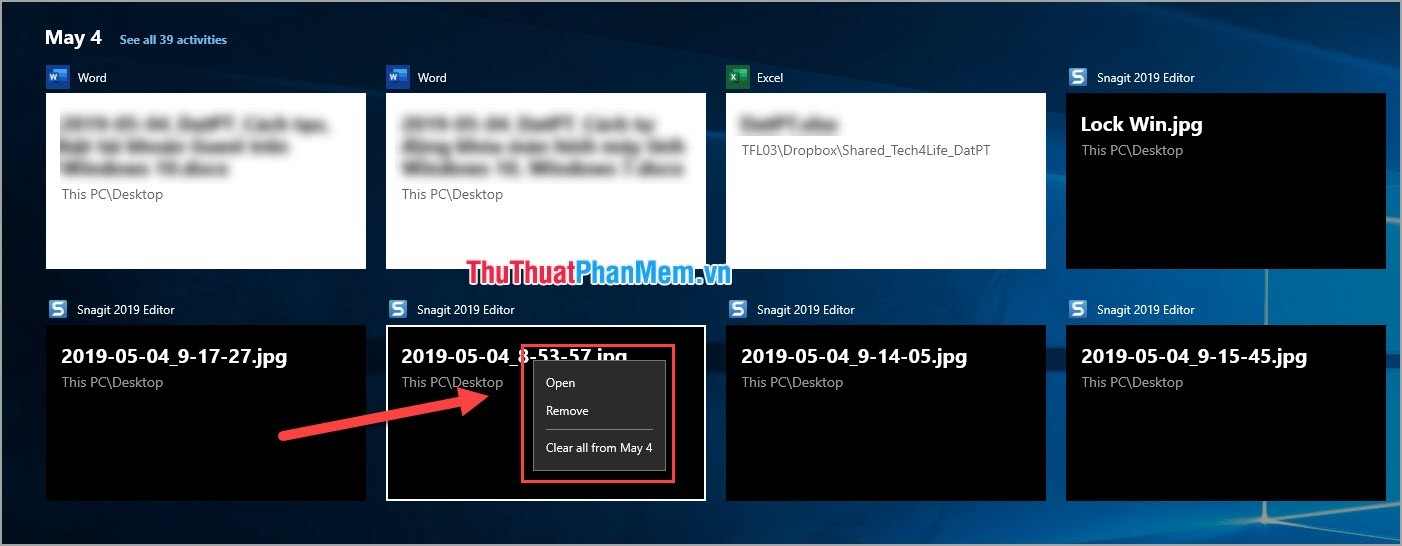
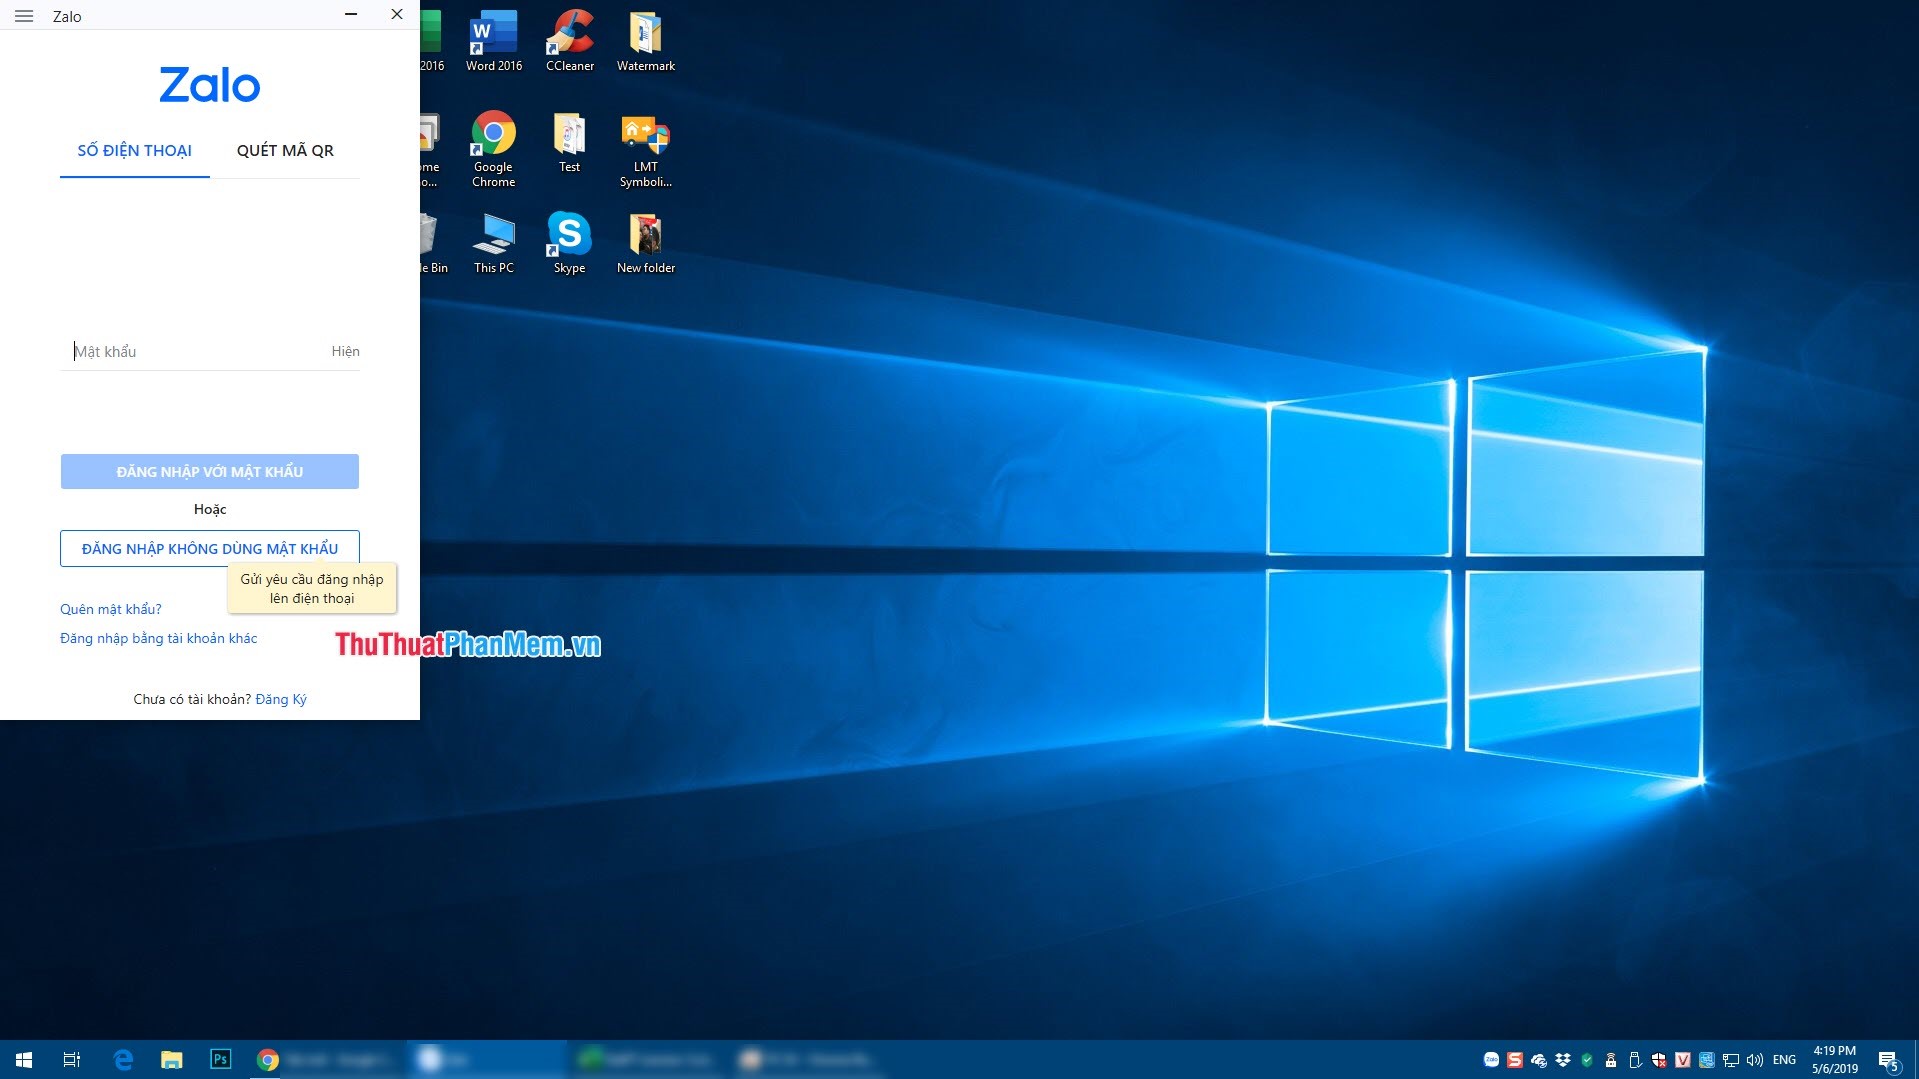
With the data on the computer screen will be saved by the system. You can right-click and select Open to review or click Remove to clean up the Timeline more.
With applications running on your computer, right-clicking gives you more options.
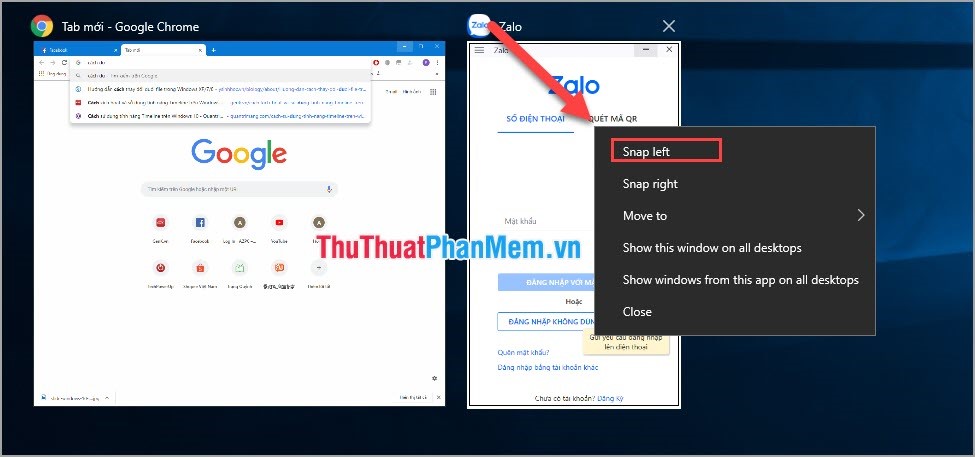
For example: I want to display the Zalo window close to the left corner of the screen, then I right click and select Snap left . Immediately, Zalo displayed on the left corner of the screen.
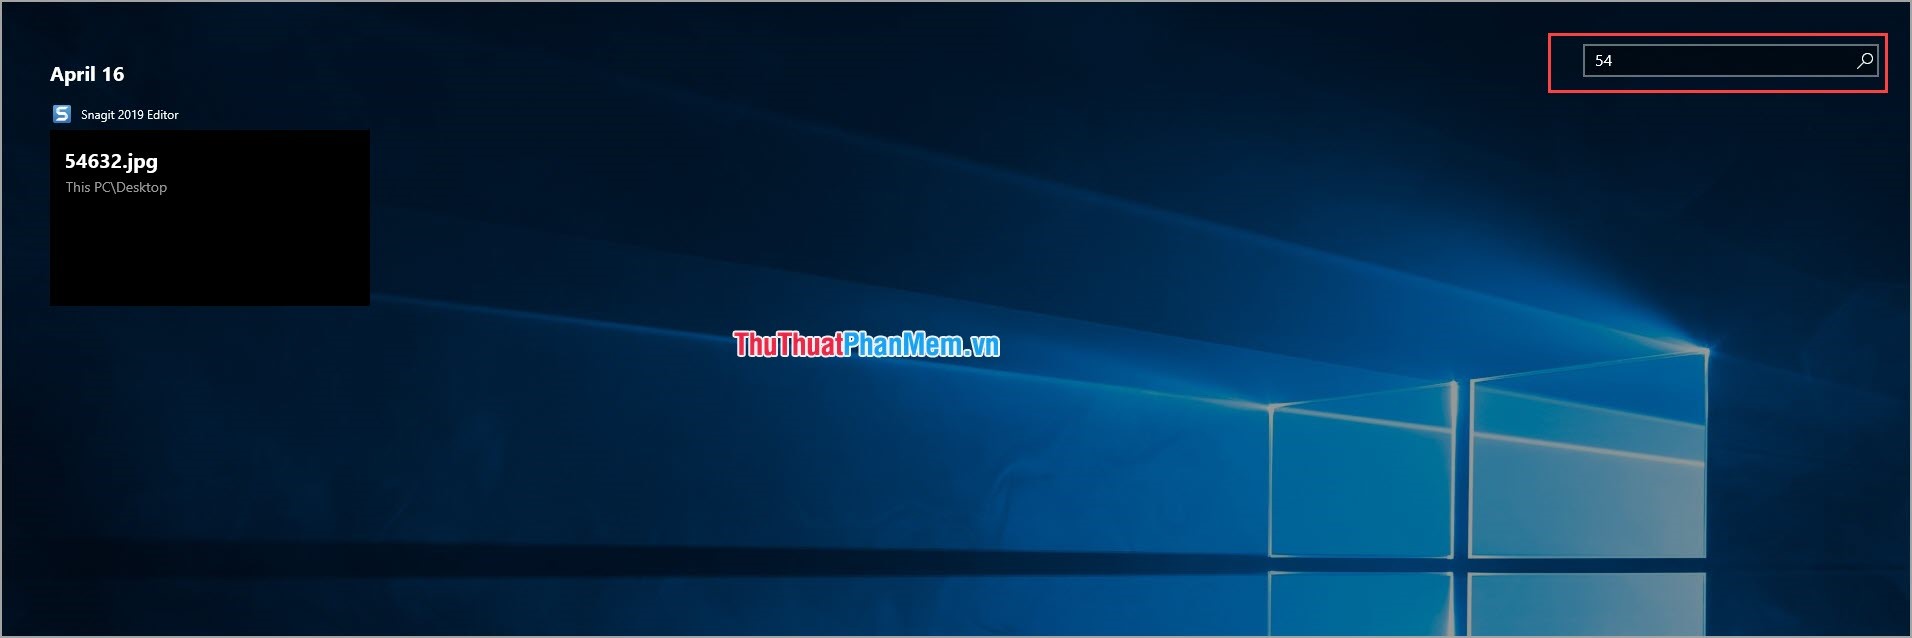
In addition, you can enter the name of the data in the Magnifier (Search) bar to search quickly.
With Timeline has a simple but useful function for users who need to clean and re-present the computer screen. Thus, Software Tips have taught you How to use Timeline Windows 10 effectively.
Was this article helpful?
Your feedback helps us improve.
Related Articles
 How to turn off the Timeline feature on Windows 105 minutes read
 Can try the Timeline feature on Windows 10 right now2 minutes read
 How to turn on and off the Timeline feature on Windows 103 minutes read
 Experience the timeline feature of Windows 103 minutes read
 How to hide suggestions on Windows 10 Timeline2 minutes read
 How to use the Timeline feature on Windows 103 minutes read
Reader Comments 0
Sign in with email or Google to join the discussion.