Table of Contents
You can add music to a Canva video in three ways: generate a track with an AI music app, choose audio from Canva’s library, or upload a file you own. After adding the track, use the timeline to trim it, set its start point, and balance the volume against speech.
Before publishing, confirm that you have permission to use the music on the intended platform. A track being available in an editor does not automatically give you unlimited rights for every commercial, broadcast, or social-media use.
Option 1: Generate background music with AI
Canva supports AI music through apps in the editor. The available app names, free-use limits, and controls can change, but the workflow is similar: choose a style or mood, set a duration, generate a track, preview it, and add the result to the design.
Open an AI music app
Step 1: Open an existing video design or create a new one. Select Apps in the side panel, then search for AI Music or an available music-generation app such as Soundraw.
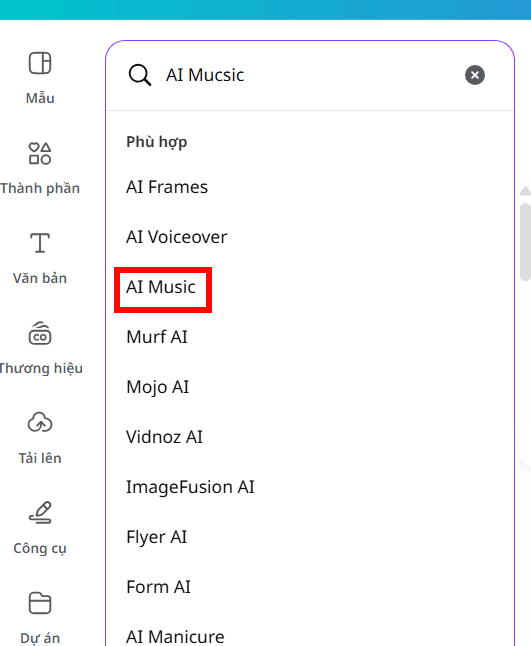
Step 2: Select the app from the results and review any permissions, usage terms, and plan limits before opening it.
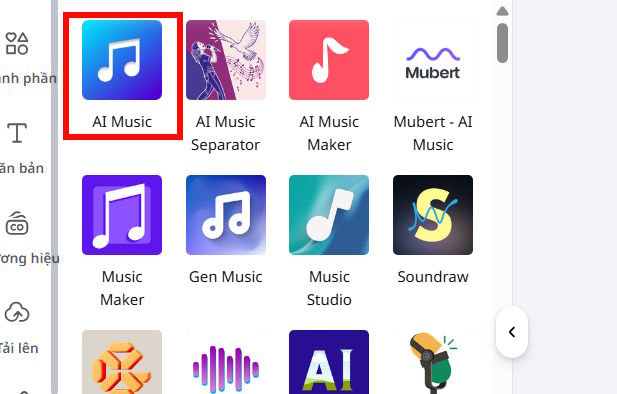
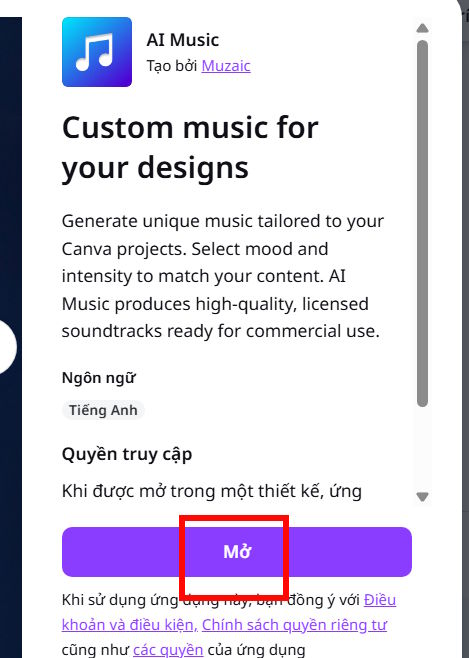
Choose Open to load the app inside the Canva editor.
Set the style and duration
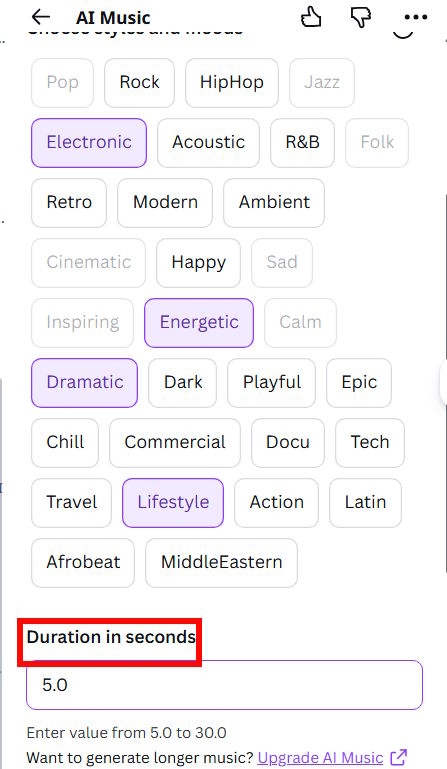
Step 3: Choose a genre, mood, or style that supports the video without competing with narration. Options marked as premium may require a paid Canva plan or a separate subscription to the app.
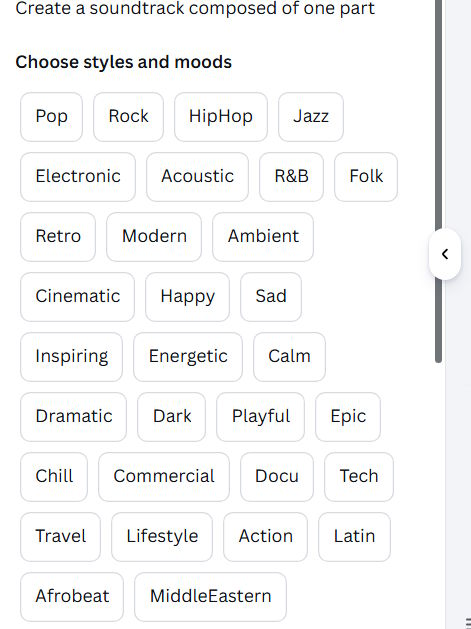
Set the track length close to the video duration, then select Compose or the equivalent generate button. For short clips, matching the music length before generation reduces unnecessary trimming.
Preview and add the result
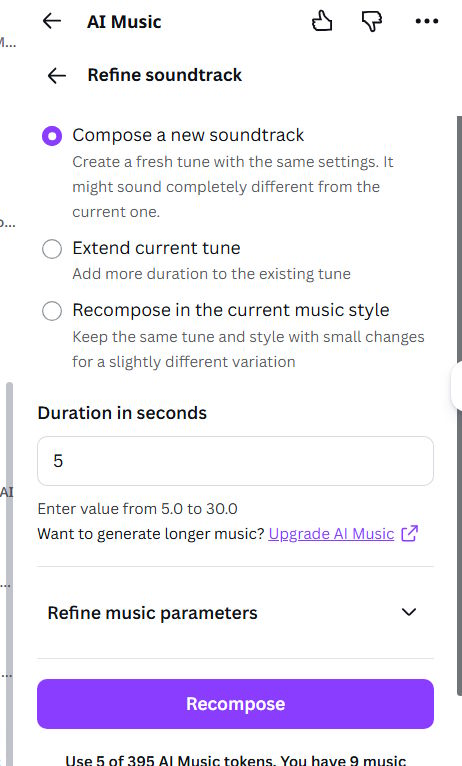
Step 4: Listen to the complete track. If it does not fit the pacing, choose Refine and adjust the mood, intensity, style, or duration rather than accepting the first result.
When the track is ready, select Add to design. If the app offers a save option, you can also keep the generated track for another design, subject to the app’s license terms.
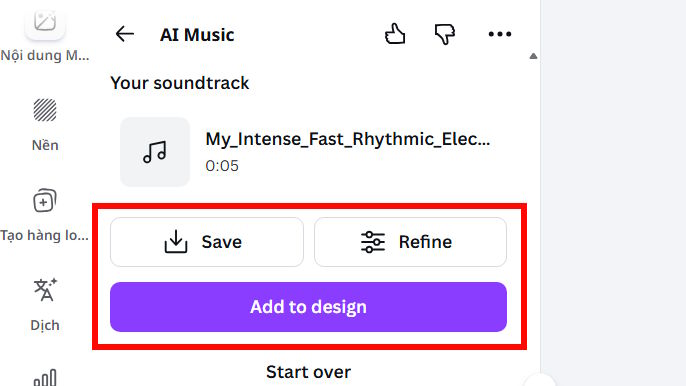
The screenshots show one version of Canva’s AI Music integration, so labels may differ in the current editor. Canva’s AI music generator page lists the currently supported route.
Option 2: Use music from Canva’s audio library
The built-in audio library is the quickest option when you do not need a custom composition. It contains music and sound effects, with availability varying by account, region, and design type.
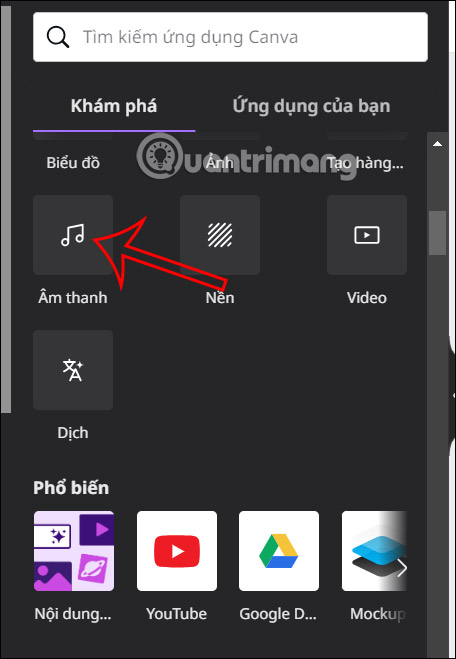
Step 1: Open the video design and select Audio in the side panel. If Audio is not visible, open Apps or look under Elements.

Step 2: Select Audio to browse the music library.
Browse categories or use filters to narrow the results by mood, genre, or intended use.
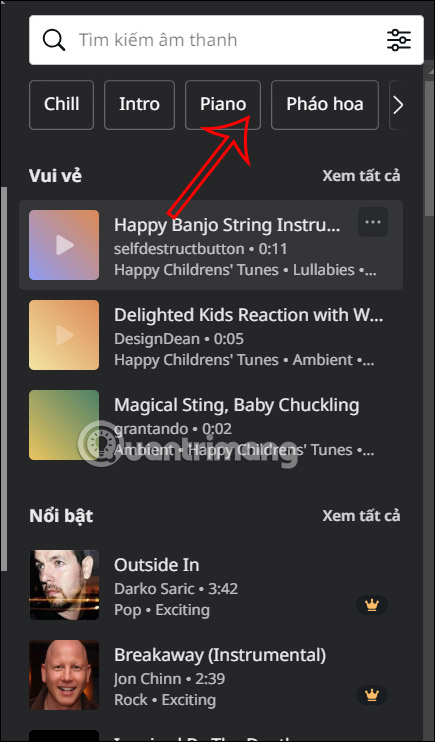
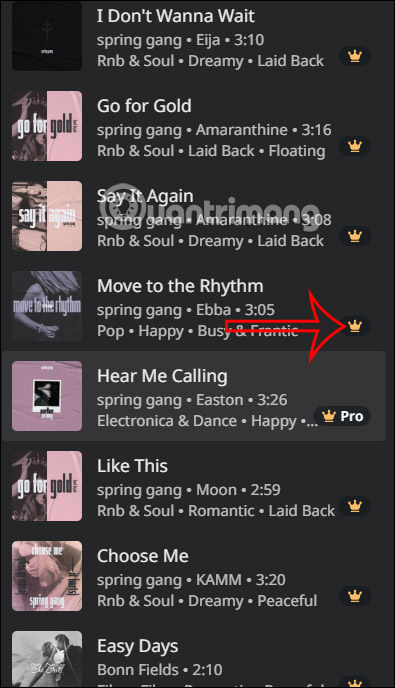
Step 3: Search by track or artist name when you know what you want. Preview a result before adding it. Tracks marked with a premium icon require the applicable Canva plan or license.
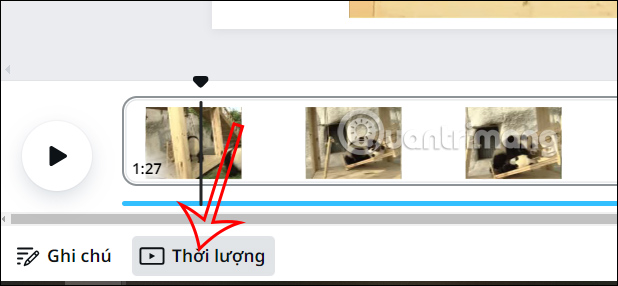
Step 4: Select a track to add it at the playhead, or drag it onto the timeline. Select the audio bar to move its start point and check how it aligns with the video.
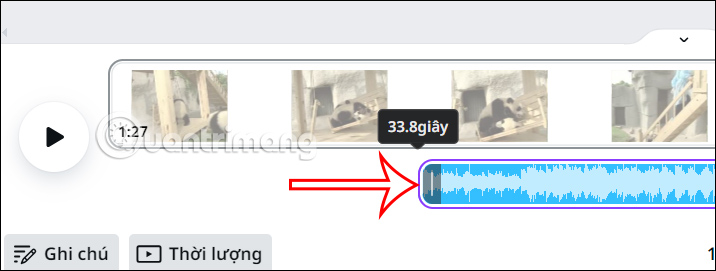
Drag the ends of the audio bar to trim the usable section. Preview scene changes, narration, and the ending before exporting.
Canva’s audio help page explains the current desktop and mobile controls. For more browser-based options, compare TipsMake’s online music and video editors.
Option 3: Upload your own music
Use this option for an original recording, a commissioned track, or a licensed file downloaded from another service. Keep evidence of the license if the video will be used commercially.
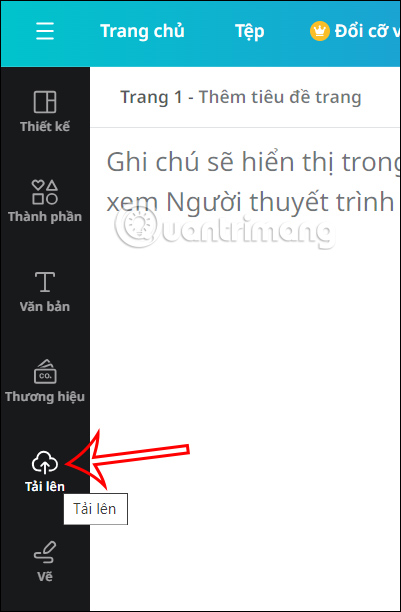
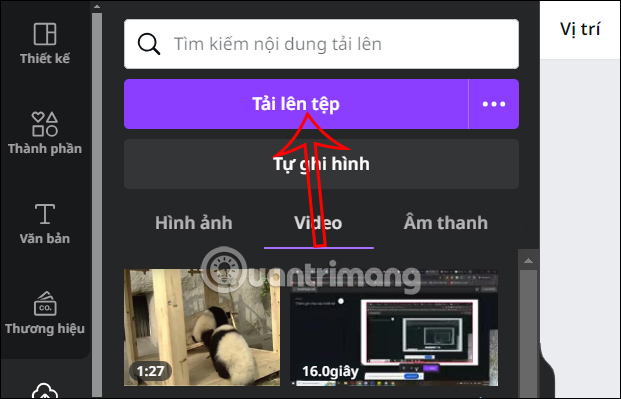
Step 1: Select Uploads, choose Upload files, and pick the audio file from your device.
Step 2: When the upload finishes, select or drag the track onto the video timeline. Move and trim it in the same way as stock audio.
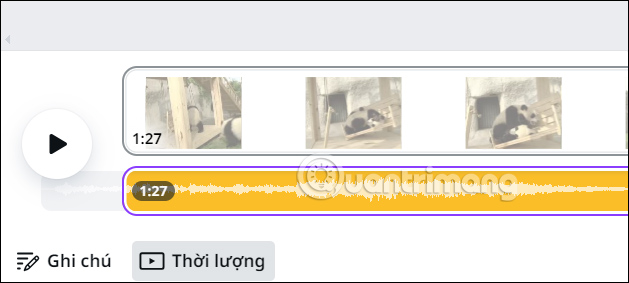
Canva currently accepts common audio formats including MP3, M4A, OGG, WAV, and WEBM, subject to upload limits. Check the official format requirements if the file does not upload.
Edit the soundtrack so it supports the video
- Trim and position: Use the timeline handles to choose the strongest section and line up key changes with the visuals.
- Balance volume: Lower background music under speech. Test with headphones and phone speakers rather than relying on the waveform alone.
- Add fades: Use fade-in and fade-out controls where available to avoid abrupt starts and endings.
- Sync to cuts: Beat Sync can show beat markers or automatically align supported video elements with the track.
- Keep the ending clean: Extend, trim, or fade the track so it does not stop in the middle of a phrase.
If you need more detailed mobile editing controls, TipsMake’s CapCut video editing guide covers music, sound effects, extracted audio, and voiceovers.
Check licensing before export
Preview the entire video, then export a short test and listen to the rendered file. Check that speech remains clear, the music does not clip, and the final frame has a deliberate ending. For Canva Pro music used on YouTube, Facebook, or Instagram, follow Canva’s account-linking and license-verification steps where applicable to reduce avoidable copyright claims.
Related Articles
 How to Create Animated Character Videos Using Canva AI5 minutes read
 How to Add Photos to a Frame in Canva4 minutes read
 How to Insert YouTube Videos into a Document in Canva3 minutes read
 How to Add Music to Videos Instagram Does Not Need to Use Third3 minutes read
 How to Add AI Background Music to Videos on Google Vids3 minutes read
 How to Create a Talking Character in Canva5 minutes read
Reader Comments 0
Sign in with email or Google to join the discussion.