Table of Contents
Canva frames let you crop a photo into a ready-made shape without editing the image in a separate app. Choose a frame, drag or click a photo into it, then adjust the crop and appearance before downloading your design.
If you want to go beyond basic framing, see these Canva AI editing tools. You can also compare alternatives to Canva if you need a different design workflow.
How to put a photo in a Canva frame
1. Find the Frames collection
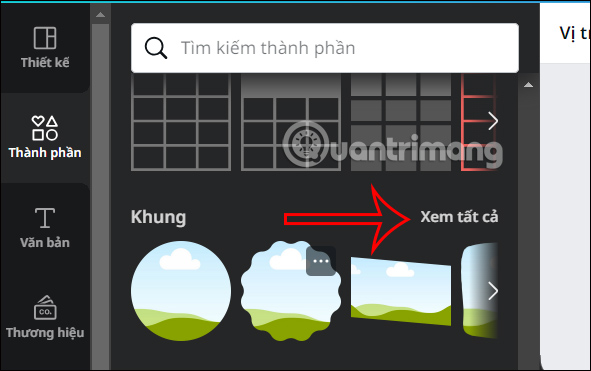
Open Canva and create a new design or open an existing project. In the editor, select Elements, then locate Frames. Choose See all to browse the full collection.
2. Choose a frame
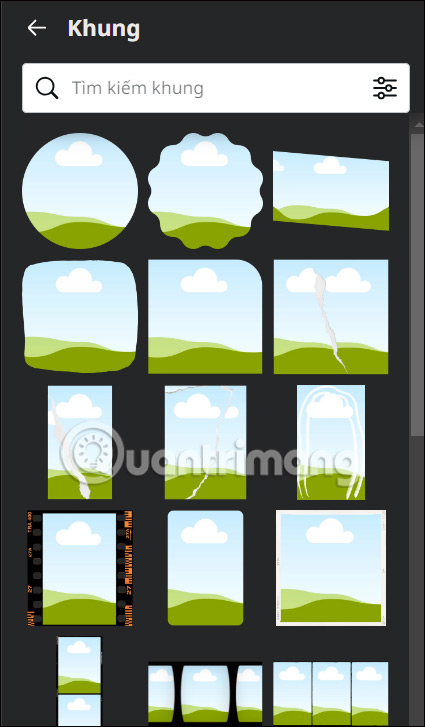
Browse the available shapes and layouts, then click the frame you want to add it to the canvas. You can resize or reposition the empty frame before inserting a photo.
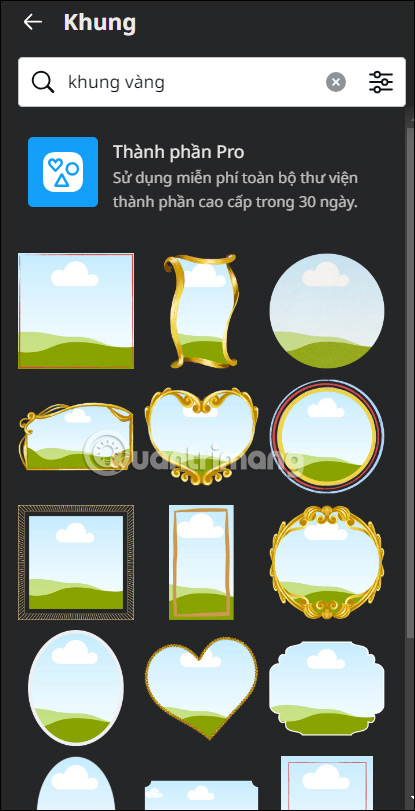
If you have a particular style in mind, use the Elements search box with a descriptive term such as Polaroid frame, circle frame, or gold border frame. More specific terms usually narrow the results faster than scrolling through the full list.
3. Upload or select a photo
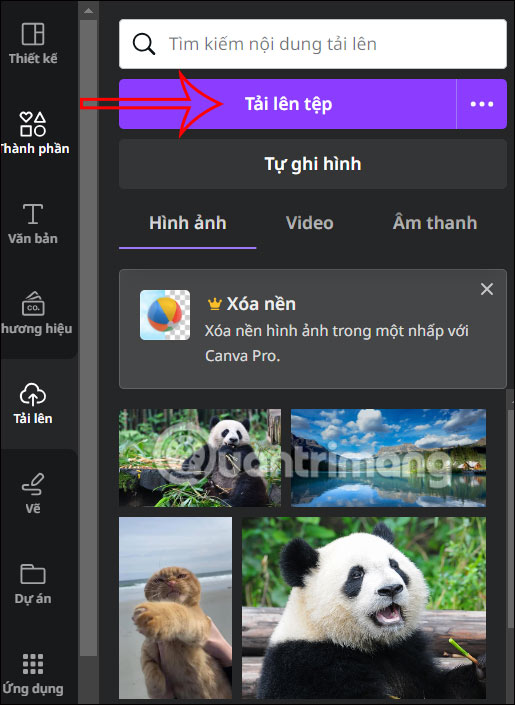
Open Uploads and upload the image you want to use, or select a photo that is already in your Canva library. Wait for a new upload to finish before placing it in the frame.
4. Place the photo inside the frame
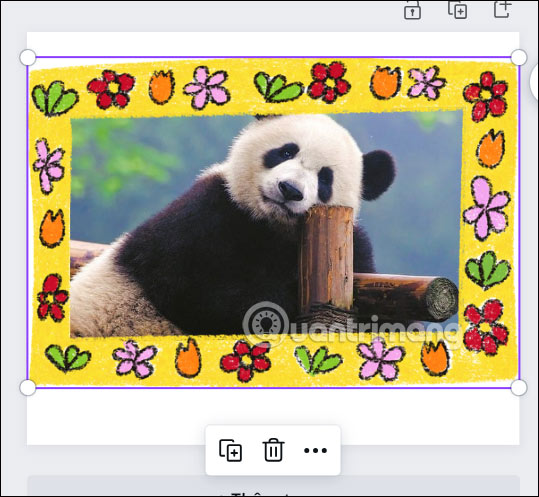
Drag the photo onto the frame. When the frame is highlighted, release the mouse button and Canva will crop the photo to fit. Depending on the editor layout, clicking a selected photo may also place it into the active frame.
5. Reposition and edit the photo
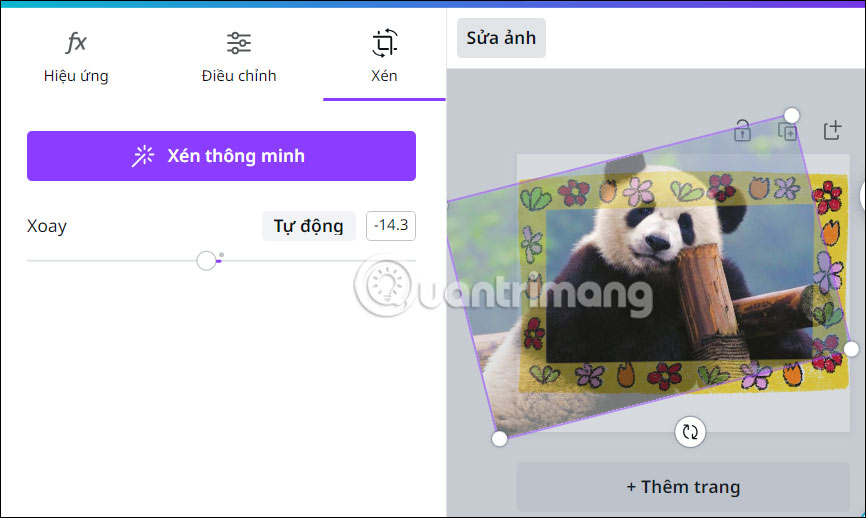
Double-click the framed photo to adjust the crop. Drag the image to change which area appears inside the frame, and use the available zoom control if you need a tighter or wider composition. Click outside the frame when the placement looks right.
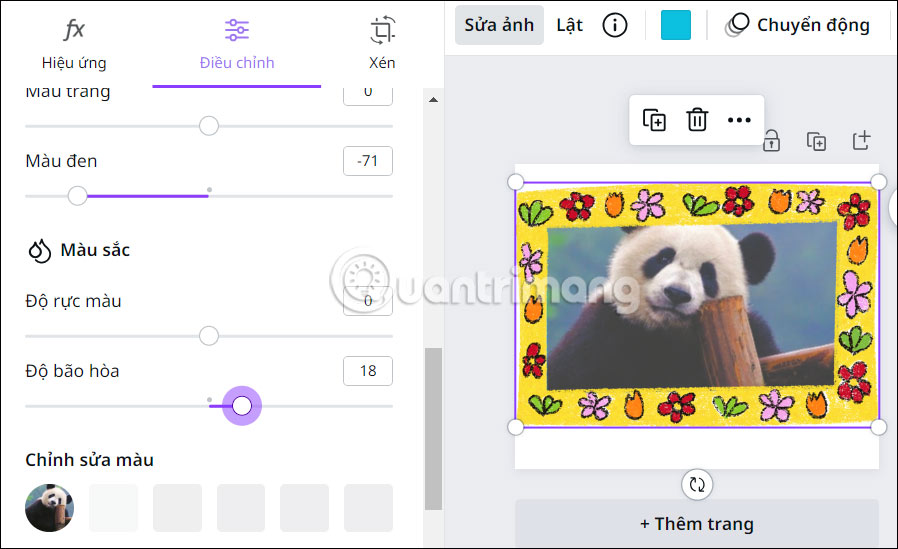
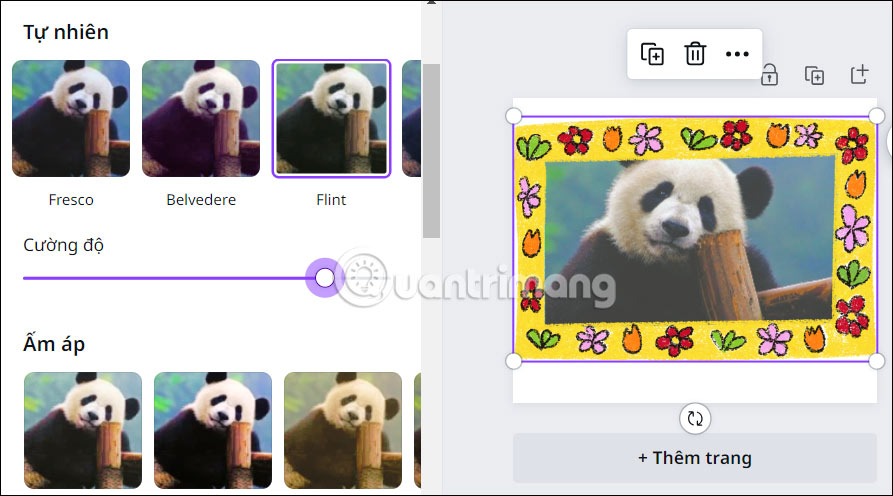
With the photo selected, open the image-editing controls to adjust settings such as brightness, contrast, highlights, and shadows. Make small changes while checking the whole design so that the framed photo still matches the surrounding colors and text.
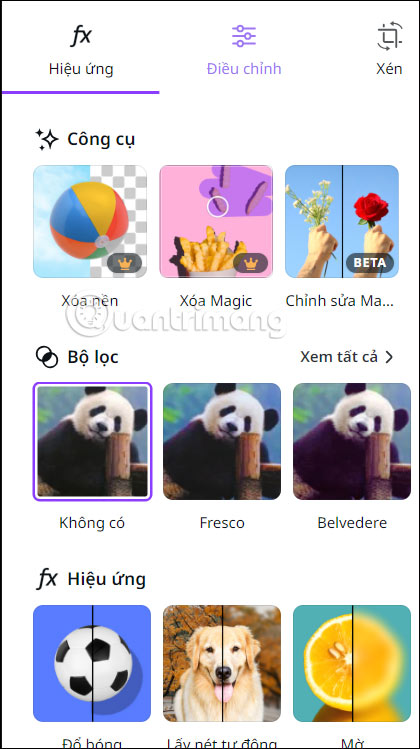
You can also apply a filter or effect. Use the intensity controls to reduce an effect that looks too strong; the frame itself does not prevent you from editing the image inside it.
6. Download the finished design
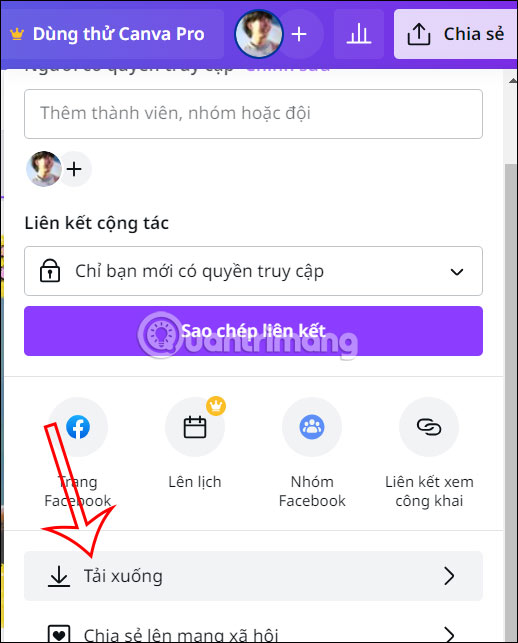
Review the photo crop, frame size, and overall layout. Select Share and then Download, choose the file format and any available output options, and download the finished design.
Fix common frame problems
- The photo will not enter the frame: drag it directly over the frame and release only when the frame highlights.
- The important part of the photo is cut off: double-click the image, reposition it inside the frame, and adjust the zoom.
- You selected the frame instead of the photo: double-click the framed area to enter crop mode, then select the image-editing controls.
- The result looks blurry: use a higher-resolution source image and avoid enlarging a small photo far beyond its original size.
Related Articles
 Quick Tips to Turn Photos into Frames in Canva4 minutes read
 Instructions for Blurring Photos on Canva Are Very Simple4 minutes read
 How to Split Photos Using Canva Are Very Simple3 minutes read
 How to Change Objects in Photos with Canva AI Very Quickly4 minutes read
 How to Connect Canva to Gemini and Edit Designs15 minutes read
 How to Insert Photos into Canva Simply and Quickly: Clear Instructions7 minutes read
Reader Comments 0
Sign in with email or Google to join the discussion.