Table of Contents
You can create a talking character in Canva in two ways. Canva's AI avatar tools generate a presenter that speaks a script with lip movement, while the manual method in this guide combines a character image, an animated mouth, and an AI voice. Use the avatar route for realistic synchronization; use the manual route for a simple cartoon effect and precise visual control.
Choose the right workflow
| Method | Best for | Main limitation |
|---|---|---|
| AI avatar | Presenters, training clips, and realistic talking heads | Availability, languages, and usage limits depend on the account and integrated app. |
| Animated mouth | Cartoons, mascots, and stylized explainers | The mouth loops rather than matching every spoken sound. |
Option 1: Use a Canva AI avatar
- Create a video design in the aspect ratio required by the destination platform.
- Open Apps and search for an available AI avatar or script-to-video tool. Canva's current video tools can offer built-in avatars, photo-based presenters, or integrations such as HeyGen.
- Choose an avatar or upload a photo you have permission to use.
- Enter a short script, select a supported language and voice, and preview the result.
- Add the generated clip to the design, then trim it and place it on the timeline.
Tool names and free-use limits can change. Canva's AI video generator page lists its current talking-avatar options. Do not clone or imitate another person's face or voice without their permission.
Option 2: Build a cartoon talking character
1. Create the scene
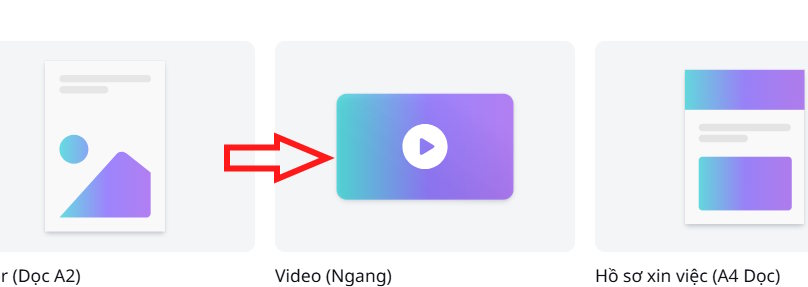
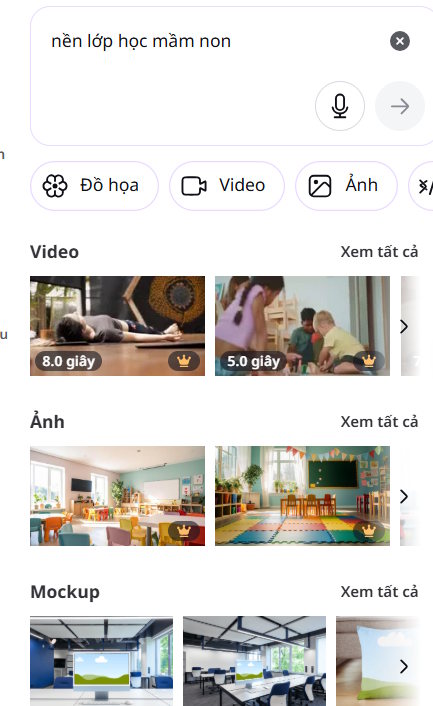
Start a horizontal video for a standard 16:9 presentation, or choose a vertical design for Shorts, Reels, or TikTok. Add a background that fits the script, such as a classroom, office, or studio.
Open Elements and add a character with a clear, front-facing mouth. Place the character before you add animation so you can judge the available space for captions and other graphics.
2. Prepare the character image
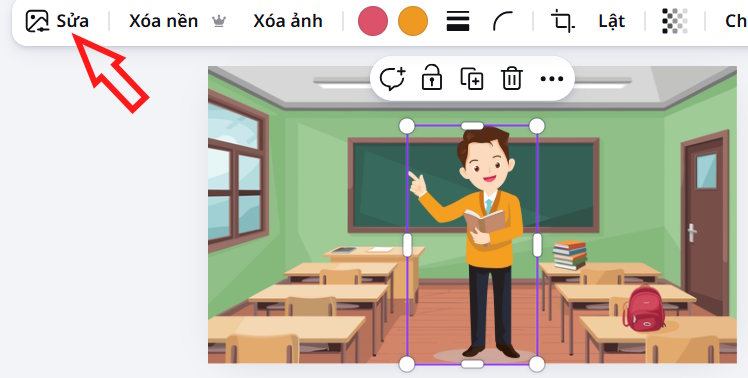
If the character includes an unwanted background, select it and use Edit > BG Remover where available. Canva lists Background Remover as a paid-plan feature, so free accounts can instead choose an element that already has a transparent background.
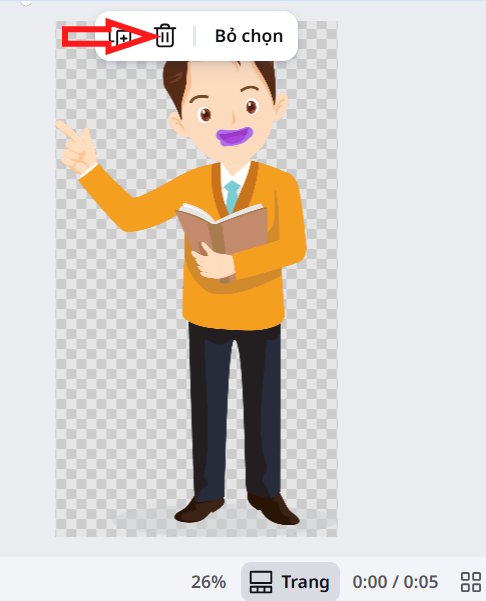
Select the character again and open Edit > Magic Eraser. Zoom in and use a small brush over the existing mouth. Remove only enough pixels to leave a clean area for the animated replacement.
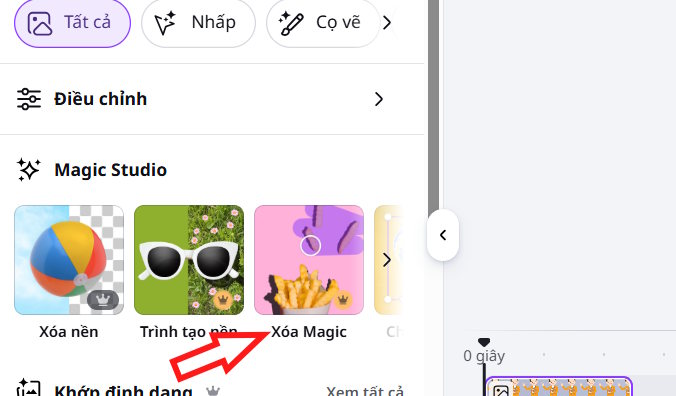
Adjust the brush size carefully. If part of the face disappears, undo the edit and make a smaller pass rather than trying to rebuild the missing area.
3. Add a licensed animated mouth
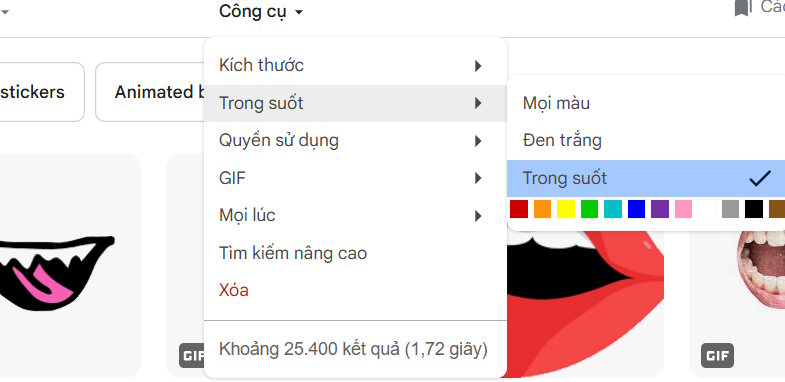
Search Canva's Elements library for terms such as talking mouth, mouth animation, or speaking mouth. You can also upload a transparent GIF that you created or are licensed to use. Do not download an arbitrary image from search results; visibility in a search engine does not grant reuse rights.
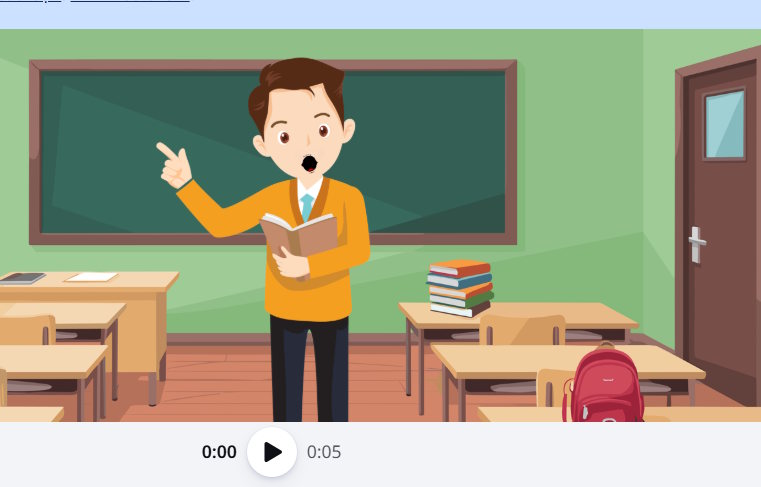
Upload the GIF if needed, place it over the erased area, then resize and rotate it until the mouth follows the character's face naturally.
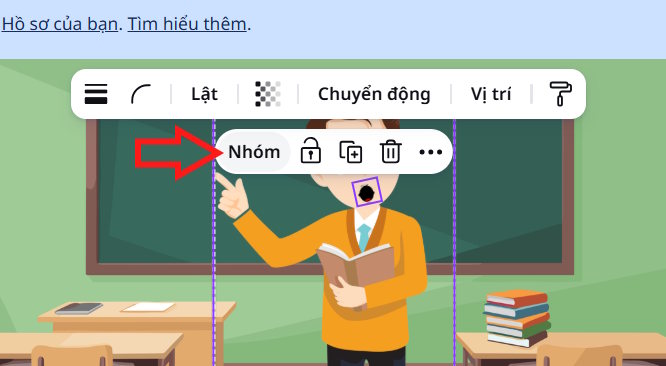
Select the character and mouth together, then choose Group. Grouping keeps the alignment intact when you move or resize the presenter.
4. Generate or upload the voiceover
Move the playhead to the start of the scene and open the audio or AI voice controls available in your editor.
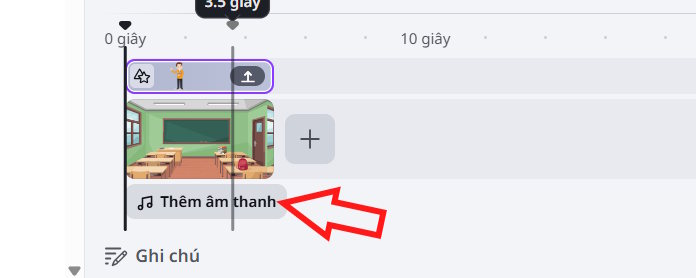
Select AI Voice if it appears in your workspace. Canva also provides text-to-speech through its apps and contextual AI controls; the exact menu can vary by editor version.
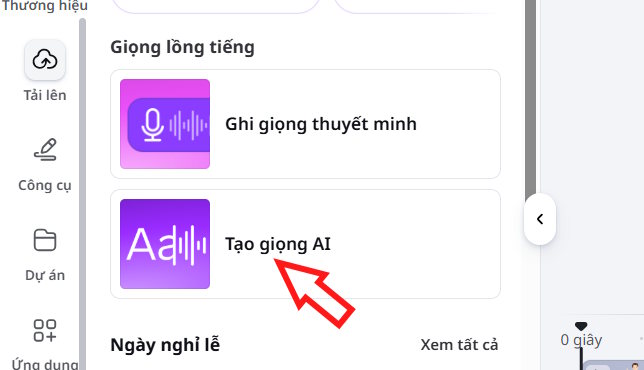
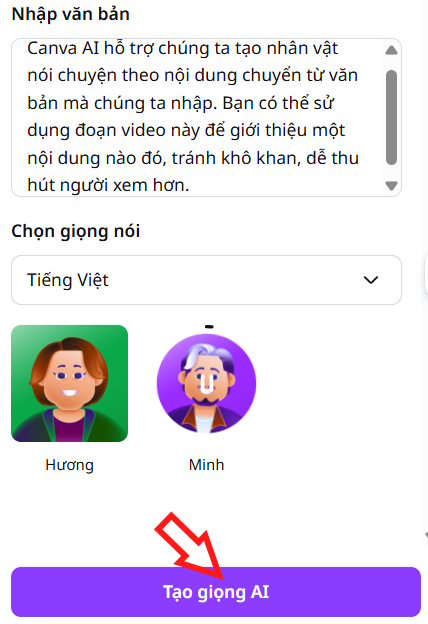
Choose the language and voice, paste the script, and generate a preview. Canva currently limits each AI Voice conversion to 1,000 characters, so divide a long narration into scene-sized segments. Rewrite punctuation and line breaks if the pacing or pronunciation sounds unnatural.
You can also record narration or upload an audio file. For another illustrated workflow, see how to add a voiceover in Canva.
Sync the voice and mouth
- Trim the voice track so it begins at the intended frame.
- Extend or duplicate the animated mouth GIF across the spoken portion only.
- Stop the mouth animation during pauses by splitting the scene or replacing it with a still mouth.
- Preview the video from the beginning and check scene changes, pronunciation, and audio level.
The animated-mouth method creates a visual suggestion of speech rather than phoneme-level lip sync. Short sentences and deliberate pauses make the effect more convincing.
Finish and export
Add captions so the message remains understandable without sound; this guide explains automatic captions in Canva. Keep background music below the narration, verify that every uploaded asset is licensed for the intended use, and download the finished design as MP4. Watch the exported file once because timing can look different after rendering.





Reader Comments 0
Sign in with email or Google to join the discussion.