Table of Contents
To add subtitles to a video, first decide how viewers should receive them. A separate caption track, such as an SRT or VTT file, can be turned on or off and translated later. Burned-in or “open” captions become part of the picture and work everywhere, but viewers cannot hide them.
Subtitles usually reproduce or translate speech. Closed captions should also identify speakers and meaningful sounds such as [door closes] or [music]. Whichever format you choose, review automatic transcription carefully before publishing.
Prepare the caption text first
- Transcribe the spoken words and correct names, product terms, and punctuation.
- Add speaker labels and important non-speech audio when accessibility is the goal.
- Keep each caption short enough to read and time it to appear with the matching audio.
- Choose a delivery format: SRT or VTT for a selectable track, or a video editor for burned-in captions.
1. Add automatic captions with Microsoft Clipchamp
Windows Movie Maker has been discontinued, so Clipchamp is the more practical Microsoft option on current Windows systems and in a supported browser. Import the video, place it on the timeline, open the Captions panel, choose Turn on autocaptions, select the spoken language, and start transcription.
Read through the transcript, correct mistakes, and adjust the timing before exporting. Depending on the Clipchamp version and account, you can keep the captions in the rendered video and may also be able to download an SRT file. Audio is processed by Microsoft’s online speech service, so consider privacy requirements before uploading sensitive recordings. See Microsoft’s current Clipchamp caption instructions.
2. Add a selectable caption track in YouTube Studio
YouTube Studio is a convenient choice for videos published on YouTube. Open YouTube Studio > Subtitles, select the video, click Add language, and then choose Add under Subtitles. You can upload a timed caption file, use auto-sync with a transcript, type the captions manually, or edit YouTube’s automatic captions when available.
The screenshots below show an older interface, but the same basic tasks—entering text, setting timing, and publishing a language track—still apply.
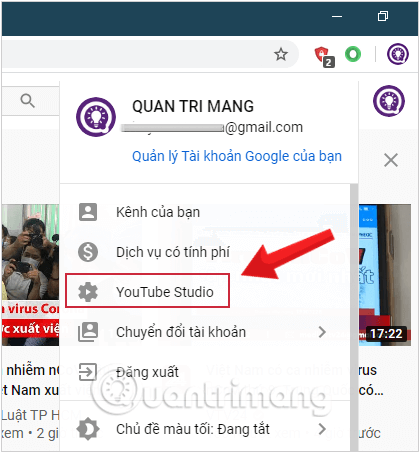
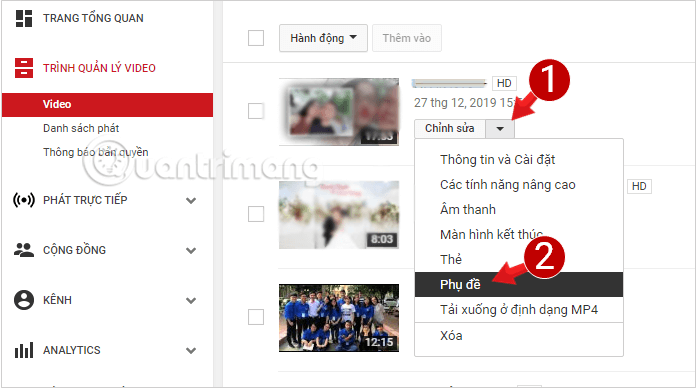
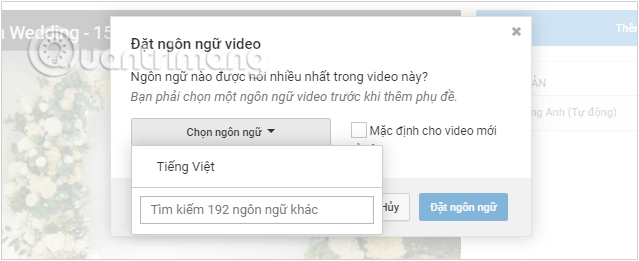
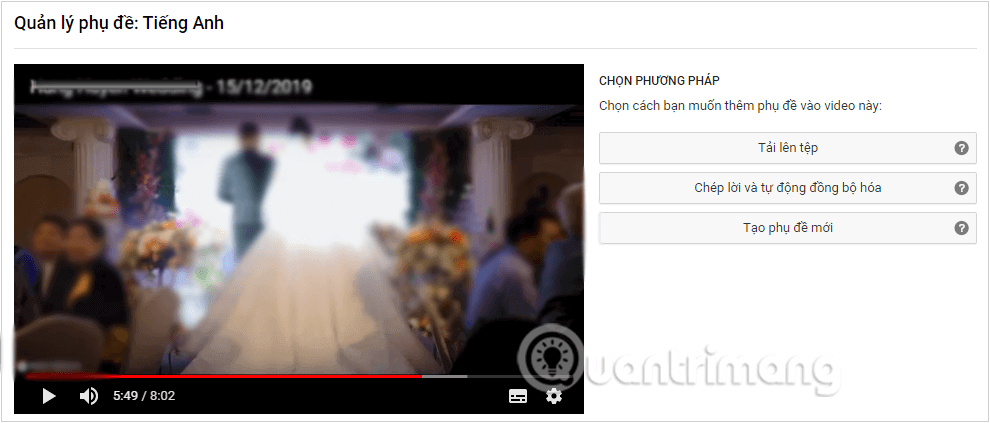
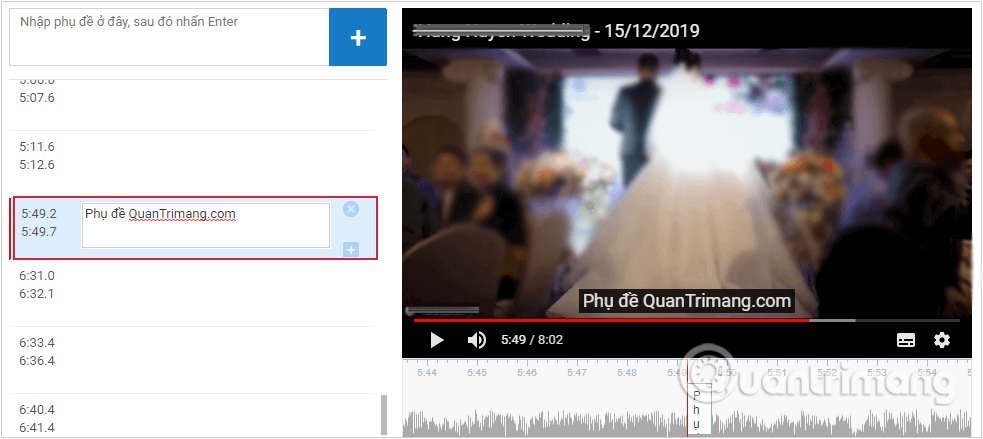
Automatic captions are only a starting point. Check words, punctuation, speaker changes, and sound cues before publishing. YouTube’s official subtitle and caption guide lists the current workflow.
3. Create styled, burned-in subtitles in Pinnacle Studio
Pinnacle Studio suits editors who want captions to be part of the finished picture. Add the video to the timeline, create a title or subtitle layer, enter the text, and set each item’s start and end points. Use a readable font, strong contrast, and consistent placement. Preview the full frame so the text is not hidden by platform controls or cropped on phones.
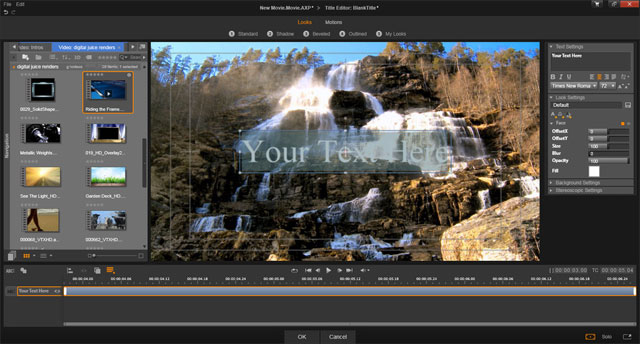
Burned-in captions are reliable for social clips, but every correction requires a new video export. If you need multiple languages or viewer-controlled captions, export a separate caption file instead. For other editing choices, see TipsMake’s guide to free video editing software for computers and phones.
4. Use CaptionMaker for an established professional workflow
Telestream CaptionMaker was designed for broadcast and professional caption preparation. A typical workflow imports the video and transcript, synchronizes the text, applies the required caption standard, validates the result, and exports a deliverable for the target platform.
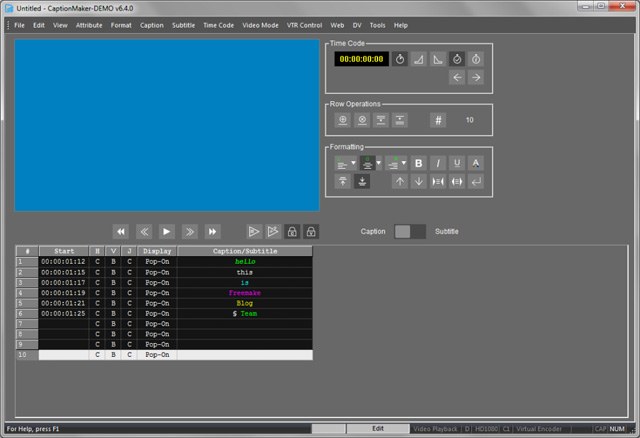
This is mainly relevant to organizations that already use CaptionMaker. Telestream has discontinued some older editions and license types, so confirm support and output compatibility before building a new workflow around it. For a simple web or social video, Clipchamp or YouTube Studio is usually easier.
5. Time and style subtitles precisely with Aegisub
Aegisub is a dedicated subtitle editor rather than a complete video editor. Open the video and its audio, enter or import the dialogue, then set each line’s start and end time while watching the waveform. It is especially useful for detailed timing, translation, and ASS subtitle styling.
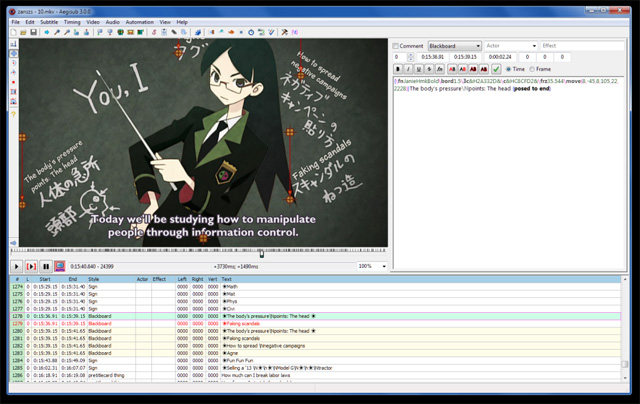
Save or export the subtitle script, then attach it as a selectable track with the publishing platform or burn it into the picture with a compatible video tool. The Aegisub manual covers timing, typesetting, export, and applying subtitles. TipsMake also has a practical guide to merging a subtitle file into a video.
6. Attach caption tracks to a Google Drive video
Google Drive can display caption tracks with a stored video without permanently changing the video file. On a computer, right-click the video, choose Manage caption tracks, select the language, and upload the caption file. Give the track a descriptive title if the video has several languages or accessibility versions.
The following images illustrate the upload flow; labels may differ slightly in the current Drive interface.
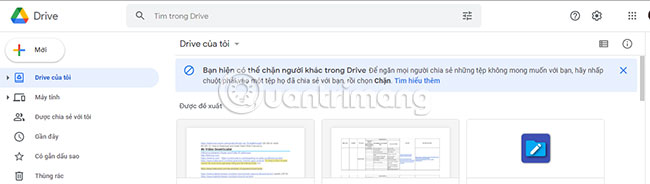
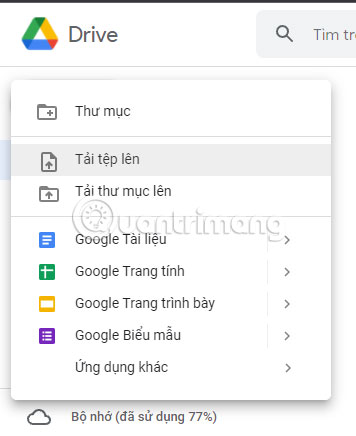
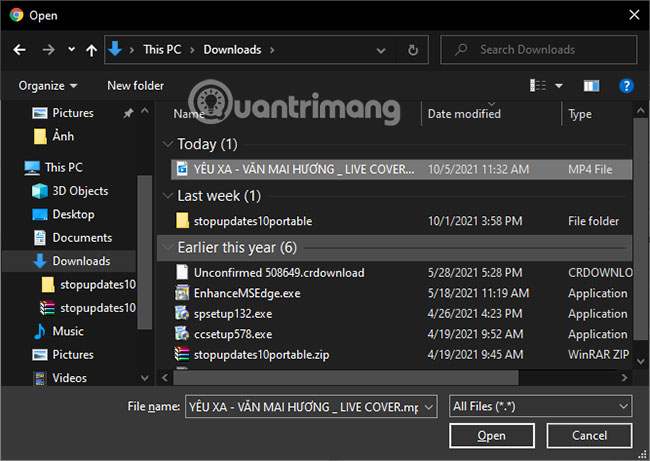
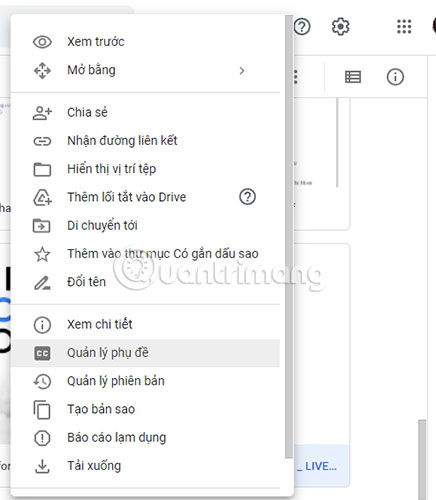
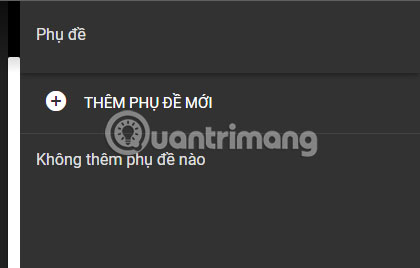
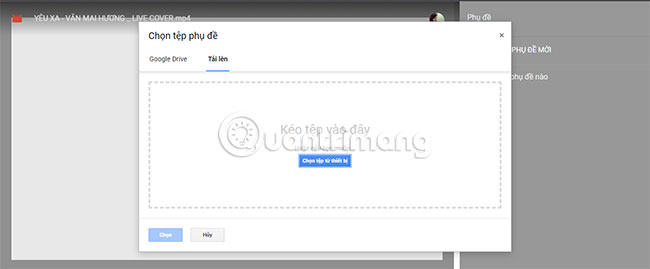
Drive’s caption file is separate from the video, so it is useful for review and shared playback but does not produce a permanently captioned export. Follow Google’s caption-track requirements if an upload is rejected.
Check captions before publishing
- Play the video from beginning to end with captions enabled.
- Correct names, numbers, technical terms, and automatic-transcription errors.
- Make sure captions do not cover essential on-screen text.
- Identify speakers when the voice is not obvious and describe meaningful sounds.
- Test the actual destination—YouTube, Drive, a website, or the exported file—rather than relying only on the editor preview.
Use a separate SRT or VTT track when accessibility, translation, and viewer control matter. Choose burned-in captions when the destination cannot display caption files or when the text is part of the visual design.
Related Articles
 5 Ways Super Easy to Add Subtitles, Caption to Video7 minutes read
 How to Show 2 Subtitles in Parallel on Youtube Videos4 minutes read
 How to Add Subtitles to YouTube Videos: Clear Instructions9 minutes read
 Instructions for Creating Subtitles for Videos with Videopad6 minutes read
 PowerPoint Supports SRT Files for Subtitles and Captions4 minutes read
 How to Create Subtitles for YouTube Videos Quickly and Simply3 minutes read
Reader Comments 0
Sign in with email or Google to join the discussion.