Table of Contents
Animatron’s website now directs general online video editing to Wave.video, while Animatron Studio remains focused on animation and HTML5 content. The screenshots below show an older browser editor, so button names and plan limits may differ. The basic process is still the same: create a project, upload media, edit it on the timeline, and publish or download the result.
Before uploading a video
Online editors send your media to a third-party service. Do not upload confidential, personal, client, or regulated material unless the service’s privacy, storage, deletion, and access terms meet your requirements. Confirm that you have permission to use every video, image, logo, font, and music track in the project.
1. Create an account and a project
Open the official Animatron or Wave.video site and sign in. If the editor requires an account, register with an email address or a supported sign-in provider, then verify the account when prompted.
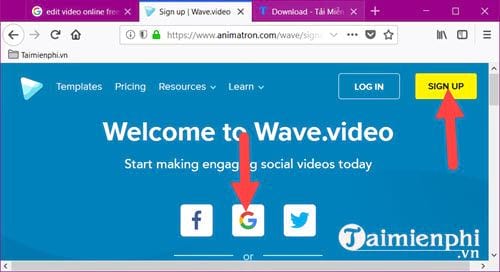
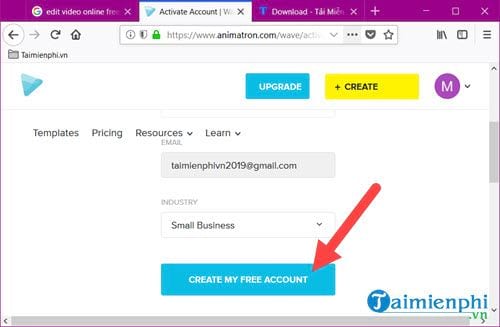
Complete any required profile fields. Avoid entering optional business information unless you want to provide it.
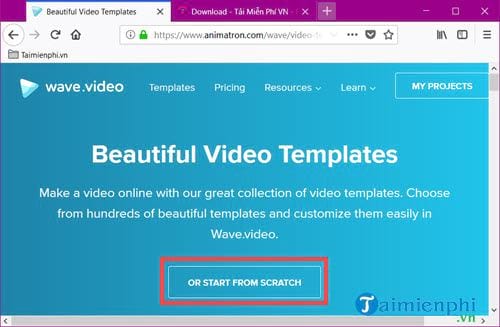
Choose Start from Scratch, Blank Video, or the equivalent option. A template can save time, but a blank project gives you full control over the layout.
2. Upload the source video
Open the Uploads or Media panel and choose the video from your computer.
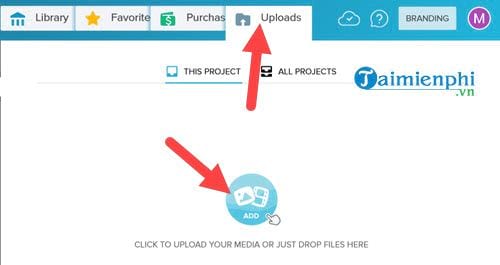
Select the file and click Open. Keep the browser tab open while the upload is in progress. Large files take longer and may exceed the size or duration limits of a free plan.
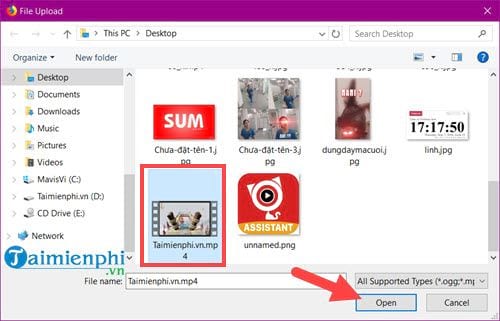
After processing finishes, add the clip to the scene, canvas, or timeline.
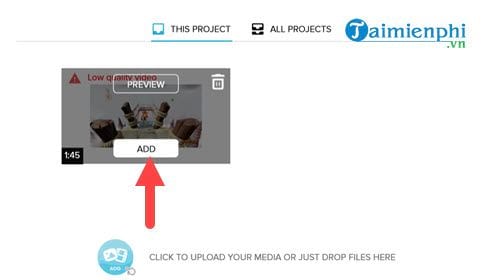
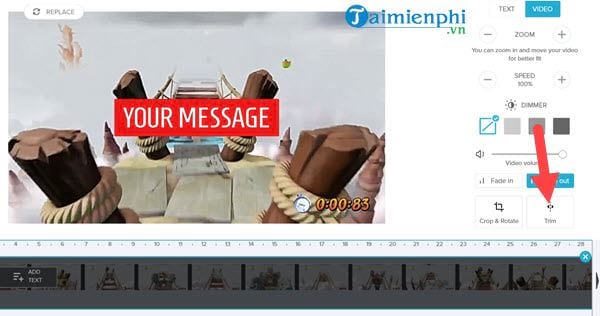
3. Trim the clip
Select the video and open the Trim command.
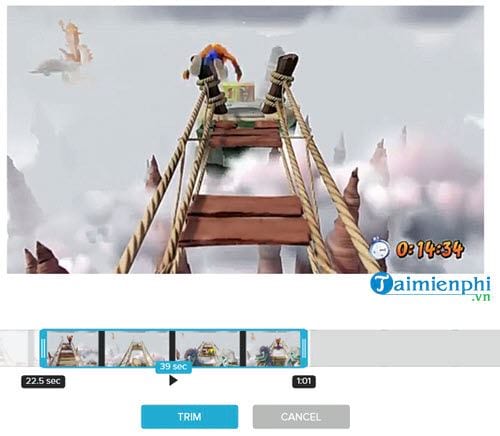
Drag the start and end handles to keep the required portion, then preview the edit. Check that speech and music do not begin or end abruptly. If the tool supports splitting, use it to remove a middle section without discarding the rest.
4. Add and time text
Open the Text panel, choose a readable style, and type the caption or title. Keep text concise and use strong contrast against the background.
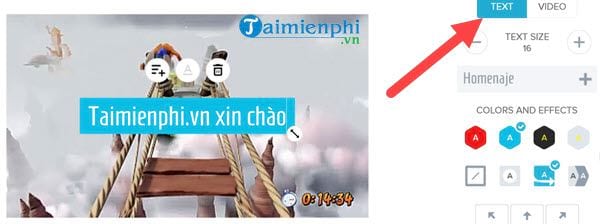
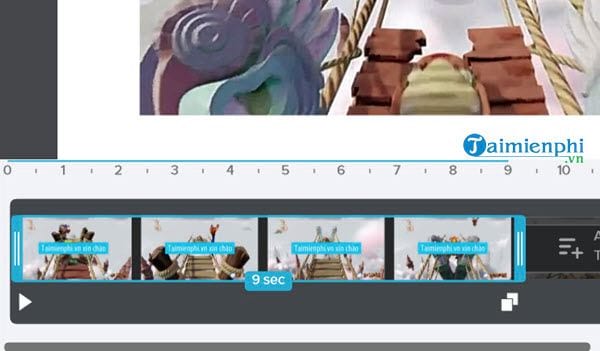
On the timeline, adjust when the text appears and how long it remains visible. Leave enough time for viewers to read it, and keep important text away from screen edges and social-platform interface overlays.
5. Choose the aspect ratio
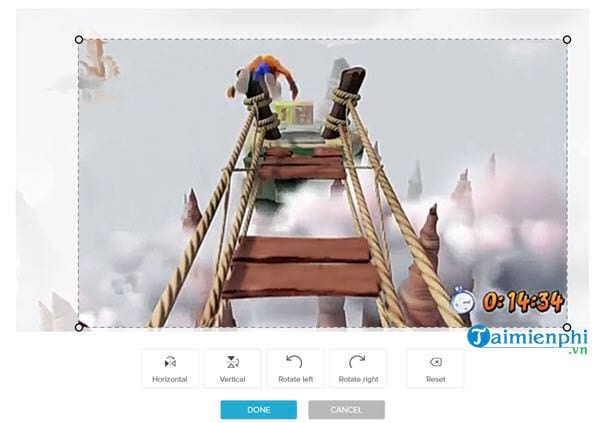
Select the frame size for the destination: landscape for standard video, square for some feed posts, or vertical for Shorts, Reels, and TikTok. Reposition or crop the footage after changing the ratio so faces and essential details remain visible.
6. Add a logo or watermark
Open the watermark, overlay, or upload control.
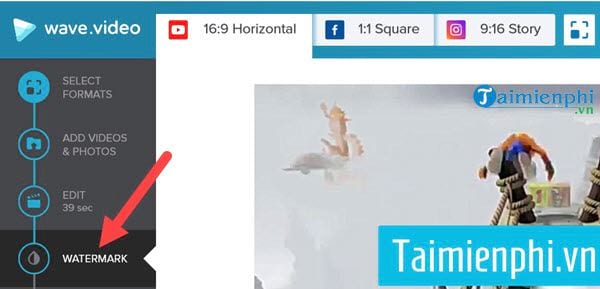
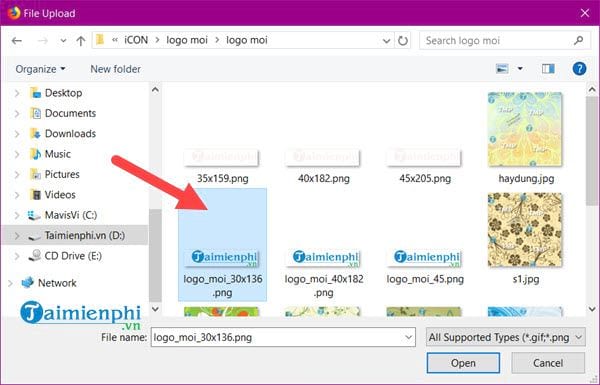
Upload a logo you are authorized to use. A transparent PNG normally works well for branding.
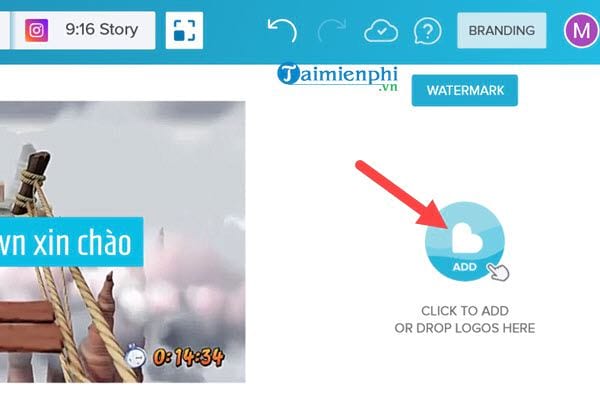
Select the logo file from your computer.
Resize and place the logo where it does not cover captions, faces, or controls. Use modest opacity and keep it inside the safe area.

7. Add background music
Upload a track you have the right to use or choose appropriately licensed music from the editor’s library. Lower its volume beneath speech, add short fades, and preview the full project with headphones. A library track is not automatically cleared for every commercial platform, so review its license.
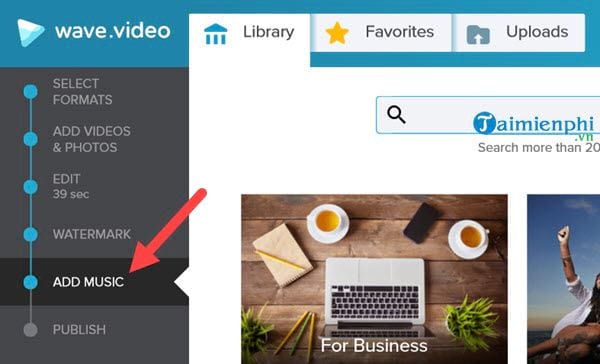
8. Publish or download the video
Click Publish, Export, or the current equivalent. Choose the resolution and format offered by your plan, then wait for rendering to finish. Free accounts may limit resolution, file duration, storage, exports, or removal of service branding.
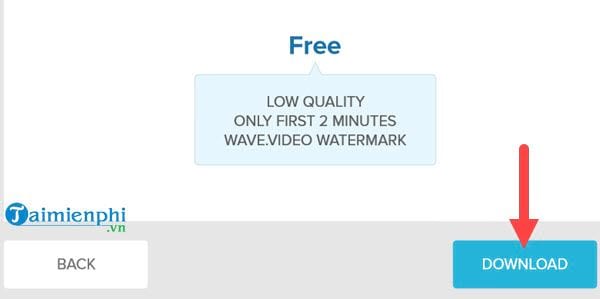
Download the result and play it outside the editor. Check the first and last frames, every cut, text timing, aspect ratio, audio balance, logo placement, and total duration before publishing.
When to use a desktop editor instead
A browser tool is convenient for short, straightforward projects. Use a desktop editor when the media is sensitive, the upload would be too large, the internet connection is unreliable, or you need detailed color, audio, multicamera, or long-form timeline control.
Start from the official Animatron site to identify the current product for your project. For alternatives, see TipsMake’s guide to cutting video online and its list of free video editors for computers and phones.
Related Articles
 How to Edit Videos Online: Online Video Editing Services7 minutes read
 5 Best Free Online Video Editing Websites8 minutes read
 Instructions for Cutting Online Video Using Online Video Cutter Tool6 minutes read
 7 Best Free PDF File Editing Software: PDF File Editing Tool14 minutes read
 Best AI Video Editing Tools9 minutes read
 How to Edit Videos on Invideo Online4 minutes read
Reader Comments 0
Sign in with email or Google to join the discussion.