Instructions for installing Android 4 on Windows PC
The article guides users to install and use Android 4 (Ice Cream Sandwich) on their Windows PC with free software.
TipsMake.com - This article will guide users to install and use Android 4 ( Ice Cream Sandwich ) on their Windows PC with free software.
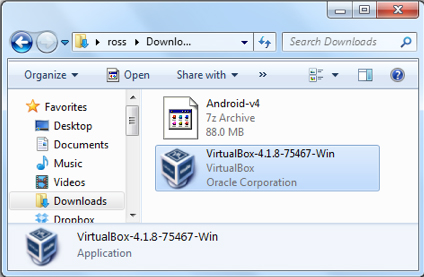
1. First of all, users need to download two installation programs. The first is 7-Zip. Installation is easy by clicking Next a few times. After installing 7-Zip, download VirtualBox and the image file of Android 4 for VirtualBox. Once the files have been downloaded, find the VirtualBox installer and double-click to start the installation.
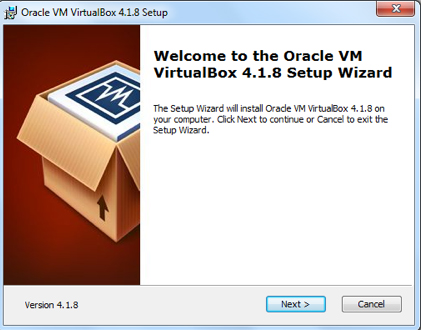
2. Click Next to begin installation.
3. During installation, some Windows Security messages appear. Click Install . Or you can check the Always trust software from 'Oracle Corporation' box so that notices appear again.

4. On the final screen, uncheck the Start Oracle VM VirtualBox 4.x box after installation and then click Finish .

5. VirtualBox is now installed. Download the image file of Android 4 ' Ice Cream Sandwich ' into Box to run Android on Windows. Double click on Android-v4.7z file .

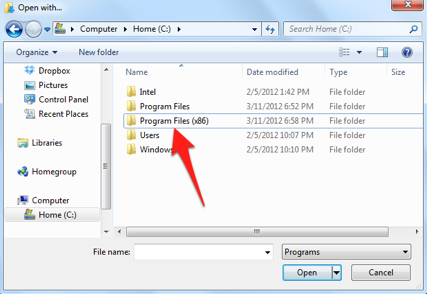
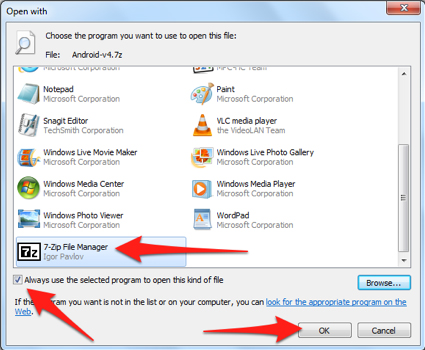
6. If 7-Zip opens, go to step 11 below. If you get an Open with window to select a program, click Browse .

7. Find in drive C. 7-Zip will be installed in the Program Files folder or Program Files (x86) depending on the Windows version.
8. Open 7-Zip folder.
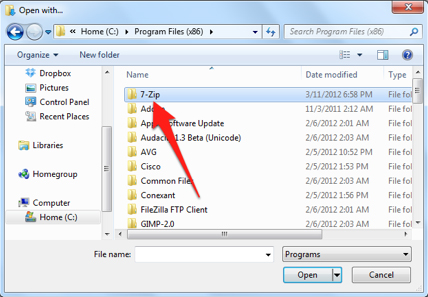
9. Select 7zFM.exe and click Open .

10. Make sure 7-Zip File Manager is selected from the program list, check the box Always use the selected program to open this file then press OK .
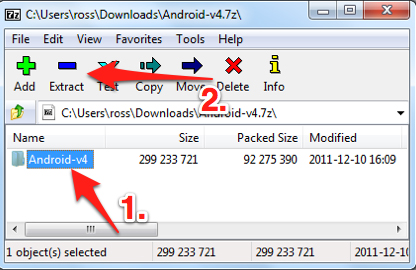
11. 7-Zip opens and displays the content in Android-v4.7z file. Select the folder named Android-v4 and click Extract .
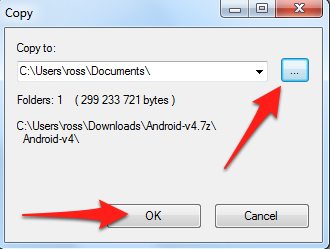
12. Click . to select the location for extracting the image file. Here use the Documents folder. Click OK when the location is selected.
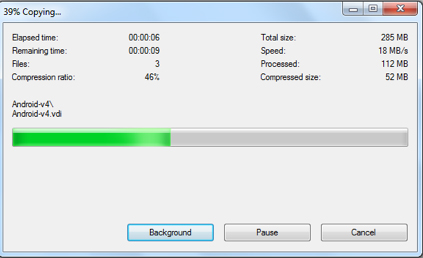
13. 7-Zip will extract the contents of the file into the specified directory. This job only takes a few seconds.
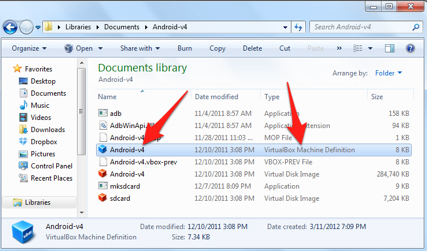
14. Now go to the directory that unzipped the Android-v4.7z file. Double-click the Android-v4.vbox file.
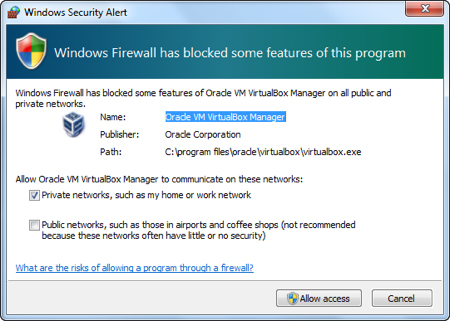
15. When VirtualBox opens, Windows Security Alert may appear from the firewall. Click Allow access .
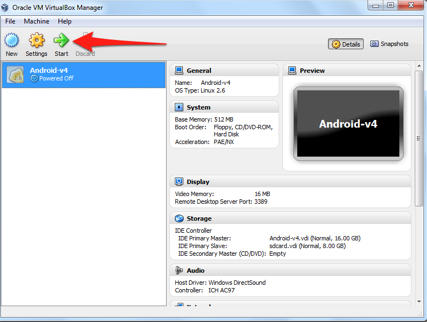
16. Select Android-v4 from the left column of VirtualBox then click Start .
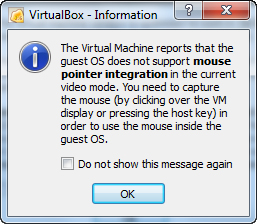
17. When Android starts in VirtualBox, notifications will appear. The first message explains how keyboards and pointers work in virtual machines. Read the message to know how to exit the virtual machine (Android) and return to the server (Windows). Basically, use the Right Ctrl key to exit.
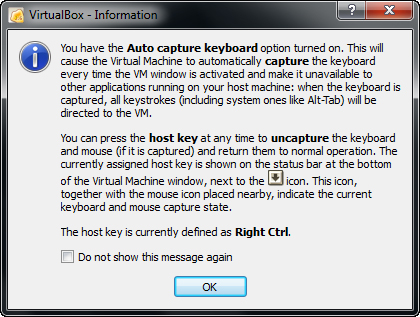
18. Click OK after viewing the notification.
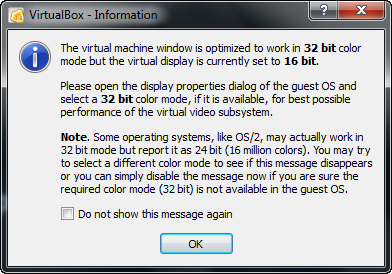
19. Users can receive a notification about the number of color virtual machines (Android 4) capable of displaying. Ignore it. Click OK .
20. Finally, click inside the VirtualBox window and the cursor will now be used for Android.
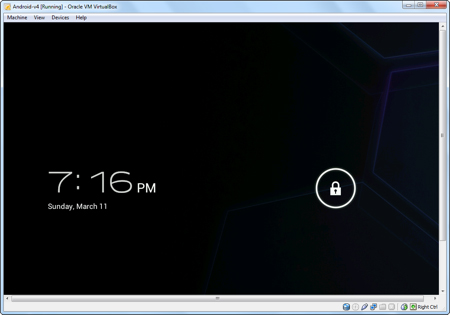
21. Press Right Ctrl on the keyboard to exit the Android virtual machine and return to Windows after using.
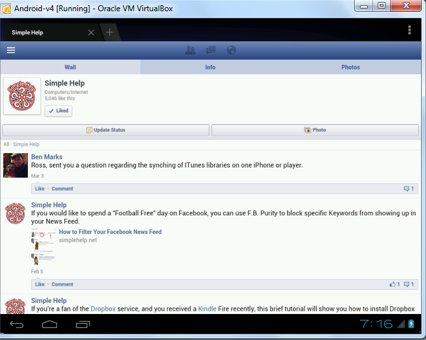
That's all there is to do for users to experience Android on their own Windows PC. One of the advantages of installing Android on Windows is that users can use its browser to see what the site will look like on the Android platform.
Was this article helpful?
Your feedback helps us improve.
Related Articles
 Install Android on your computer, run Android in parallel with Windows with Virtualbox9 minutes read
 Instructions for installing screensavers on Windows6 minutes read
 Instructions for installing Xposed Framework for Android4 minutes read
 How to install Android on a Windows computer without software emulation8 minutes read
 Instructions for installing GIT and configuring GIT on Windows 104 minutes read
 4 common problems when installing custom ROMs on Android8 minutes read
Reader Comments 0
Sign in with email or Google to join the discussion.