Instructions for installing Android 4.0 - Ice Cream Sandwich on VirtualBox
TipsMake.com - If you do not have an Android phone, or the device has not been upgraded to Android 4.0 version (codename Ice-cream sandwich) , or simply you are curious to know how The operation of Android 4.0 on the Desktop is a good opportunity for us to learn about this operating system. The Android-x86 project can easily help users access the entire system of Android OS operating systems on the x86 Desktop platform.
To do this test, we will need to:
- Iso file of Android 4.0 RC
- 1 server with a minimum RAM capacity of 1 GB
- VirtualBox application
Install Android 4.0 in Virtualbox:
First, download Android 4.0 RC version here (scroll down to the bottom of the list and select Android-x86-4.0-RC1 ), the iso file used here is android-x86-4.0-RC1-asus_laptop .iso with a capacity of about 180 MB.
Next step, start VirtualBox and create new Virtual Machine , name this virtual machine (eg Androidx86 ), set Operating System to Linux and Version to Linux 2.6:

Set the required memory capacity to 1000 MB (500 MB is actually enough to operate). Select Next Create New Hard Disk and VDI (VirtualBox Disk Image) as shown below:

Next, choose Dynamically Allocated and change the file size to 8.0 GB. When completing the virtual machine creation process, start the corresponding Virtual Machine :
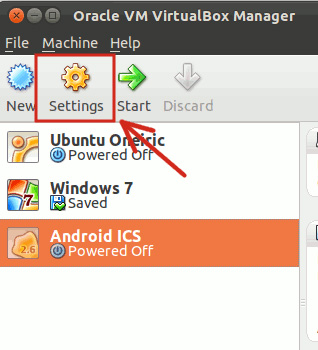
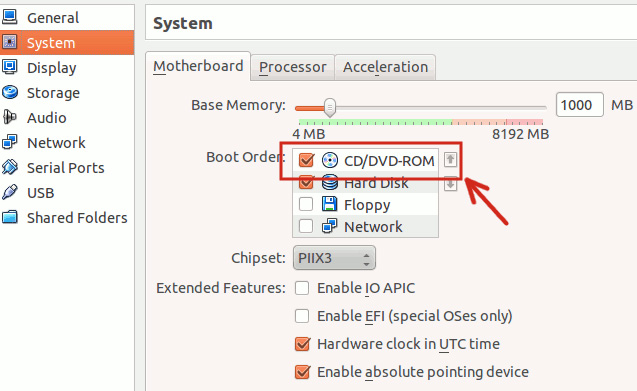
In the settings window on the left, select System and check the CD / DVD-ROM section as shown below:
Next, select Storage> Cd-rom . Under the Attribute section, click on the button with the CD icon and select the iso file of Android 4.0:
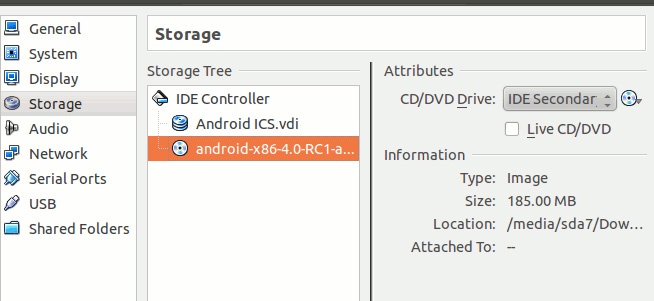
Click OK to save the changes.
Running Android 4.0:

On the first start, you will see the main screen above. At this test, we chose the Installation mode. Then select Linux Sda1 partition:
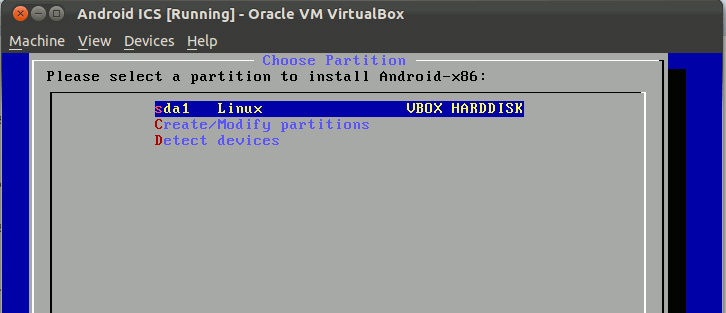
Select ext3 :
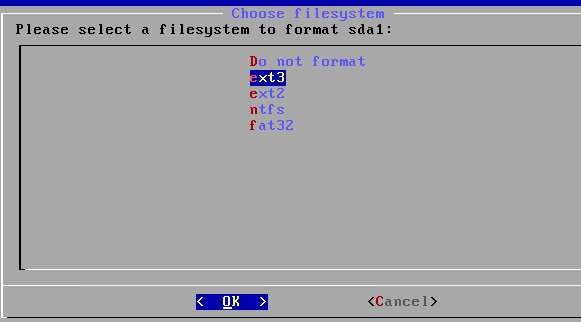
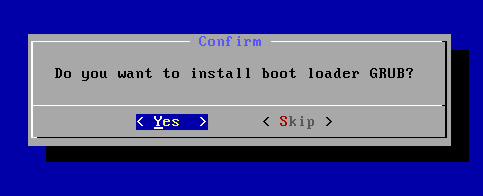
Installing bootloader :
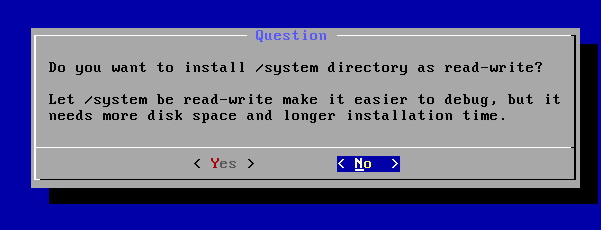
When the system asks users if they want to enable read-write mode for the directory / system , select No if they only want to test Android 4.0 , if not, choose Yes :
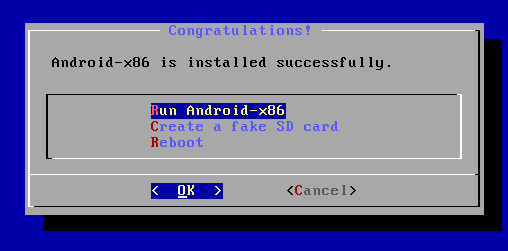
And when done, choose Android-x86 Run:
On the first launch of Android 4.0, the system will ask users to set up a user account. Here, we will easily see that the mouse doesn't work inside VirtualBox. To fix it, open the Machine menu and select Disable mouse integration , then click anywhere on the virtual machine and the cursor will work as usual, or press the Right Ctrl key to move the cursor to the host machine:
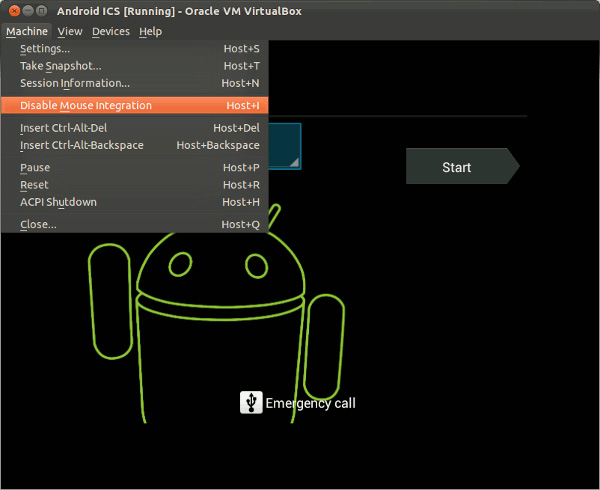
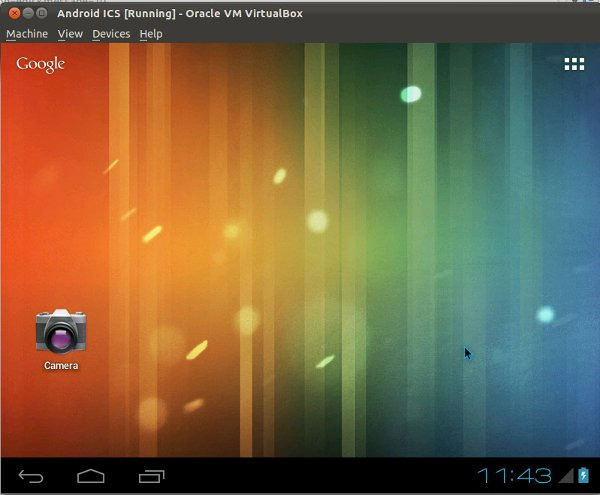
After setting up the account, we were able to use and test the features of Android 4.0 as usual:
However, Android does not have the Shutdown option available, so if you want to turn off the operating system, you must close the Virtual Machine , and don't forget to remove the Android iso file from the CD-ROM section in the Settings section, otherwise the system will restart the installation process on the next boot. Good luck!