Table of Contents
The process for install Android on a Windows computer without software is straightforward once you know where to find the right controls. The steps below explain what to do and what to check.
Android is not an operating system for computers. But if you're curious about how Google's mobile operating system works, you can install Android on your Windows computer and experience it. This will give you new experiences on your Windows computer.
In this article, we will show you How to install Android on your PC Using Android x86 . This way will really turn your computer into an Android device, experience, test Android apps on the big screen easier. Although the installation is a bit more complicated than the Android emulator, the advantage of Android x86 is to bring the latest Android version, which the emulator software often doesn't have, or takes a long time. to update to new Android.
In addition, readers can refer to the 10 best Android emulator applications for Windows here.
Also watch the video how to create USB with Android x86 and run parallel with Windows here.

Step 1: Prepare a USB drive (or SD memory card) and install Android
Download free x86 Android to install on your computer.
In this tutorial, you first need to prepare a USB drive or SD memory card with a capacity of at least 2GB. All content in the USB drive or SD memory card you need to copy and store in a safe location. This is because during the Android installation you will have to format your USB or SD memory card.
With all the backup data, you will have to build the x86 Android project platform here. We are testing the 64-bit version of Android 6.0, but you can optionally choose the best version for your current setup.
Click The View button To start the download process - depending on the speed of your Internet connection, the process may be fast or slow.

In addition, you will have to download Rufus and install it. Rufus is a free Windows tool to install Android on a USB Flash drive. This is the Portable version, so you can download and store at any location and do not need to install.
- Download Rufus to your device and install it here.
After the download process finishes, launch Rufus. A warning appears on your Windows computer asking when needed to allow Rufus to change your device. Click Yes To continue.

When Rufus runs, access and select your USB drive in the top dropdown menu. This step is quite important and requires accuracy because Rufus will erase your drive. If there is more than one external hard drive, check the exact drive you are installing.

Next on the File System Menu, select FAT32 .
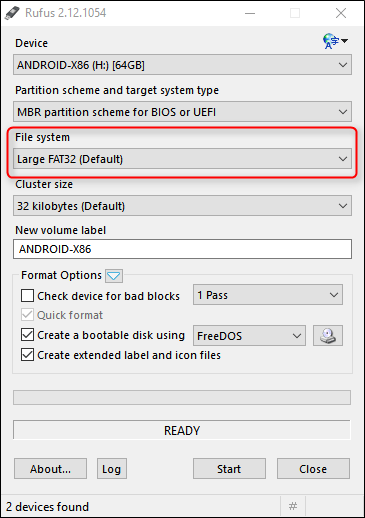
Finally, check the box labeled Create bootable disc using , then select ISO Image From the dropdown menu.
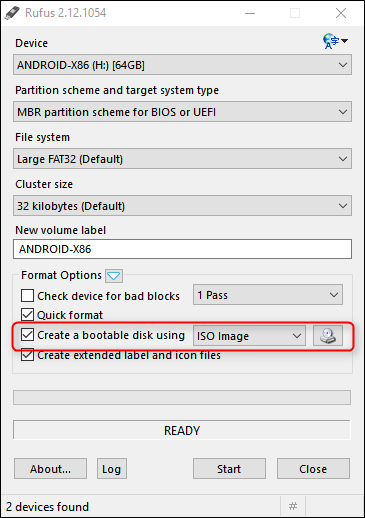
Click the CD drive icon next to ISO Image to select the x86 ISO Android file that you downloaded earlier.
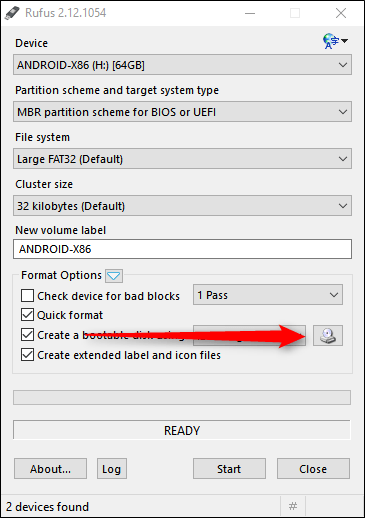
After the file has been selected, it will scan, check and confirm all files are fine. Click The Start button To start the process.

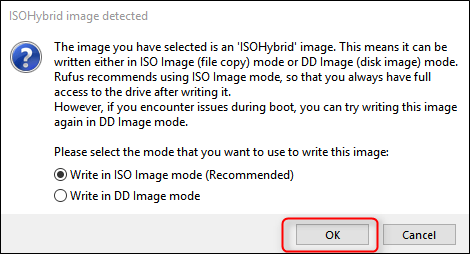
The dialog box now appears to inform you that the file is an ISOHybrid image, which you can write in two ways: ISO image or DD image . The default option is ISO Image , and you should choose this option again, then click OK To confirm.
A new warning dialog appears and inform you that everything in the drive will be erased. Click OK To continue.
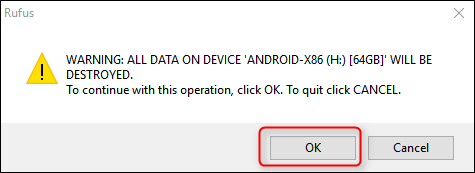
The ISO installation process on the USB drive takes place not too long. A blue progress bar appears at the bottom so you know that the process is complete. After the process is complete you can close the Rufus window and remove the USB Flash drive.

Step 2: Boot from USB drive
The next step is to boot your computer from the USB drive. You may have to change some settings in the BIOS to do this.
Set everything up properly, and you can start your computer, press F10 or F12 To access the Boot Menu (on each line, the key to access the Boot Menu will be different). At Boot Menu, you choose your USB drive.
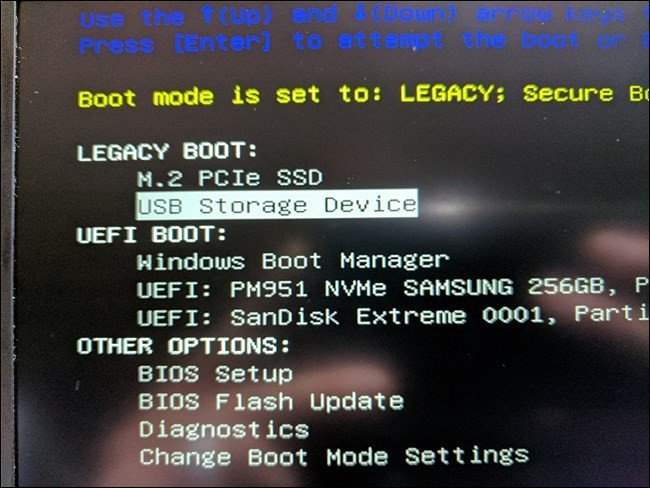
A menu appears asking when needed to run the installation: Live CD mode or Install on the hard drive. Because this is an experimental process, we chose the first option to run Android x86 without installation.

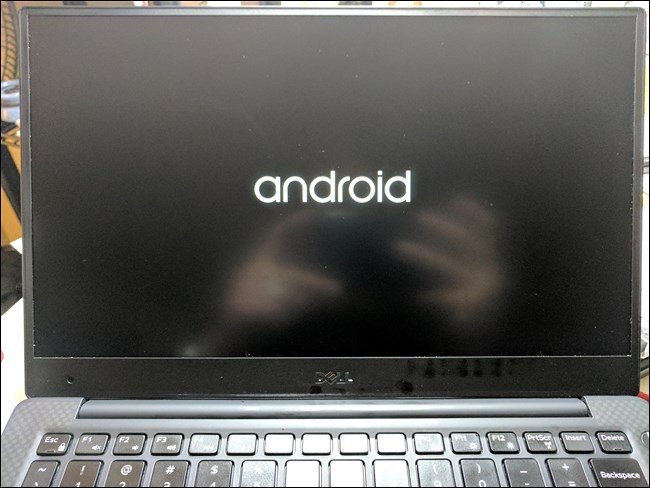
About a few seconds later, you will see the Android boot animation. Wait for a few minutes and a setup menu appears.
Access and follow the on-screen instructions to sign in to your Google account. The login process is the same as the process of logging into your Google account on an Android device.
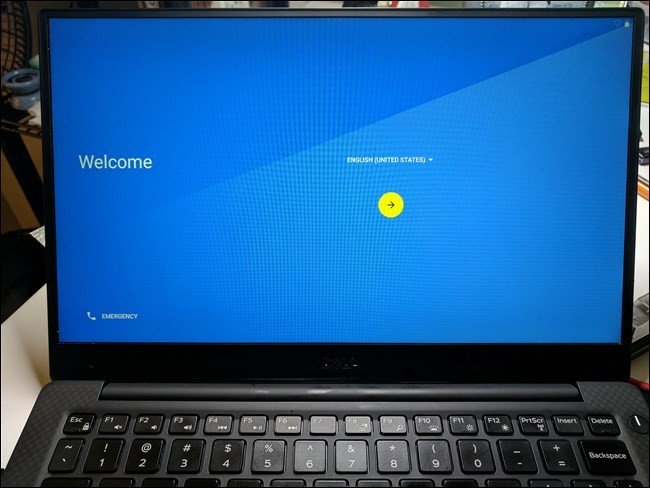
Use x86 Android on your computer
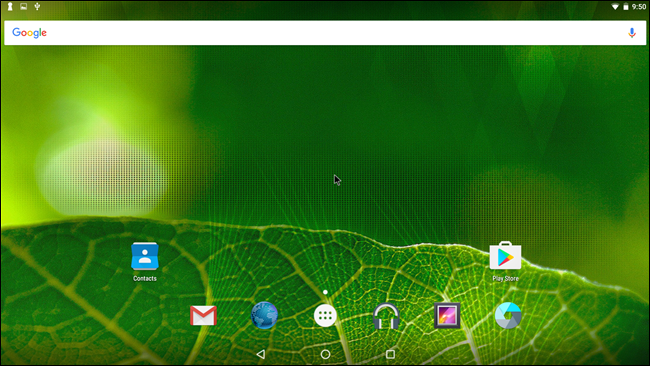
If you have previously used Android, you will experience the exact Android experience on the same computer as on a tablet or mobile phone.
Keyboard and mouse will work well with Android. If you use a laptop with a touch screen, the experience will be much more natural.
Here are a few more pointers:
- Touchpad gestures, such as placing 2 fingers to record or pull out, will work well on Android. Hover over the notification bar and drag down with 2 fingers - a message box appears.
- Pressing and holding your hand works the same way as on a touch device: just hold the mouse button. Right-click will not work.
- The Windows Key acts as the Home button - press this key to return to the Home Screen home screen.
- If your laptop has a webcam, it will also work with camera applications.
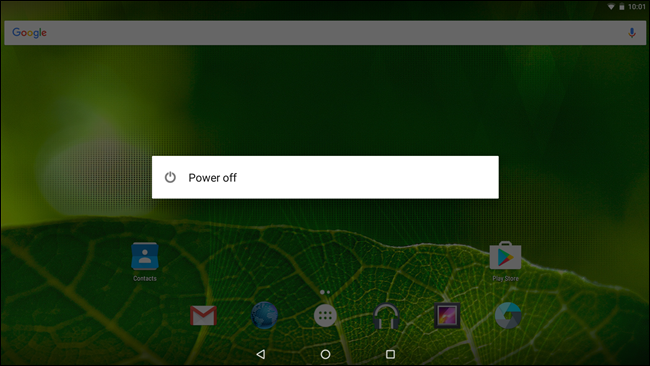
- When needed to exit Android x86, just press the Power button on your computer. The "Power Off" dialog box will display as usual - power off your computer, then remove the USB drive and restart the computer to restart Windows.
Refer to some of the following articles:
- This is a way to transfer files from your computer to your Android phone without a USB cable
- Unlock the Android device screen by tapping the screen twice
- To run Android applications on Windows computers, read this article
Good luck!
FAQ
What should I prepare before I install Android on a Windows computer without software?
Review the requirements in the guide, confirm that your device or software is compatible, and save important work before changing settings related to install Android on a Windows computer without software.
Why might install Android on a Windows computer without software not work as expected?
The most common causes are incompatible versions, missing permissions, incorrect settings, or an interrupted internet connection. Recheck each step and restart the app or device when appropriate.
Can beginners follow these install Android on a Windows computer without software steps?
Yes. Follow the steps in order, avoid skipping confirmation screens, and compare your interface with the screenshots because labels may differ slightly between versions.
Related Articles
 3 Best Best Android Emulation Software4 minutes read
 Instructions for Using Memu to Emulate Android on Your Computer5 minutes read
 5 Best iOS Emulation Software on Windows4 minutes read
 Install Android on Your Computer, Run Android in Parallel with11 minutes read
 How to Simulate Android on a PC with 3 Most Popular Software7 minutes read
 Bluestacks 2318 Error, Here's How to Fix It5 minutes read
Reader Comments 0
Sign in with email or Google to join the discussion.