Install the Android SDK and create Screenshot in Ubuntu 9.10
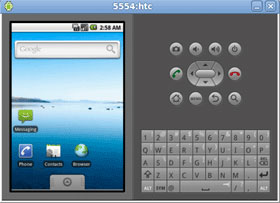 If you are an Android developer looking for something new with an Android phone, or just a blogger who wants to create screenshots for the recently purchased Nexus One phone, you just need to install Android. SDK in your computer. We know that there will be some problems downloading and installing the SDK just to create screenshots on the phone, but luckily this can be done easily. In this article we will show you how to install the Android SDK and create screenshots in Ubuntu 9.10 Karmic.
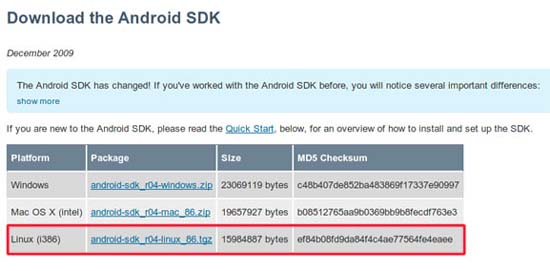
First, you need to access the Android website and download the SDK. Must choose Linux version.
Open the .bashrc file and add the file path to the end of the file. In the terminal, type the following command:
gedit ~ / .bashrc
Add the line below at the end of the file:
export PATH = $ {PATH}: < your_sdk_dir > / tools Replace with the real file path for the SDK directory. If you have extracted the file to your home directory, it will be in the form / home / your_username / android_sdk_linux_86 /.
Next you need to install Ecplise. For Ubuntu 9.10 users, the latest version of Eclipse (Eclipse Classic 3.5.1) is already included in the repository, so you can install it easily via the following command:
sudo apt-get install eclipse
When the installation is completed, open Eclipse ( Application -> Programming -> Eclipse )
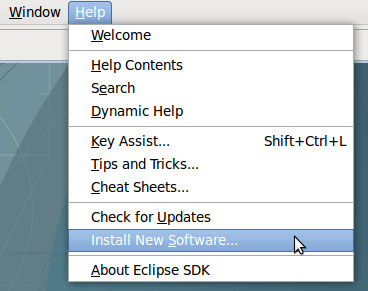
On menubar, click Help -> Install new software
In the Work with field, enter http://download.eclipse.org/releases/galileo and click Add .
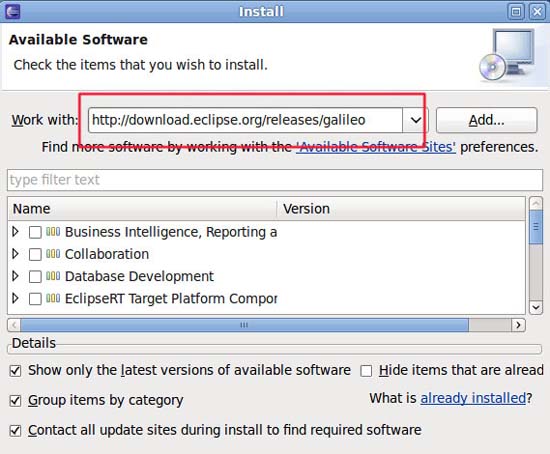
You will see that there are several parts currently available for installation. Ignore them.
Next, delete the entry in the Work With field and add https://dl-ssl.google.com/android/eclipse/ . Click Add .
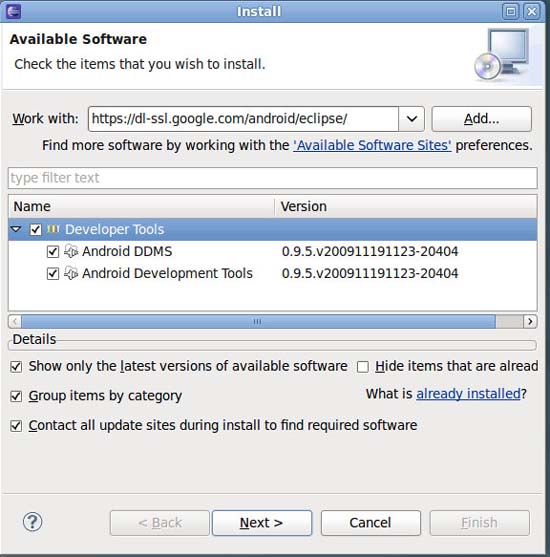
Check all the entries in the bottom panel and click Next to install.
When the installation is done, restart Eclipse.
Go to Windows -> Preferences . On the left, select the Android entry.
Enter the Android file path into the SDK location field. Click Apply and OK .
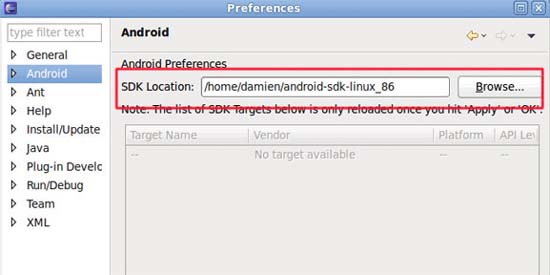
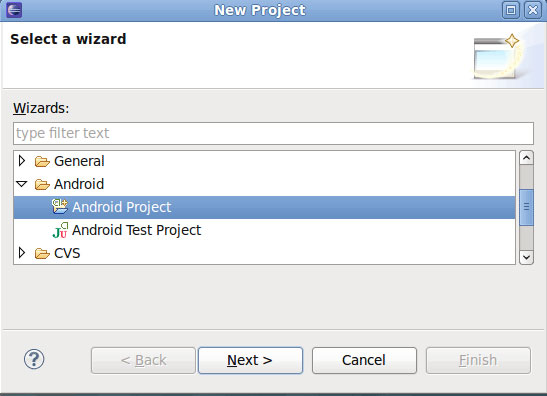
Work is just that. Now you have to install and set up the Android SDK in Ubuntu. To create a new Android project, go to File -> New -> Project and select the Android project in the Wizard window.
Create screenshots for Android phones
First, enable USB debugging mode in Settings -> Applications-> Development
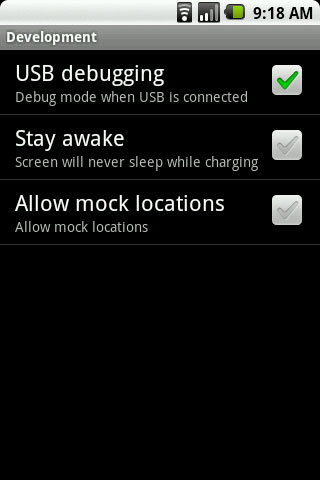
Connect your Android phone to the computer via a USB cable.
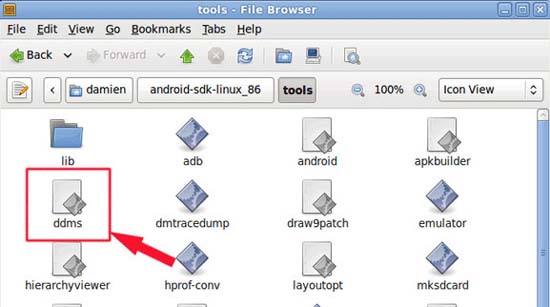
Close Eclipse, navigate to your Android SDK folder. Go to the Tools folder and open the ddms.bat file. When prompted, select RUN .
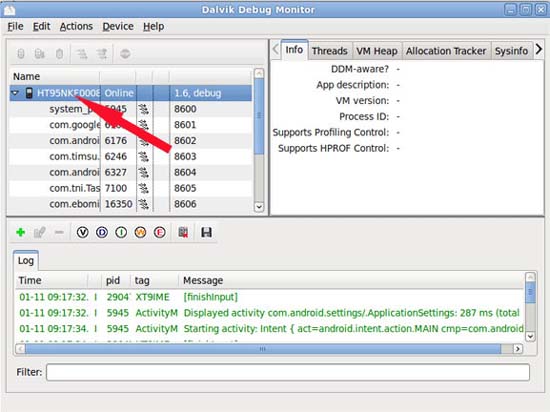
Choose your phone entry.
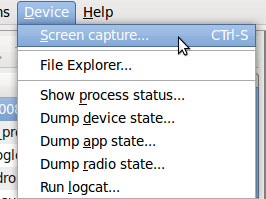
Go to Device -> Screen Capture .
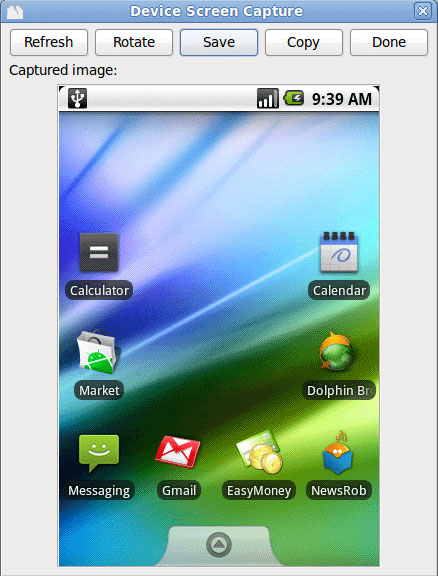
That's all you need to do to create a screenshot for your Android phone.