Instructions for deleting objects in photos on Microsoft Designer
The tool to remove objects in photos on Microsoft Designer helps you delete redundant details or details you no longer want to appear in the image..
The tool to remove objects in photos on Microsoft Designer helps you delete redundant details or details you no longer want to appear in the image. Users can choose to delete photos manually when self-selecting the area they want to delete or using Microsoft Designer's quick selection of objects to delete feature. Below are instructions for deleting objects in photos on Microsoft Designer
How to delete objects in photos on Microsoft Designer
Step 1:
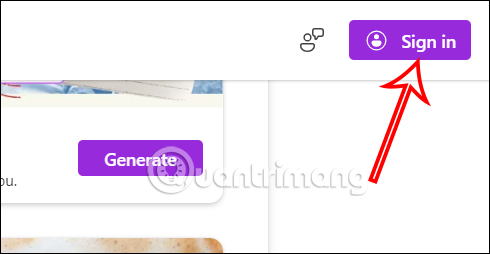
You access the link below to go to the Microsoft Designer homepage then click Sign in in the top right corner to log in to your Microsoft account.
Step 2:
Display photo editing tools on Microsoft Designer, click on the Generative Erase tool to use.

Next, the user uploads the image they want to delete to Microsoft Designer .

Step 3:
Shows the interface with the object removal tool on Microsoft Designer. You can quickly select an area with Quick select or manually localize the area you want to delete with Brush select .

If you choose Quick select , just hover over the object or detail you want to delete .

If you choose to delete manually , select the size of the zoning tool and then draw an area on the object you want to delete . After selecting the object you want to delete, double click on the selected area .

Step 4:
Now that the options above are displayed, click Erase object to delete the object.

As a result, the object has been removed from the image on Microsoft Designer as shown below. If you like it, click Look goods to save the photo and click Download to download it.
