How to remove objects in photos on Google Photos
Google Photos has an option to remove objects in photos using AI technology to remove objects you don't want to appear in photos.
Table of Contents
Google Photos has an option to remove objects in photos using AI technology to remove objects you don't want to appear in the photo. Users will be able to select the area they want to remove and then the AI removal tool in Google Photos will remove the object and replace it with another object that best suits. Below are instructions for removing objects in photos on Google Photos.
How to remove objects in photos on Google Photos
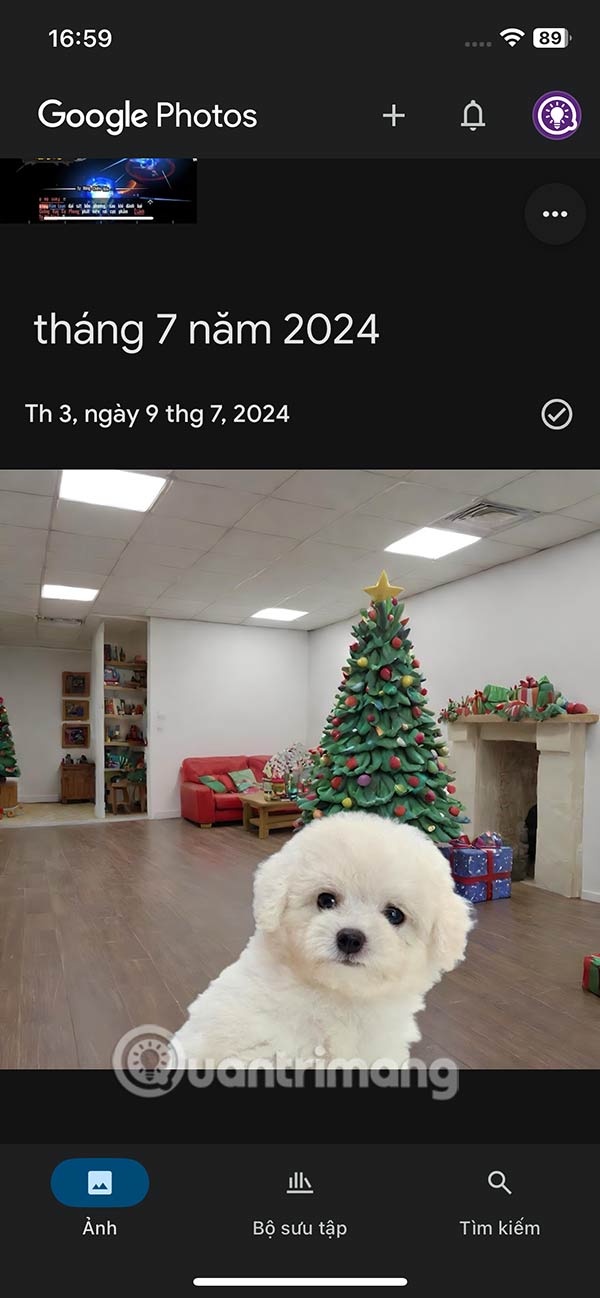
Step 1:
You open the Google Photos app then tap on the image you want to edit . In the photo interface, tap Edit to do it.
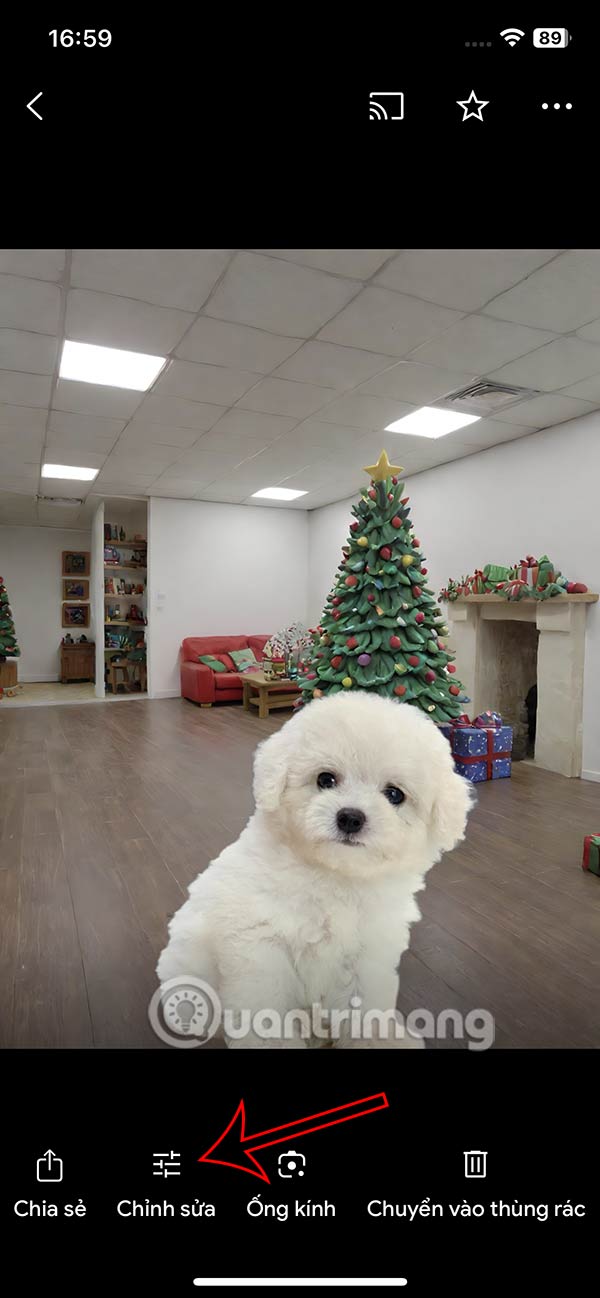
Step 2:
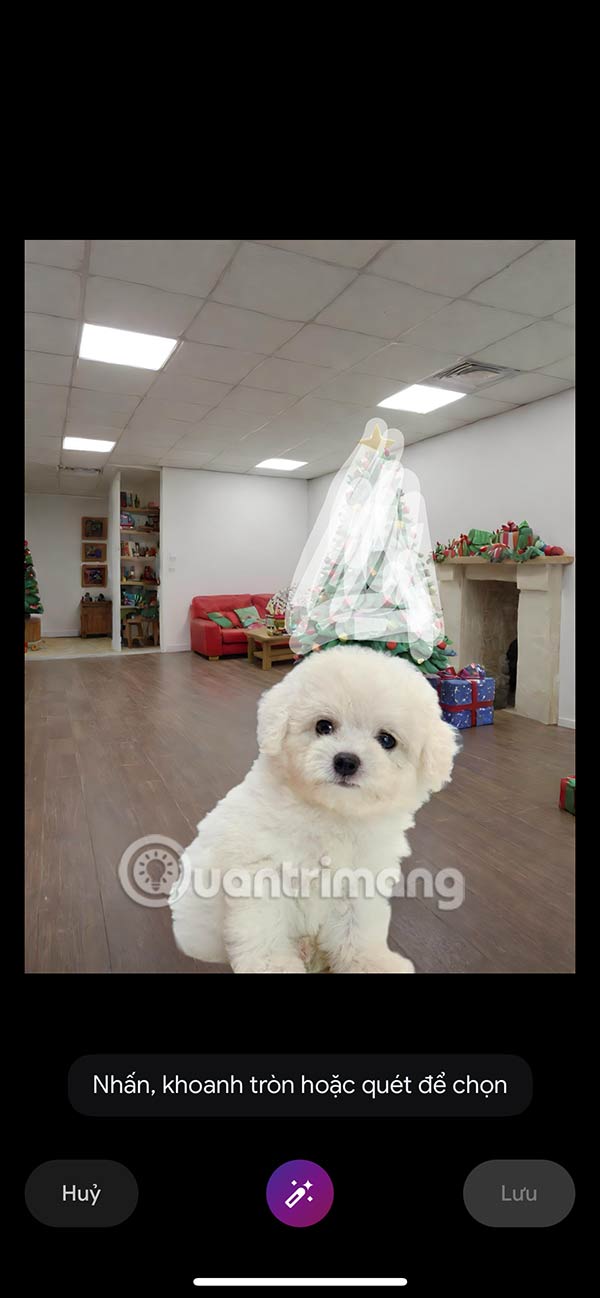
Next, click on the image icon in the bottom left corner. The object deletion interface will appear, and you will circle the area of the object you want to delete .
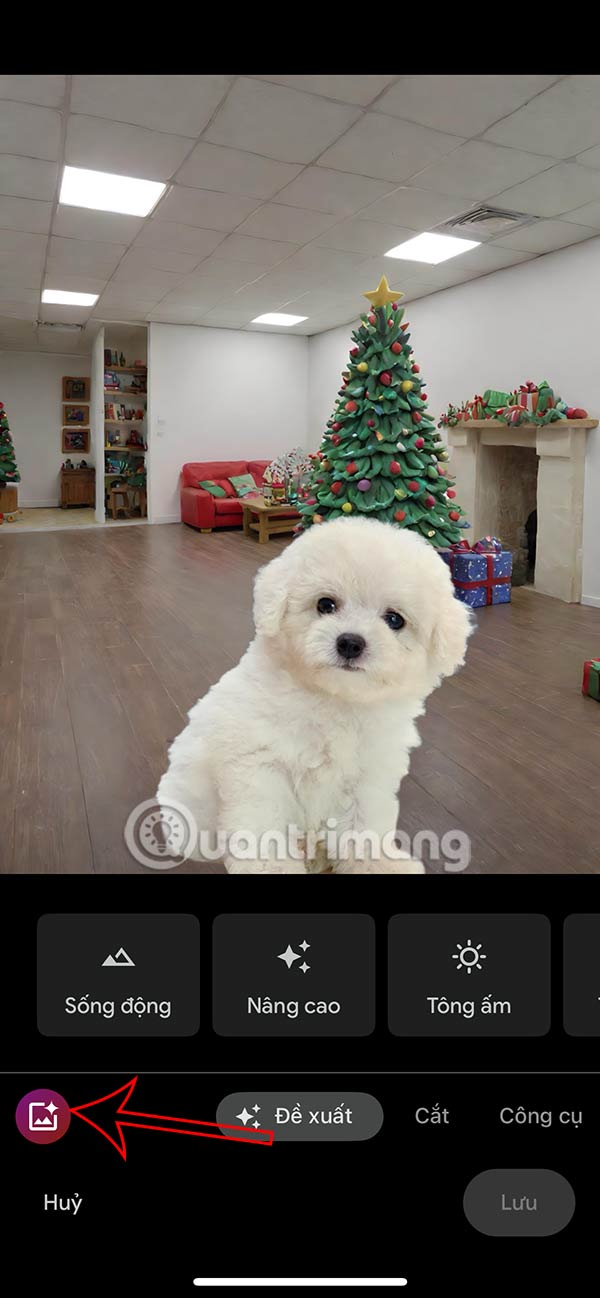
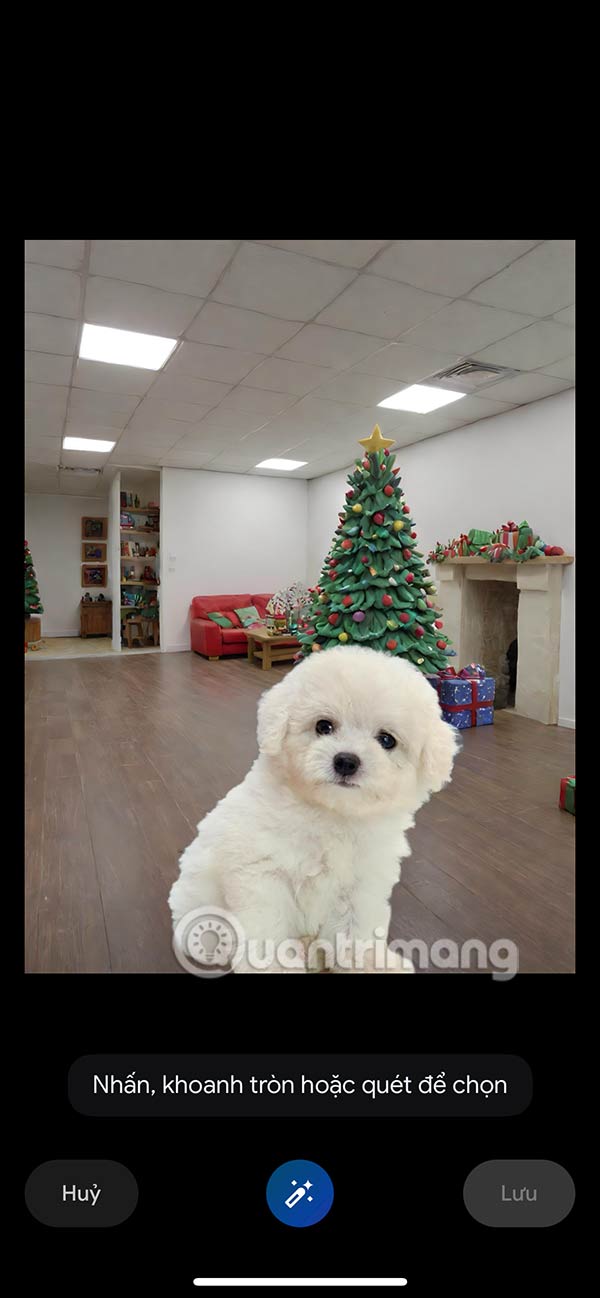
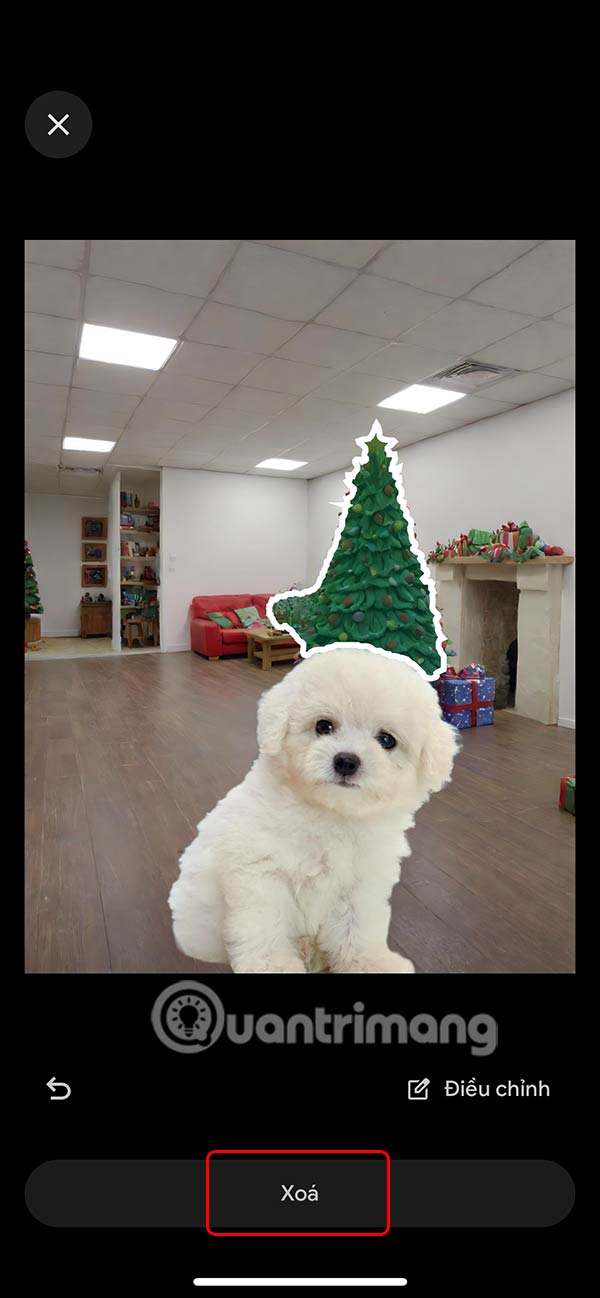
Step 3:
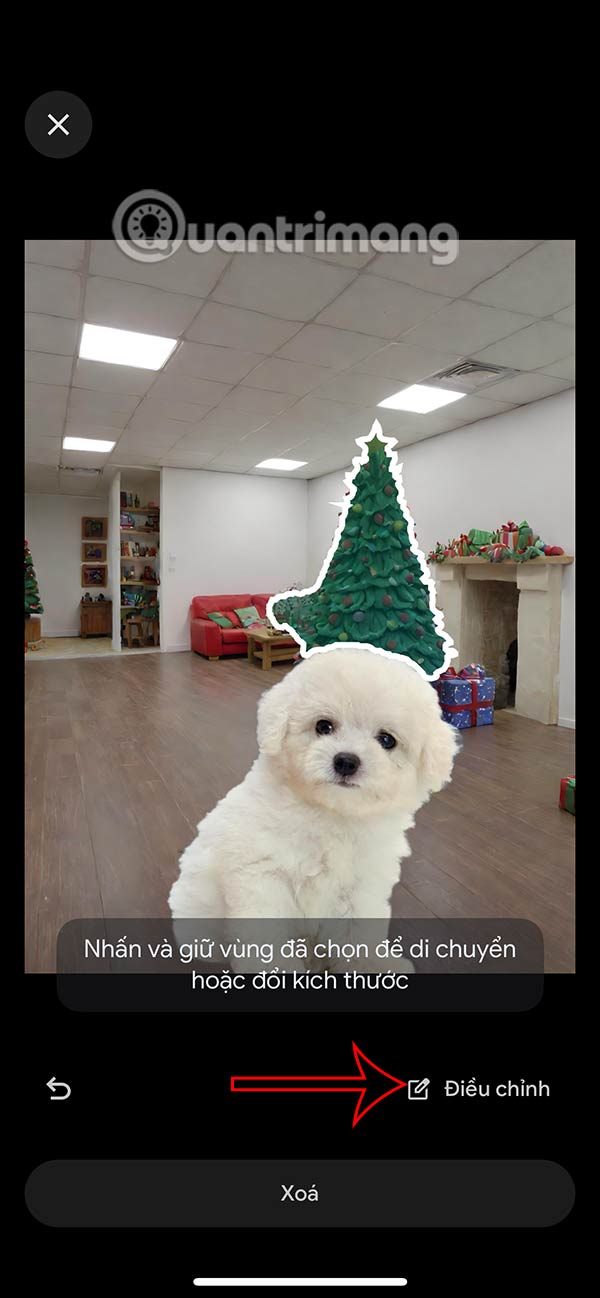
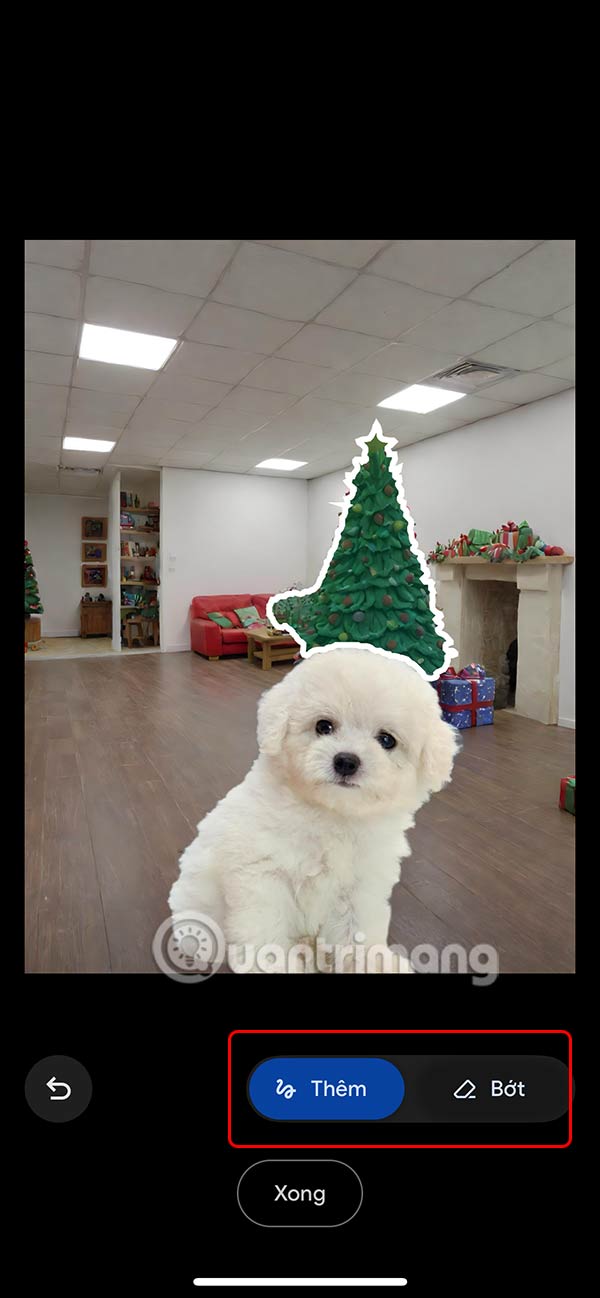
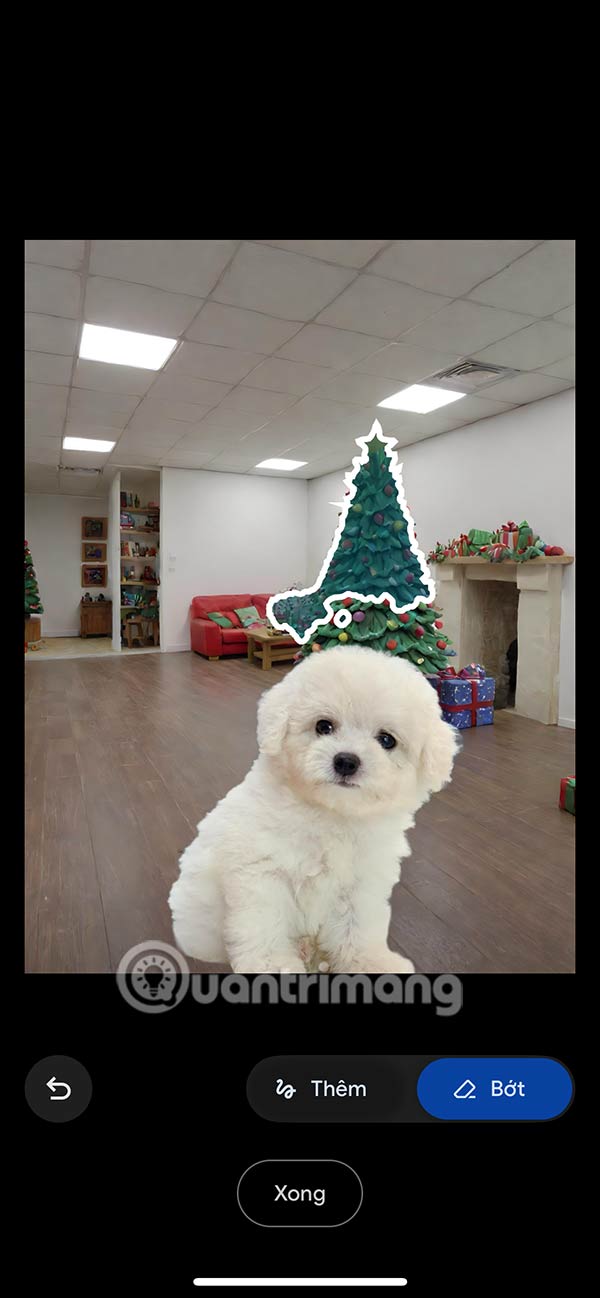
The result is the selected object in the image as shown. If the user wants to change it, click Adjust . Here, you can delete the circled area, or add the area to be deleted . If satisfied, click Done to save the selected area .
Step 4:
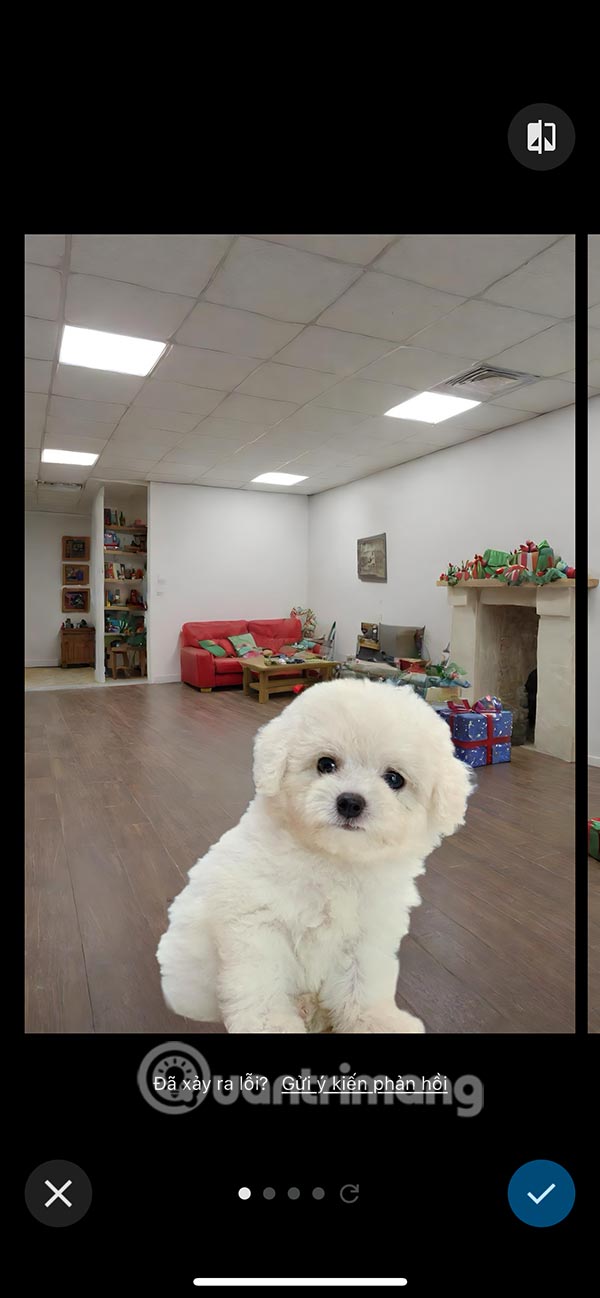
Tap Delete to delete the object in the photo on Google Photos. The result is that you will see the object removed and replaced with another object as shown in the picture, swipe right to see more edited photos.
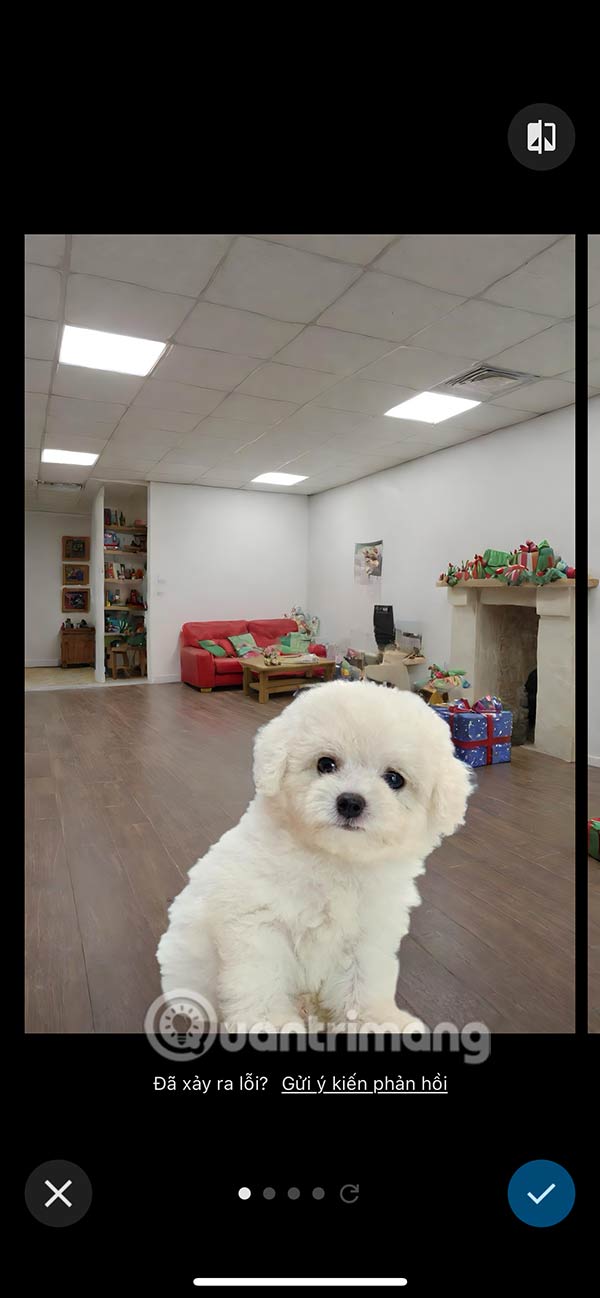
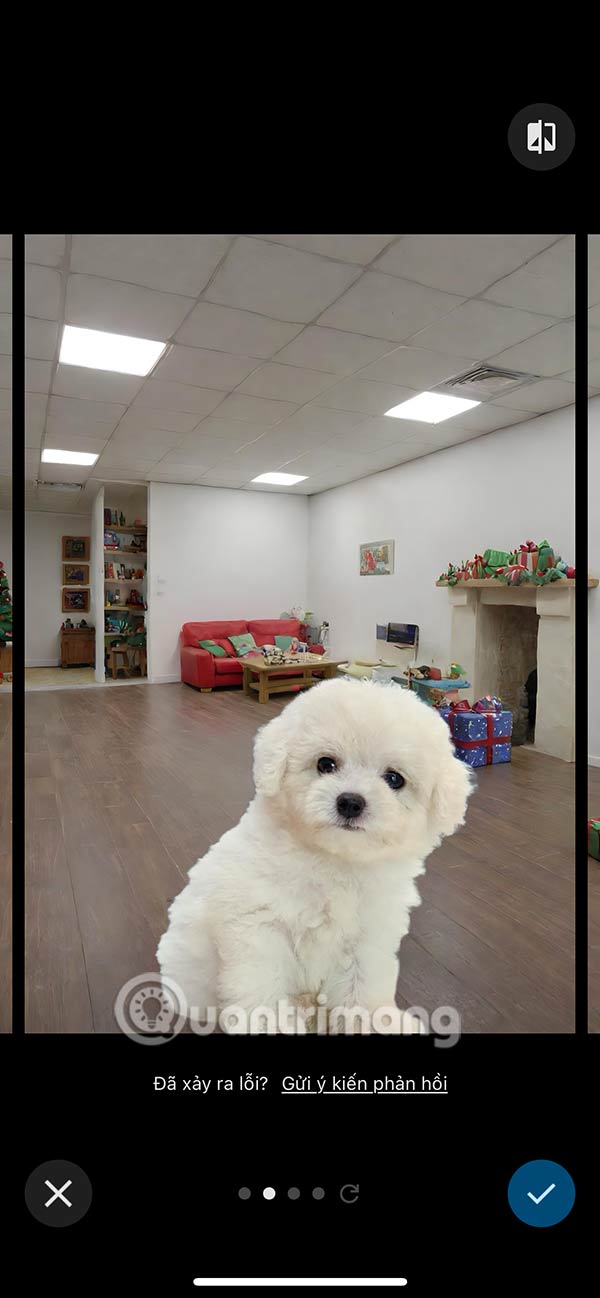
Google Photos provides many different groups of object removal photos for you to choose from. If you like it, press the check mark to save.

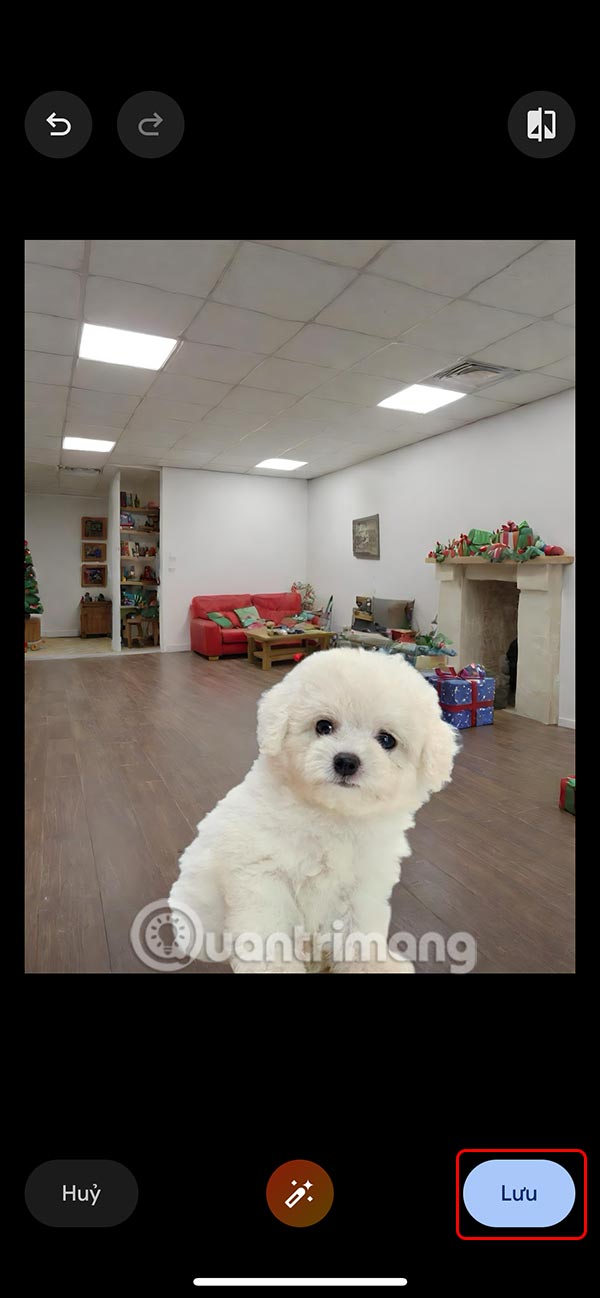
Finally, click Save to save the photo and choose whether to replace the old photo or not.

Was this article helpful?
Your feedback helps us improve.
Related Articles
 How to Remove Unwanted Objects from Photos Using Adobe Express's Remove Objects5 minutes read
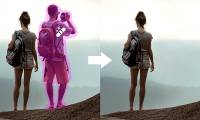
 How to remove subjects in photos on Google Photos2 minutes read
 Steps to delete selections in Photoshop are very easy and effective5 minutes read
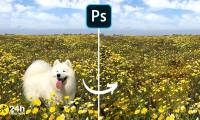
 Remove objects in photos with Photoshop's new AI-powered Remove Tool4 minutes read
 Instructions on removing objects from photos using ChatGPT2 minutes read
 How to delete the photo background without Photoshop using Remove.gb4 minutes read
Reader Comments 0
Sign in with email or Google to join the discussion.