Instructions for creating professional Gmail signatures
Gmail signatures are important and necessary content at the end of each email so that both parties can easily exchange information and communicate with each other more conveniently. Signature content Gmail is often inserted phone numbers, web pages, insert image signatures for Gmail, . or any content related.
To create a signature on Gmail you can use the signature generator available on Gmail or use additional external signature creation tools. Once created, the signature content is always automatically displayed at the end of the email message when sending an email. The following article will guide you how to create a signature on Gmail.
- Instructions on how to convert signatures in Gmail
- How to sign in to Gmail, sign in to multiple Gmail accounts at the same time
- Instructions for deleting, changing, adding phone numbers in Gmail
- 14 useful tools for Gmail should not be overlooked
1. Create Gmail signatures manually
Step 1 :
Users access Gmail account and then click the gear icon , select Install .

Step 2:
In the General setup group, drag the content down to the Signature section and select the use of signature section.

Step 3 :
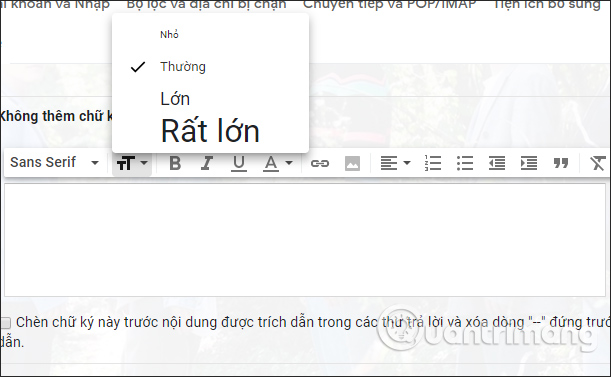
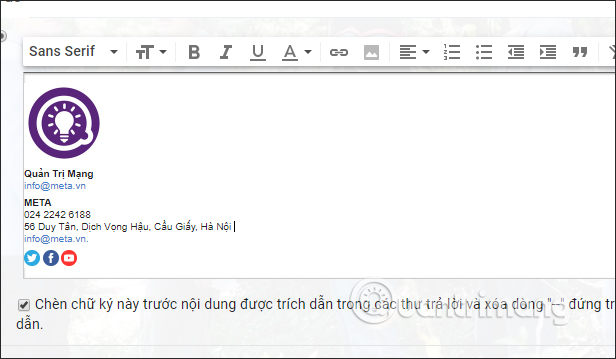
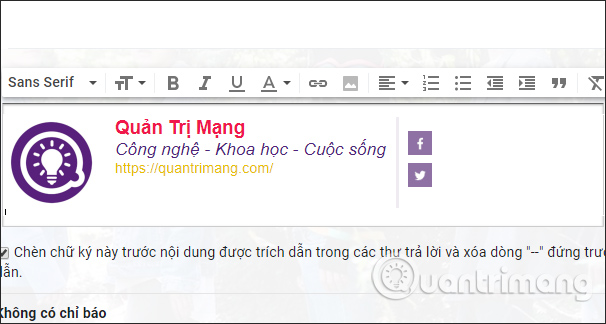
Next down to the white frame below the user has options to use signature design on Gmail. Each icon has different uses.
- Font: choose a different font style for the signature.
- Font size: small, normal, large and very large.
- Format: there are three basic formats used in bold (B), italic (I) and underline (U).
- Font color: change the character color in the signature.
- Links: used to insert links into signatures
- Insert image: used to add images to the signature.
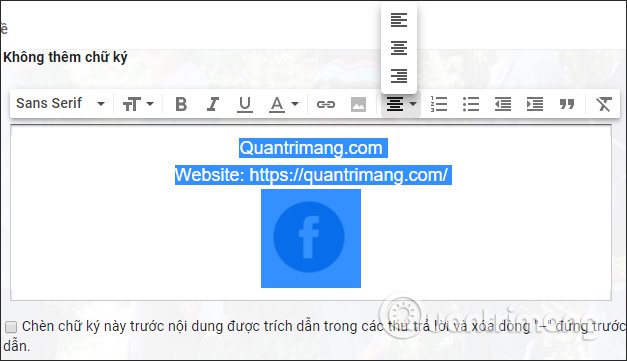
- Align the line to the left, center or right for the signature
- List: create bulleted or numbered lists in signatures.
- Increase and indent: adjust the margin for signature lines.
- Quote: create citation line for signature.
- Delete format: crossed T-shape to delete the format just set for the characters in the signature.
Step 3:
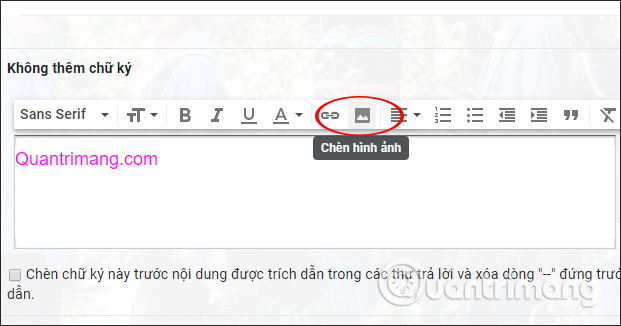
The user enters the content of the signature to display in the email content. Often signatures will include phone numbers, other contact email addresses, if available, website addresses, Facebook and Twitter if available. If you insert a website link to contact, you should insert the image and assign a link to compact the signature, and create a more professional aesthetic.
Click on the image icon to insert icon icons for contacts like Facebook, Gmail, .
Step 4:
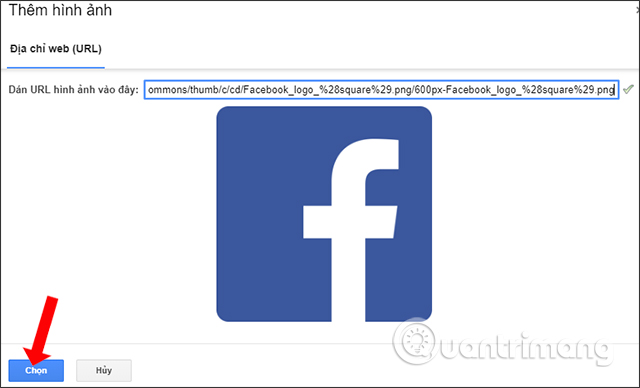
Show frame to insert image URL . Gmail automatically detects images via image URLs. Display the image via URL, press the Select button below.
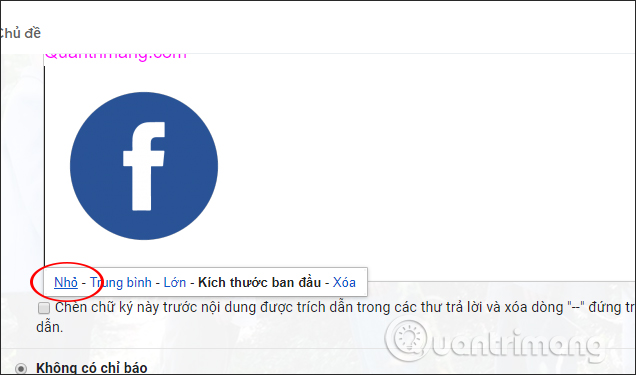
When the image is displayed in the interface of the signature section, we can resize it . If the image is large, you should move it down to a small size to fit the content frame.
Step 5:
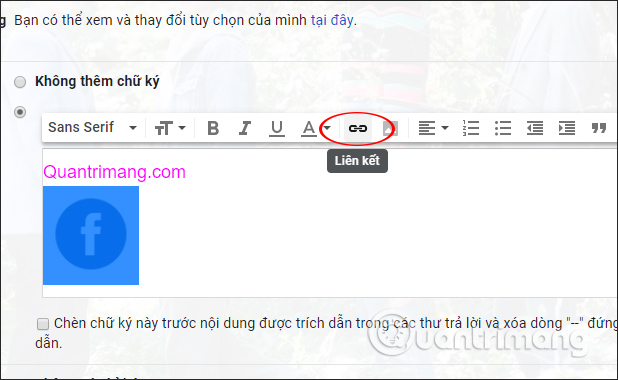
To insert a contact link into the image , we black out the image and then click on the link icon .
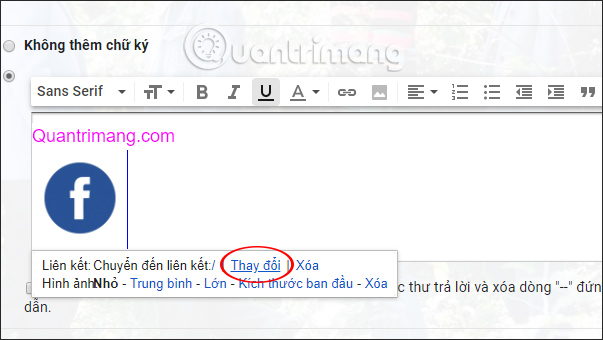
When the image is temporarily mounted the URL is /, click on Change to edit the link again.
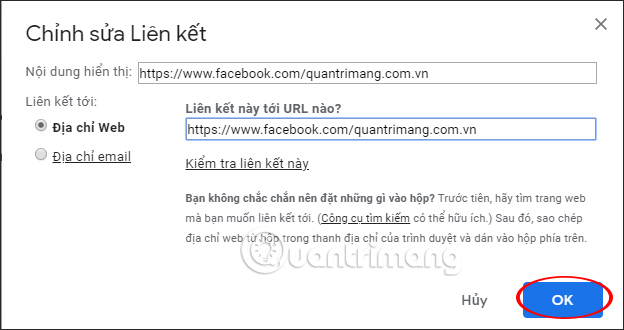
In the Edit link frame you enter the website URL so that when the email recipient clicks on the image, it will be immediately transferred to the website. If you use an email address assigned to an email icon, check the Email address. Click OK to save. We continue to do the same operations with the links that link to the other image.
Next, you can make further modifications to the signature content to create a more professional signature.
Step 6:
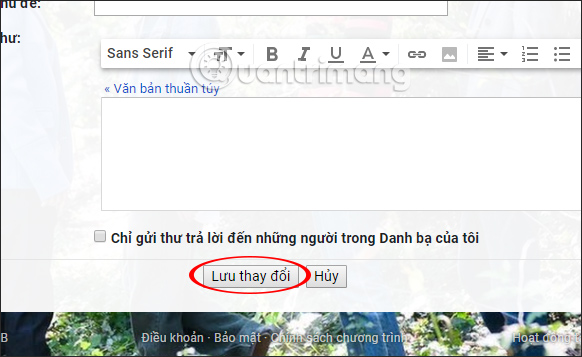
Finally, click on the Save changes button below to save the signature for Gmail.
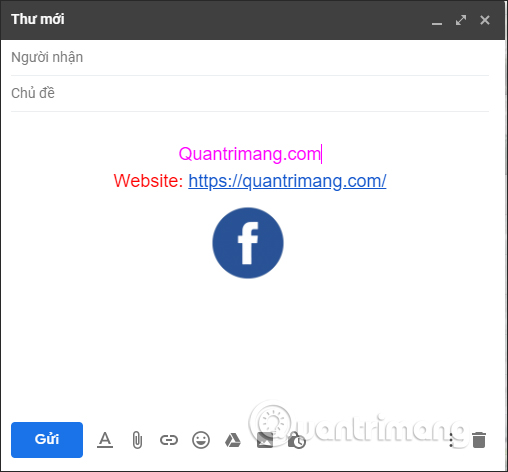
The results when you send an email always display the signature contents as shown below. Signature content can be deleted or edited right in the email being edited.
2. Create a Gmail signature on the support website
There are many different tools for creating Gmail signatures or different email services, providing more information options than manual Gmail signature generators.
1. Hubspot.com
- https://www.hubspot.com/email-signature-generator
Step 1:
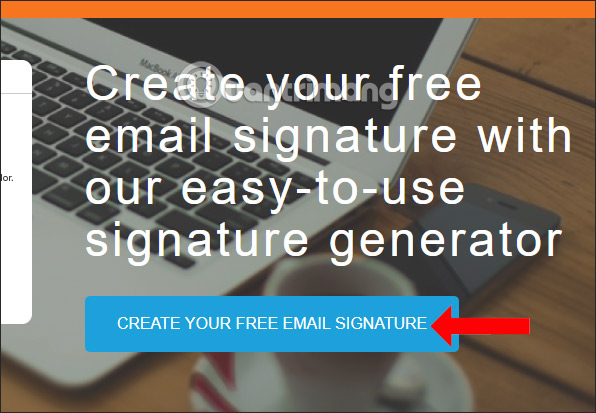
Users access the website above and then click the button Create your free email signature .
Step 2:
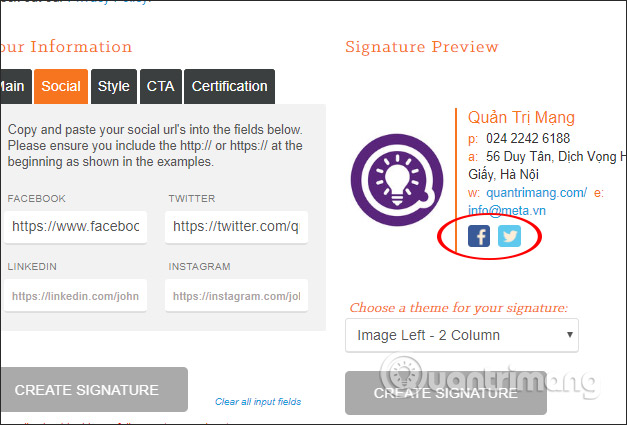
Go to Your Information section for users to fill in the information for the signature. The Main section is the basic information to contact and is displayed preview via the Signature Preview section on the right.
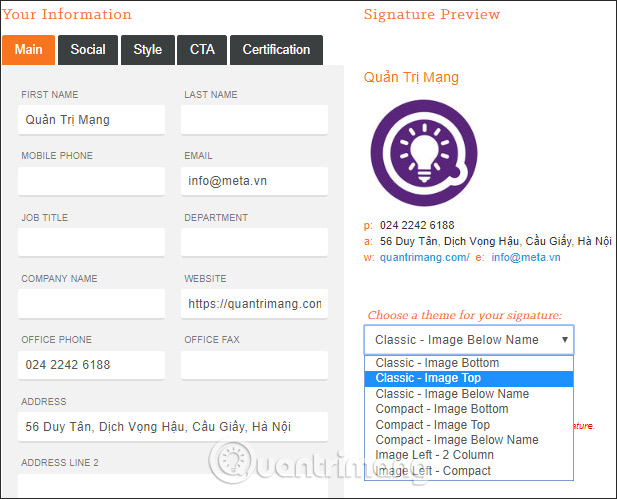
Click on the Social tab to insert links to social networking sites.
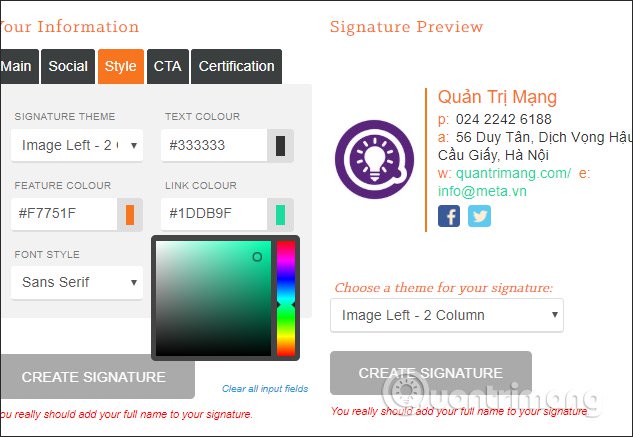
Style tags are used to format different signature types, if the Main card has images inserted, in the Signature theme section select the location to insert images in the signature. Next adjust the font, color, .
Step 3:
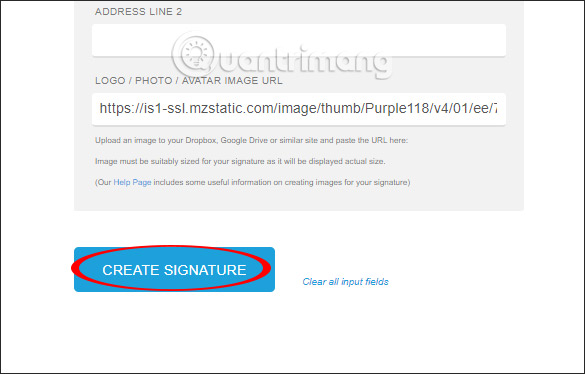
After editing, click Create signature button to create a signature.
Step 4:
To download the created signature, enter the content in Step 2 and click Step 3: Download your free Signature .
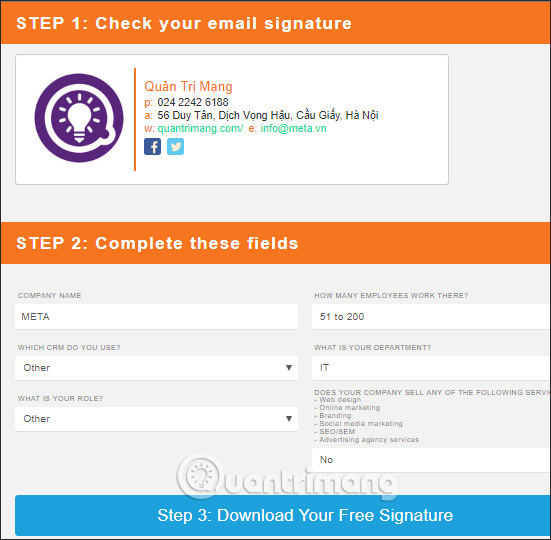
Then display the signature copy, click Select Signture to copy the signature directly or Get source code to copy the html code of the newly created signature.
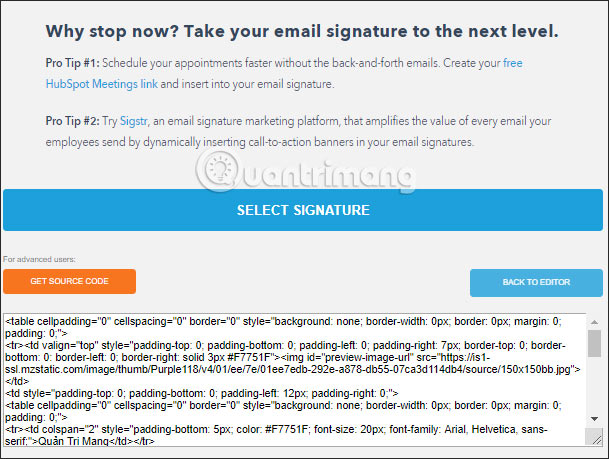
Step 5:
Once copied, we just need to paste it into the signature section on Gmail to use it.
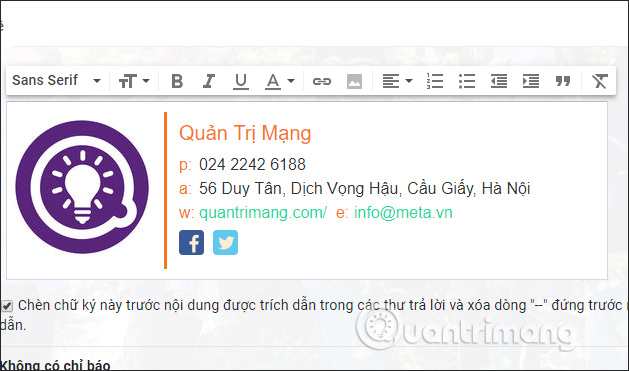
2. HTLMSig
- https://htmlsig.com/
Step 1:
At the main interface on the website we click on Or Try a Free Signature for free use without account registration. However, you should create an account for additional adjustments.

Step 2:
Also switch to Your information interface so that users can fill in all necessary contact information. The interface is similar to Hubspot above.
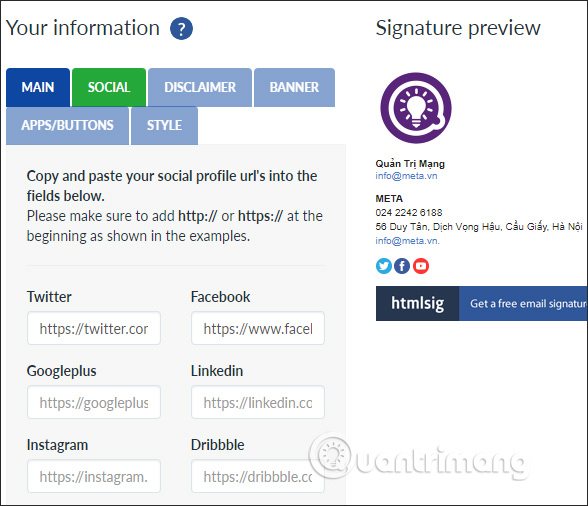
Step 3:
After creating, click Create Signature to start the signature creation.
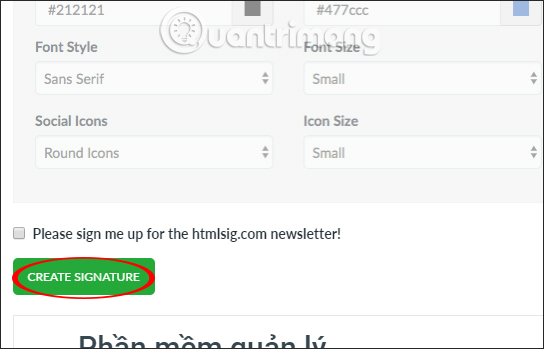
Finally insert the signature content into Gmail to use.
3. Newoldstamp
- https://newoldstamp.com/editor/
Step 1:
In the interface of the website we enter the information to create a signature.
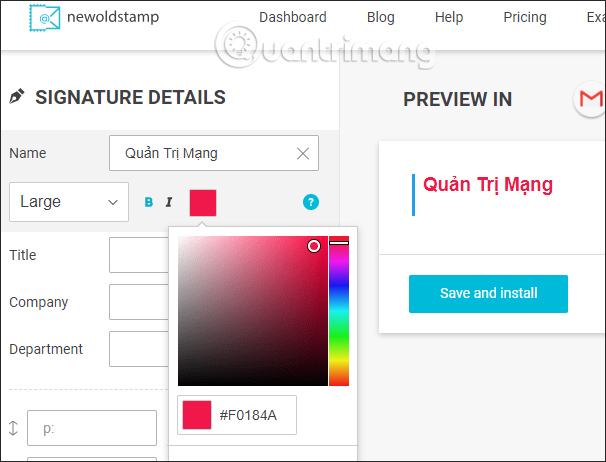
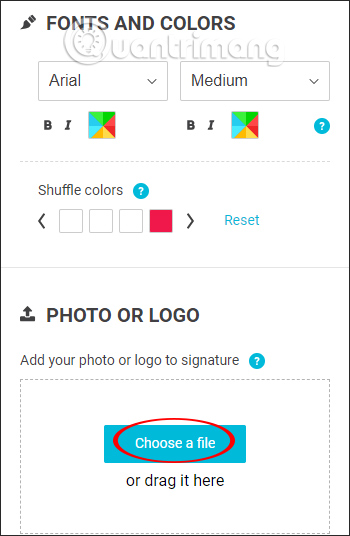
The Fonts and Colors section below we proceed to change the font in the signature section. Photo or logo , click Choose a file to upload the website image.
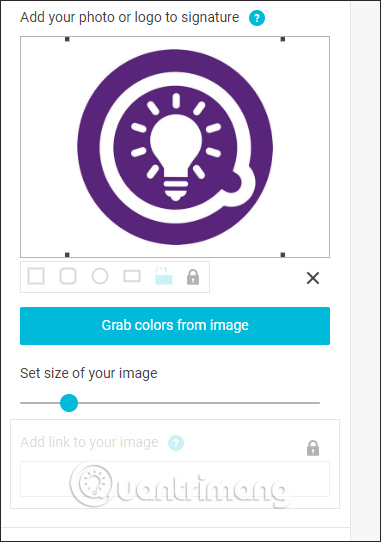
Users can resize the logo to match the signature frame. Some parts with a lock icon need to use a paid upgrade.
Step 2:
Social icons to insert information about how to contact social networking sites. If you have an account, users will have more icons when you click Show more.
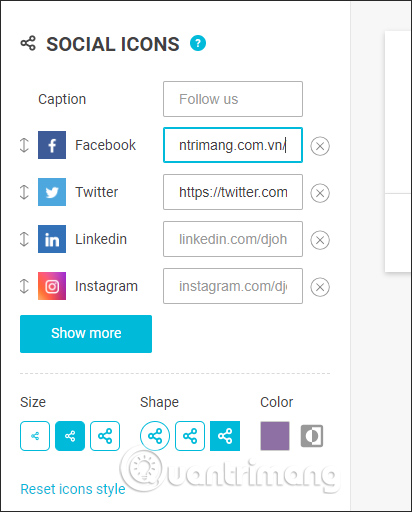
Step 4:
Look at the Templates column to select the display styles for the signature.
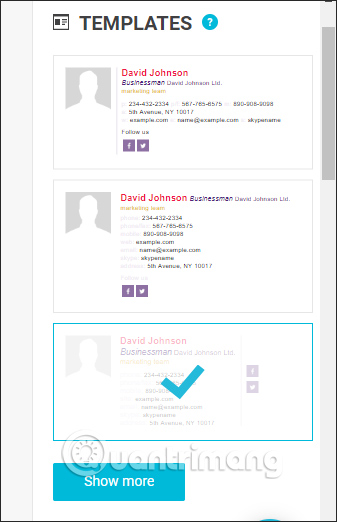
Step 3:
After editing, click the Save and install button in the Preview section above.
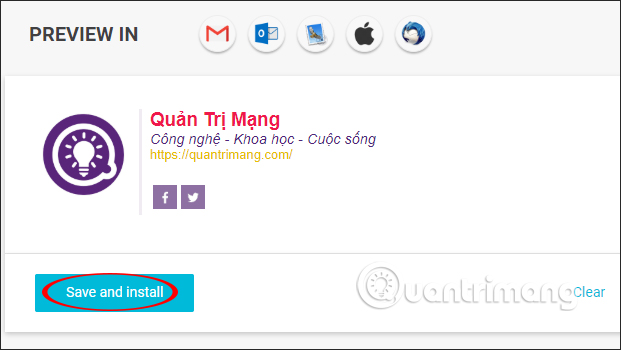
Newoldstamp will show the preview interface for signatures on the Gmail interface. If the user agrees, click Copy and proceed .
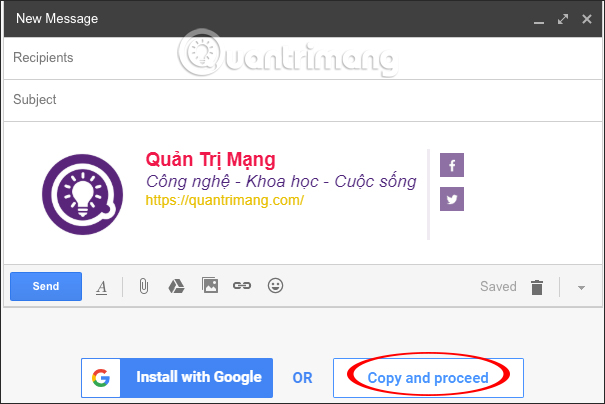
Results you paste into the signature settings section on Gmail to use.
These are the ways to create professional Gmail signatures, manually or using signature creation websites. If you need to add contact information in your signature, you should choose the website to create the online signature above.
I wish you all success!
You should read it
- ★ Create multiple signatures in Gmail with Canned Response (canned response)
- ★ A simple way to link your Facebook account to Gmail
- ★ How to use Mailbum to create a professional signature
- ★ How to Create a signature for Gmail and insert photos, links, Anchor Text into Gmail signatures
- ★ Create signatures that match the email content in Gmail