How to use Canva's Docs to Decks feature
Canva is no longer just a website to create your next greeting card or Instagram post. Canva's Visual Suites enable teams to collaborate and build projects together.
Included in Visual Suites are Docs and Presentations, features that allow you to set up documents and present information in slide form. But what if you could start on a document and turn it into a presentation?
Luckily for you, Canva has that capability - it's called Docs to Decks. Here's how this feature works.
What does Docs to Decks mean?

Docs to Decks is an easy-to-use feature on the free version of Canva that allows you to create a written document from the Docs feature and turn it into a Canva presentation. Just one click to do it.
Additionally, when you prepare to convert your document into presentation slides, it gives you many design options. This is great news for you because creating presentation slides takes a lot of time and having to make it look good takes up quite a bit of time that could be spent on another project.
How to use Docs to Decks in Canva
To start the Docs to Decks process, visit Canva's home page. Under the What Will You Design Today heading , click the Docs icon.
From there, select the Docs to Decks feature . Click Get Started and your document will open. You will need to remove the welcome message before starting.

It's important to note that Canva will look for titles to know where to start a new slide. This means you need to add appropriate titles through Canva Docs.
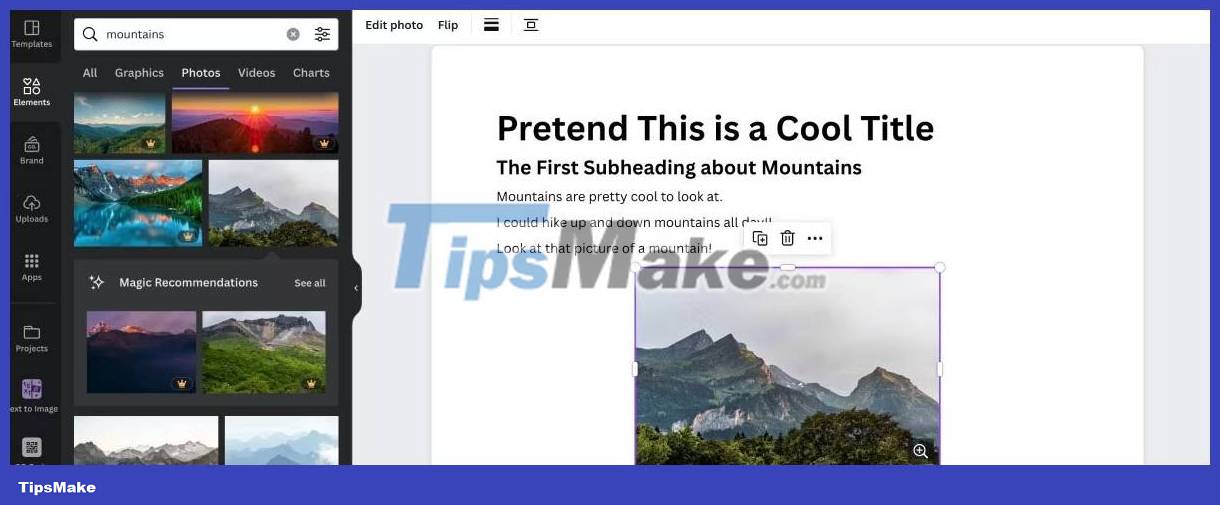
To do this, click the + icon on the document. Select H1 Heading for the main title of the entire presentation and enter your title. This will be slide one.
To add the next slide click on the + icon again. Select H2 Subheading and enter a subtitle for that slide.

Below your H2 subheading, click the + icon again and select the Body option . This will allow you to start writing content information for your first slide.
If you want to add graphics to your presentation, click the Elements tab on the left toolbar. From here, you can add images, tables, charts, etc. to your document. Plus, take advantage of these Canva features to make document design a breeze.

To add the next slide, add a new subheading. Continue until you have all the information you need for your presentation. If you need help writing a document, you can always try using Canva's AI Magic Write tool.

Once you're happy with your document, it's time to turn it into a Canva presentation. In the upper right corner of Canva Editor, click Convert .
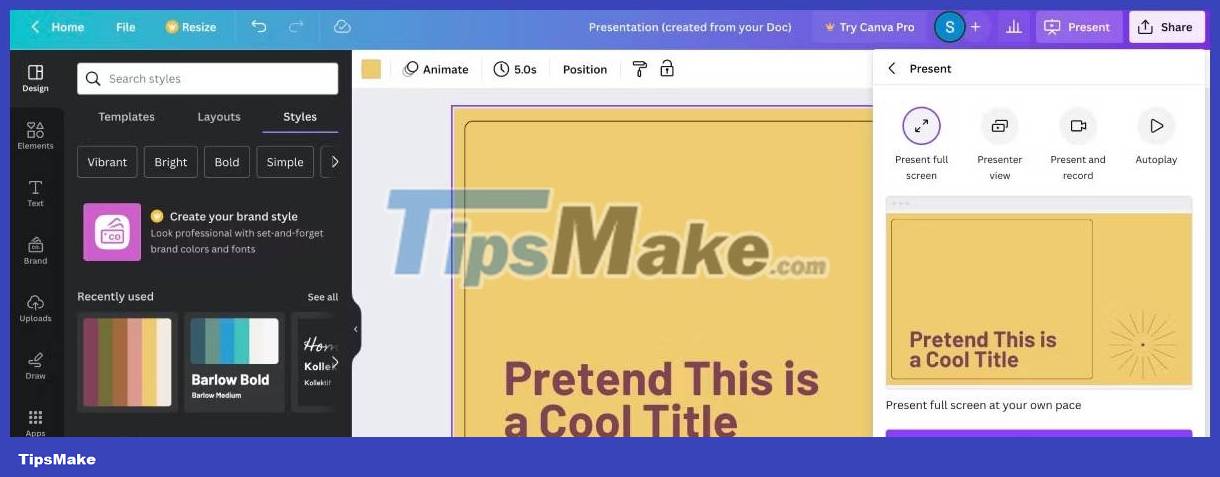
Click through the presentation's image options and scroll down to see what the slides will look like. Choose the one you like best, then click Create My Presentation .

From there, you'll be taken to the Presentation Canva Editor where you can make adjustments as needed. This is where you can change the color combination, font style, etc. When you're ready to present your slideshow, click Present in the upper right corner.

Docs to Decks is perfect for a company with teams collaborating on projects or for students who have to set up a presentation for their next report. With just a moment to gather information and a simple click, your document will turn into a display that makes it easy for others to follow your ideas.