How to Create Animated Images (GIF)
Create Simple Animations Using Online Tools
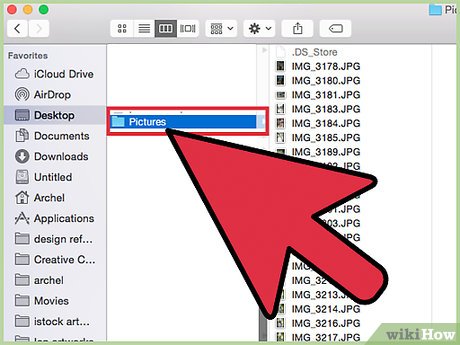
Select a series of photos or videos. Create a folder on your computer to contain images used to create animations. Each photo is a frame of the animation. Additionally, you can convert a short video into an animation.
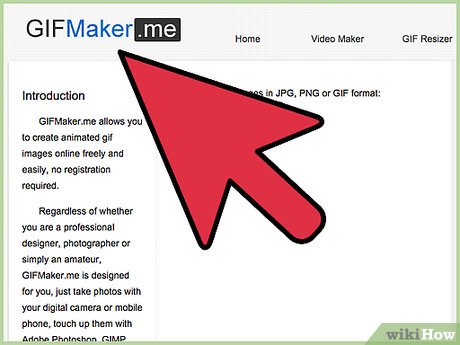
Visit the online GIF creation site. There are many online animation tools such as imgflip, makeagif, and gifmaker. They don't have as many functions as GIMP or other photo editing software, but you can use them quickly and easily without having to download or register.
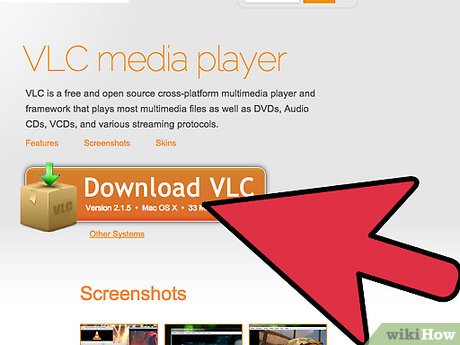
Crop a video (optional). If you create an animation from a video file, you should cut out a short segment instead of uploading the entire video. You can easily cut videos by downloading the completely free VLC software, then follow the instructions:
Start VLC, use the command File → Open File. to open the video file.
Determine the starting point of the video you want to turn into an animation.
Choose the Playback → Record command from the top menu.
Run the video until the end of the section you want to make "animation". Select the Record command to end the recording process. The new file with a smaller capacity will be saved in the same folder as the original file.

Upload a photo or video. Find the Upload Images function. If you need to convert a video, look for the Upload Video function.
Downloading videos can take a long time if your internet speed is slow or the file is large. It's better to download videos that are a few seconds long.
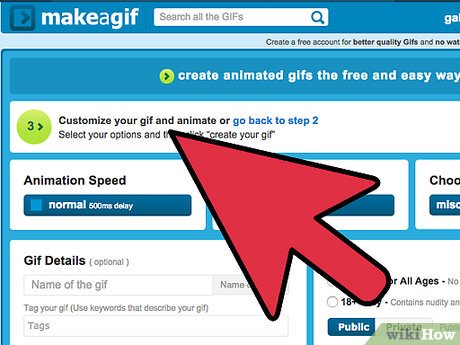
Edit animations. These online tools often allow you to change the order of images in your animation, in case you upload them in the wrong order. You can insert text, resize images, and set the speed of the animation.
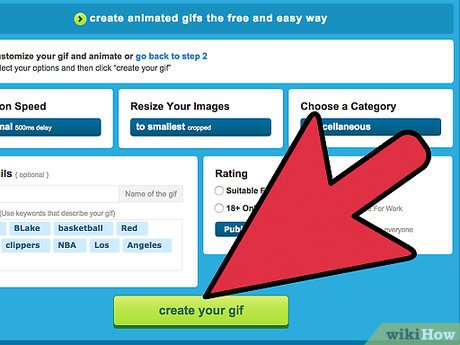
Create animations. Look for Generate GIF, create your gif, or Create Now. The photo or video will be converted into an animation. Typically, you'll see a number of options available, including posting the animation to the forum, uploading the image, or embedding it in HTML code.
Create Animations with GIMP software
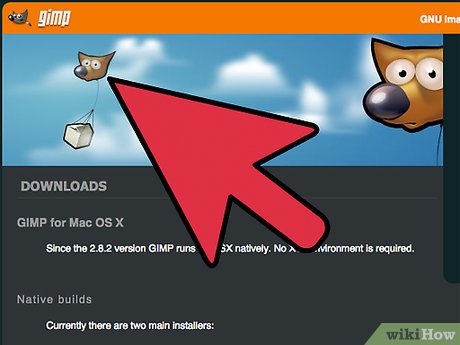
Download GIMP. GIMP stands for GNU Image Processing Software, an open source photo editing software. You can download it for free at gimp.org/downloads. With GIMP, you can edit each frame of your animation, change the speed, and save it in an optimized format to help it run smoother.
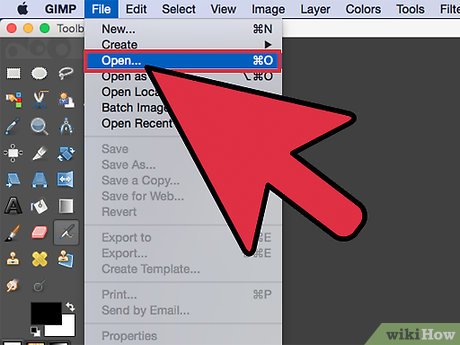
Open the image file you want to convert into an animation. Choose File → Open from the menu above and select an image available on your computer. If you want to create the animation yourself, choose File → New.
If you use an existing GIMP animation with multiple layers, use the Image → Flatten Image command to merge the layers into one. This layer will be one frame of the animation.
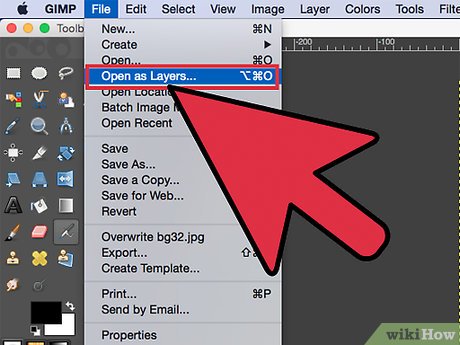
Add photos. If you have several images that you want to turn into animations (such as a series of screenshots), open them with the File → Open as Layers command. If you only have one photo but still want to animate it yourself, use the Duplicate Layers function in the "Layers" window on the left side of the screen. You can right-click on the photo icon and select Duplicate Layer, or click on the icon of two photos stacked on top of each other.
Each layer will form an animation frame. The image in the bottom layer will appear first, then the images in the upper layers will appear in turn. You can change the order of images by drag and drop.
The images must be the same size, otherwise the wider image will be cropped when saving the animation.
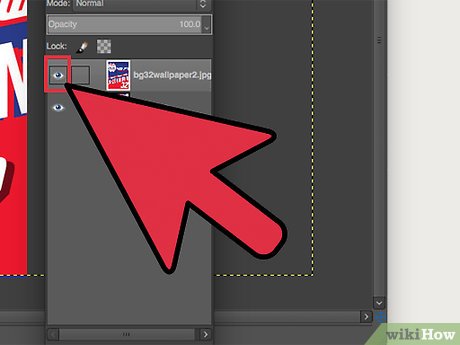
Hide the upper layers to edit the lower layer (optional). If you intend to edit photos or add text, you need to hide the image layers above the image to be edited, otherwise you will not be able to see the editing. There are two ways to do this on the "Layers" window:
Click on the "eye" icon next to each photo to hide that photo layer. Click it again when you want to display the image.
Or select an image layer and adjust the Opacity at the top of the Layers window. Low opacity makes the image transparent. This is quite useful when you want to insert text or edit on multiple frames, you can completely stack them together.
Edit frames (optional). You can learn more about GIMP's other editing functions if you want, or just use basic techniques. Select the photo you want to edit from the icon in the "Layers" window on the right side of the screen and then follow these steps:
On the "Toolbar" window on the left, select the "Scale Tool" (small square icon with an arrow pointing to a larger square) to resize the image. Image sizes in all layers must be equal.
In the Toolbar window, select the "A" icon then click on the image to insert text. Type the text and use the toolbar that appears to adjust the size, font, and color. Once completed, use the Layer → Merge Down command to combine the text frame and the image layer below.
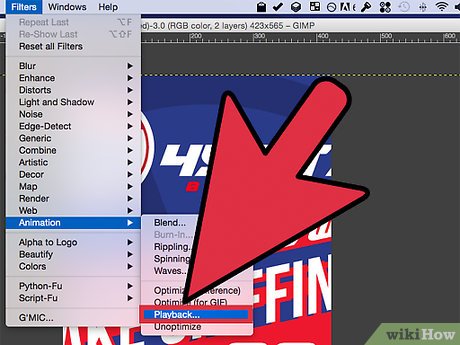
Review the animation. After editing, choose Filters → Animation → Playback. from the top menu. Click on the run icon in the window to see the animation.
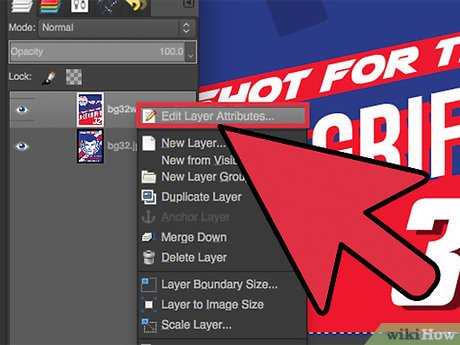
Adjust the time. Go to the "Layers" window, right-click (or press Ctrl and then click on some Mac computers) on the image layer. Select the Edit Layer Attributes command. After the name, type (XXXXms) , replacing the Xs part with the number of milliseconds you want the image layer to appear. Do the same with the remaining image layers. Open the Playback section to see the animation after editing, continue to adjust until satisfied.
Most animations created from video typically run 10 frames per second (100ms per frame).
You can skip this step and choose the default speed when exporting the file.
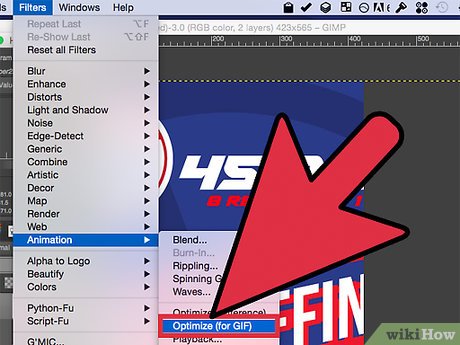
Optimized animations to run smoother. Choose Filter → Animation → Optimize (for GIF). This will create a much smaller copy. Continue performing the above step with copies in the remaining steps.
Before optimization, each frame was fully loaded ("replaced"). After optimization, only the editing area is loaded ("combined").
You can skip this step and optimize the file export process.
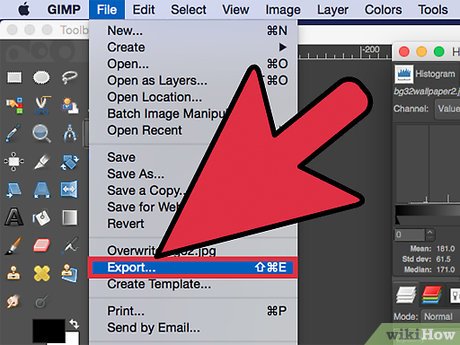
Export files in Animation format. Choose the File → Export As. command. Click Select File Type at the bottom of the window to see more options, scroll down and select "GIF". Select Export, a new window will appear, explained in more detail in the step below.
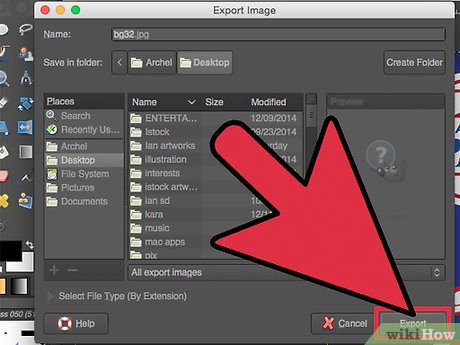
Set options and complete file export. In the new window, under "Export Image as GIF", check the box next to "As animation". Finish by clicking Export, or change the previous option:
Uncheck "Loop forever" if you only want the animation to run once.
If you skipped the time adjustment step, set it up in this step. By default, it is set at 100 milliseconds, or 10 frames per second. Decrease the time if you want the animation to run quickly, or increase the time if you want it to run slowly.
If you skipped the animation optimization step, look for the "Frame disposal" option during export and select "Cumulative layers (combine)".
You should read it
- How to create GIF animations in Photoshop
- Instructions on how to create 3D effects and objects in Photoshop
- How to create animations with Instagiffer on computer
- Instructions for creating animated GIF images in Adobe Photoshop
- How to create GIF Online
- Instructions on how to create animations online with the Gickr website
 How to Change Image Format
 How to Swap Faces in Photoshop
 How to Use Computer Support to Delete Multiple Instagram Photos
 10 best AI tools to create art from a photo
 Photoshop beta 25.0 supports creating AI images in Vietnamese
 Microsoft Paint is supplemented with an extremely simple background removal feature