How to Upgrade an Overclocked Pentium G3258 Processor to Windows 10
If you've overclocked your Pentium G3258, you may have ran into problems when you tried to upgrade to Windows 10. Start with step one, below, to learn how to upgrade an overclocked system to Windows 10. Before installing Windows 10, go to...
Table of Contents
Method 1 of 2:
Removing Previous Overclocking and Upgrading
-
 Before installing Windows 10, go to your UEFI/BIOS. Make your way to the overclocking section (varies for each motherboard manufacturer). Once here, remove all previous overclocking and return to the original stock speed. In this instance it's 3.2Ghz.
 -
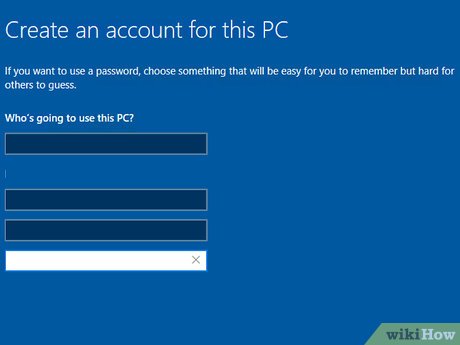 Install and boot your Windows 10. This should work fine, but one massive issue still reigns. Due to an ill-informed update by Microsoft, you will be unable to overclock your Pentium G3258 again, unless you complete this method first.
 -
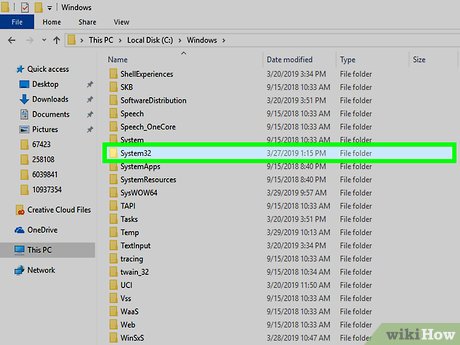 Navigate to C:WindowsSystem32.
 -
 Locate the file named 'mcupdate_GenuineIntel.dll'.
- When you try deleting this file, access will be denied. To bypass these little hiccup, gain permission to have access to this file with the steps in How to Delete Files That Cannot Be Deleted or How to Delete a File or Folder Showing Error "Access Is Denied". Once you have deleted/renamed this file, you are set to go.
-
 Head over to the UEFI/BIOS once again. Reverse any changes you had previously made
 -
 Once you've finished all your changes, Windows 10 should boot without any issues.
Method 2 of 2:
Disabling One Core on the Pentium G3258
If the Removing Previous Overclocking and Upgrading Method didn't work and you continued experiencing issues when booting Windows, there's another method you can try.
-
 Before installing Windows 10, go to your UEFI/BIOS. Make your way to the overclocking section (varies for each motherboard manufacturer). Once there, you will need to (as ludicrous as it may sound) disable one of the two cores. Follow UEFI/BIOs instructions to do so.
 -
 Install and boot your Windows 10. This should work fine, but one massive issue still reigns. Due to an ill-informed update by Microsoft, you will be unable to overclock your Pentium G3258 again, unless you complete this method first.
 -
 Navigate to C:WindowsSystem32.
 -
 Locate the file named 'mcupdate_GenuineIntel.dll'.
- When you try deleting this file, access will be denied. To bypass these little hiccup, gain permission to have access to this file with the steps in How to Delete Files That Cannot Be Deleted or How to Delete a File or Folder Showing Error "Access Is Denied". Once you have deleted/renamed this file, you are set to go.
-
 Head over to the UEFI/BIOS once again. Reverse any changes you had previously made
 -
 Once you've finished all your changes, Windows 10 should boot without any issues.
Was this article helpful?
Your feedback helps us improve.
Related Articles
 Pentium 4 CPU upgraded to Windows 112 minutes read
 Laptop playing 3D games with processor overclocked to 4.8GHz2 minutes read
 3 ways to check if your CPU or GPU is overclocked7 minutes read
 Asus out thin, light X401, priced at only 6.75 million VND2 minutes read
 Inside Pentium M architecture23 minutes read
 Chip 'Intel 300' is coming, Pentium, Celeron brands become a thing of the past?3 minutes read
Reader Comments 0
Sign in with email or Google to join the discussion.