Facing in Photoshop is a pretty useful skill for you to edit photos of you or your friends with different scenes or bodies. This skill is extremely useful for those who make card photos when faced with different costumes to make beautiful and standard card photos.
Please read along the instructions in the article below.
Step 1: You open the image to take the front graft sample in Photoshop. Next, select the Lasso Tool to draw a selection.
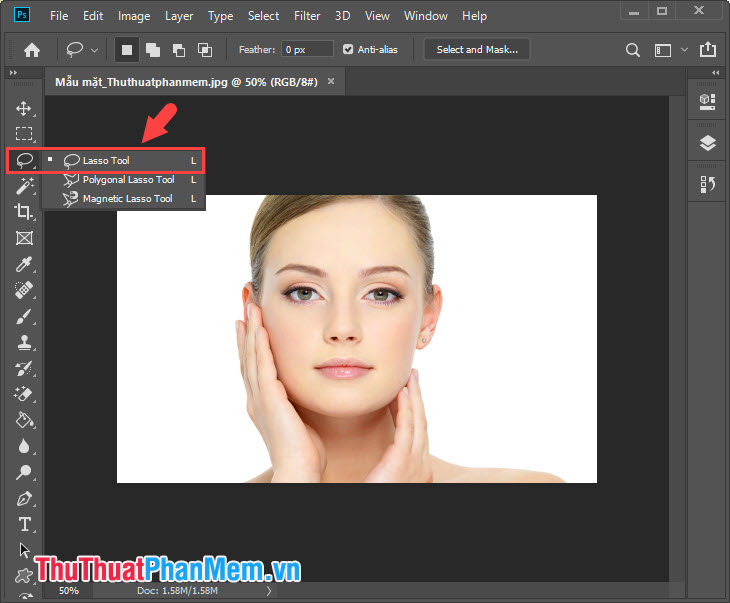
And you localize the selected face and press Ctrl + C to copy that face.

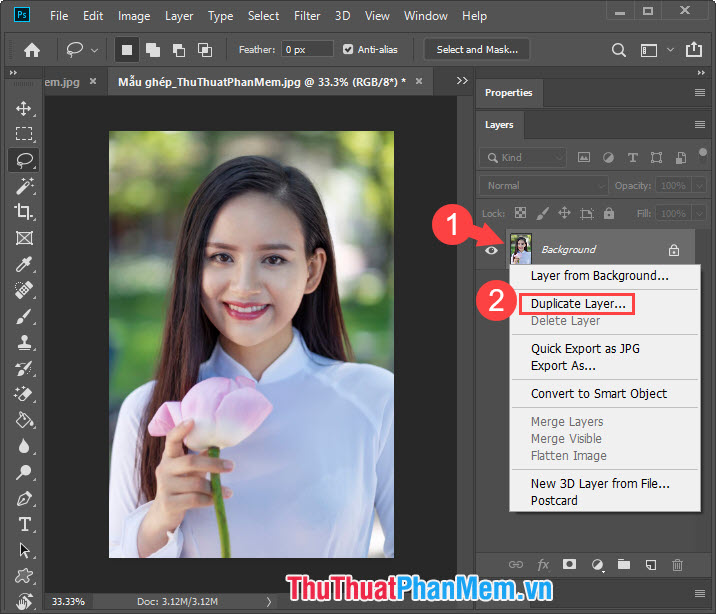
Step 2: Open the image that needs to be joined and create a new layer for that image by right-clicking on the original layer => selecting Duplicate Layer .
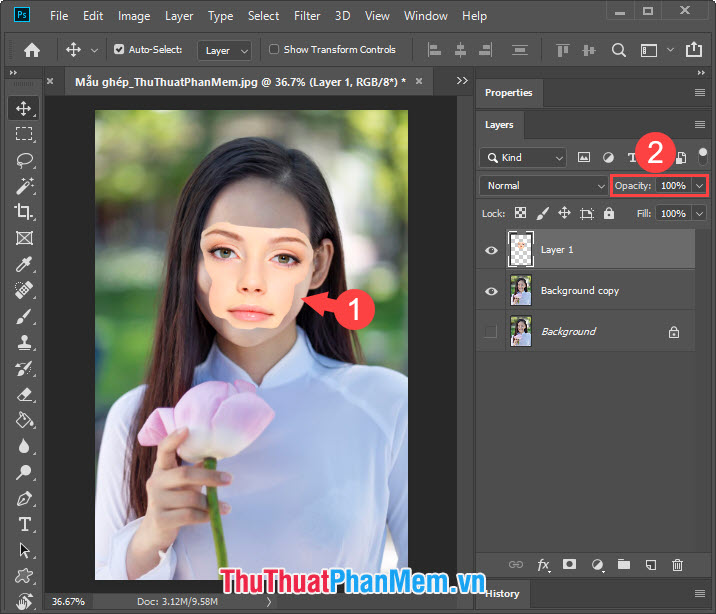
Step 3: You press Ctrl + V to paste the face area from the previous sample image. Then turn off the original layer by clicking the eye icon (1) . Next, click on the face layer (1) and reduce the Opacity to 50 - 60% (1) for easy editing.
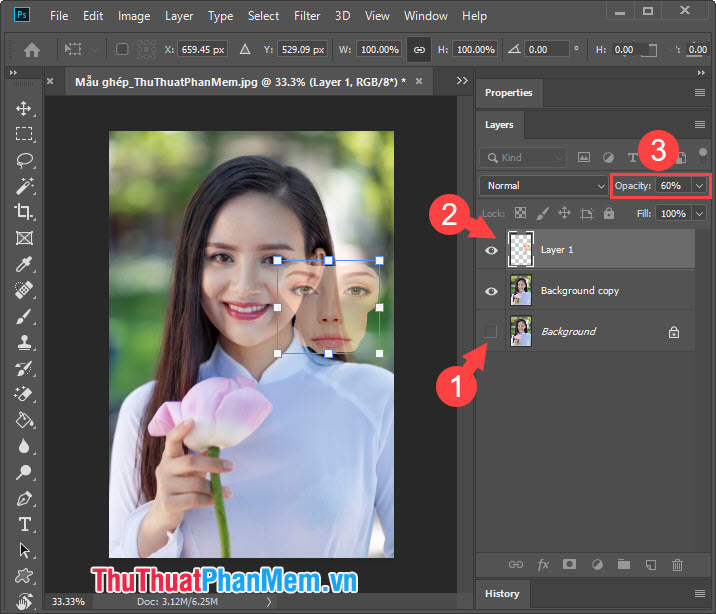
Then move the face area (1) to the appropriate position and increase the Opacity to 100% (2) .
Step 4: Press Ctrl + left click on Layer 1 to make a selection. After you have a selection, go to menu Select => Modify => Contract . to reduce the selection of the image, helping the software to select the image area more accurately.
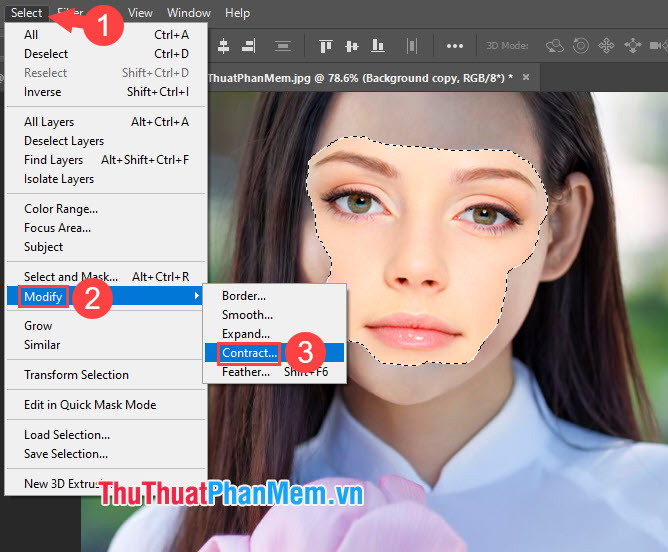
Next, choose the number of pixels matching the image. If the small image has a resolution of less than 1000 pixels, you should set the pixel level from 4-6 to higher resolution images, you can raise the pixel level to 20-30. Then click OK to apply.

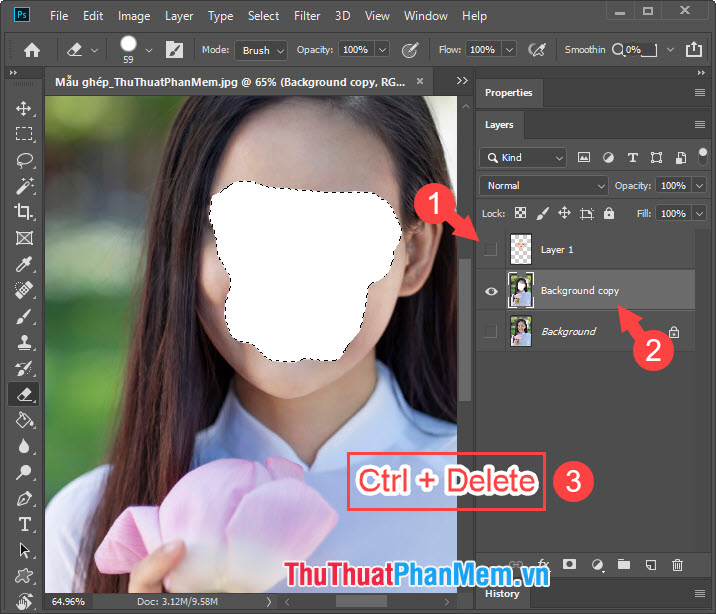
Step 5: After shrinking the selection, turn off Layer 1 (1) and click Layer copy (2) . Next, press Ctrl + Delete (3) to delete the face in the copy layer.
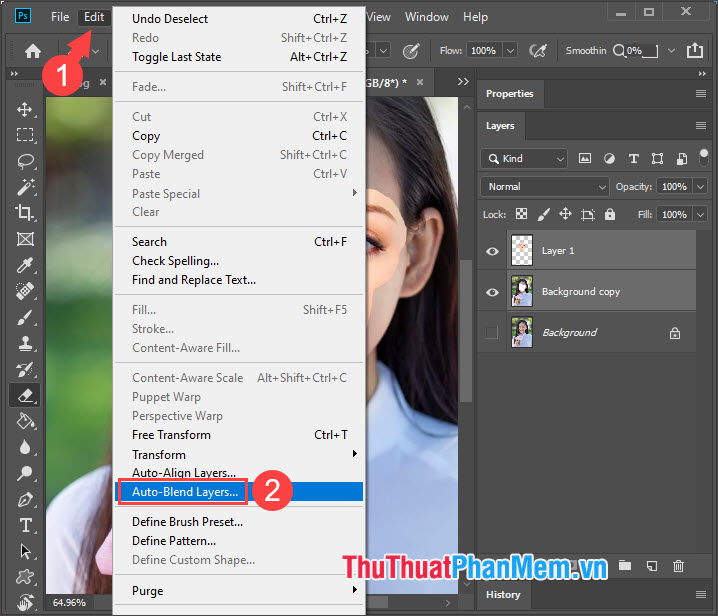
Step 6: First press Ctrl + D to delete the selection. Next, turn on Layer 1 (1) and press Ctrl + left click on Layer Copy and Layer 1 (2) to select those two layers.
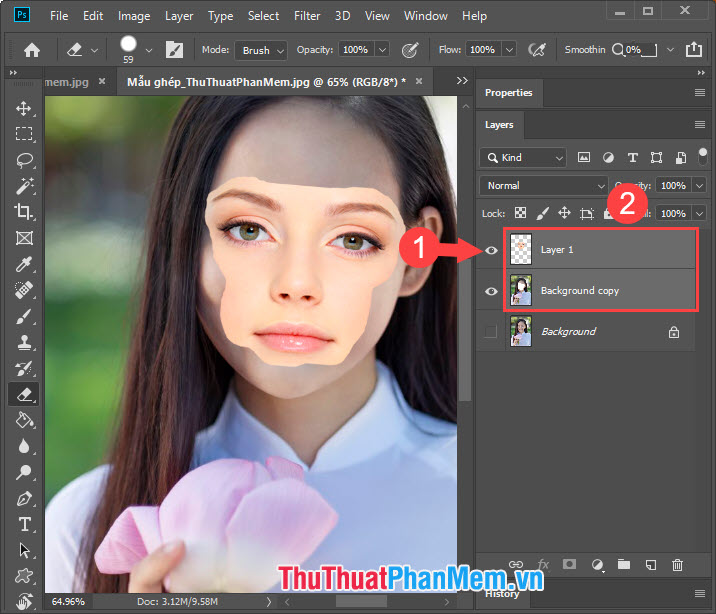
Then you go to Edit menu (1) => Auto - Blend Layers . (2) .
Step 7: You work as shown below: select Panorama (1) , check the Seamless Tones and Colors (2) and click OK (3) .
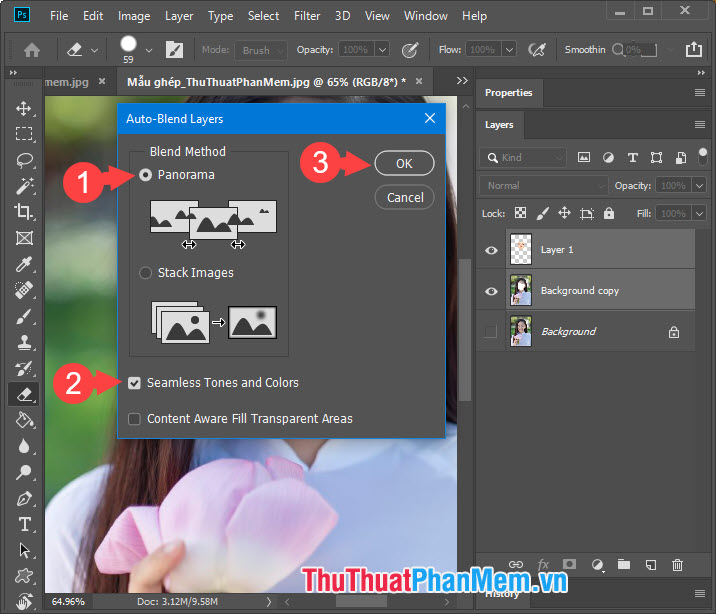
Then the software will automatically sync images and produce consistent results. The image after transplantation will produce the result as shown below.

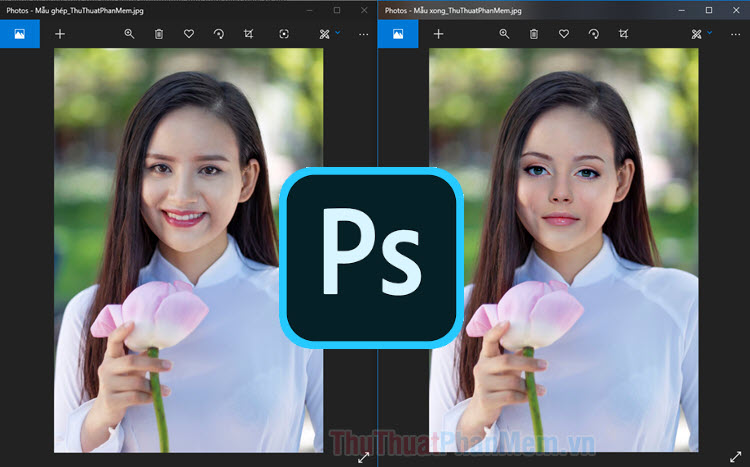
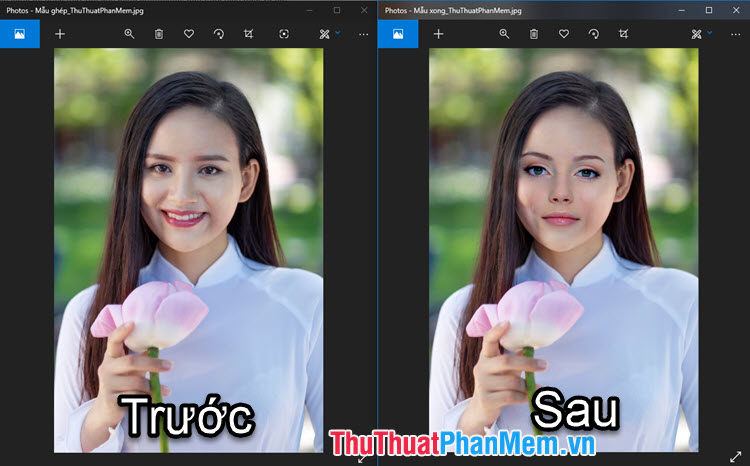
You can compare the difference between before and after pictures through the image below.
With the Photoshop Face Collage tutorial, you can create creative photos with Photoshop or you can use this feature to "troll" your friends. However, you should use this feature appropriately and avoid misuse and use for malicious purposes. Good luck!


 How to create professional shadow effects in Photoshop
 How to sharpen images using Photoshop
 Photoshop CS6: How to create abstract geometric shapes
 How to create stunning 3D pop-out effects in Photoshop
 How to turn an image into a pencil sketch in Photoshop
 How to Create a Monochrome Color Effect in Photoshop