How to Set a Schedule on a Buffalo LinkStation
If you don't want your Buffalo LinkStation to be running all the time, you may want to explore setting up a schedule for it to run. If there's no set schedule, the LinkStation will either always stay on or off. It's advisable to set a...
Table of Contents
Part 1 of 2:
Navigating to Power Management
-
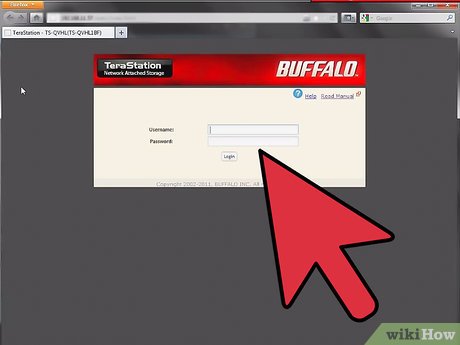 Turn the LinkStation on. Unplug then plug it to its power source to boot up.
 -
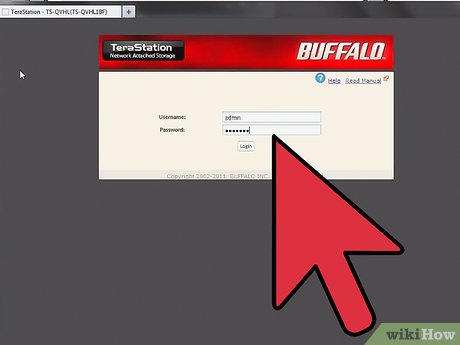 Configure the LinkStation. Log in under the admin user to the LinkStation's configuration page.
 -
 Go to System Settings. Click on 'System' in the menu.
 -
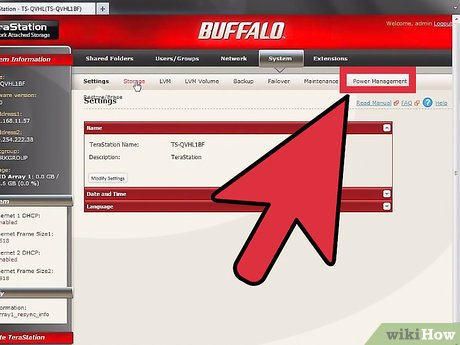 Choose Power Management. Click on 'Power Management' in the submenu.
Part 2 of 2:
Setting Up Your Schedule
-
 Choose a timer. Under the Power Management page is the SleepTimer function. Here you can set up three different schedules when the LinkStation is running. Click on 'Modify Settings.'
 -
 Set the Timer Interval. You can set this to 'Every day' or 'Specific days of the week.'
- If you choose the latter, you have to tick which days the schedule would be for.
-
 Set the Wake-up Time. This is the time when the LinkStation will boot up and start running.
 -
 Set the Sleep Time. This is the time when the LinkStation shuts down and turns off.
- This should be set later than the wake-up time.
-
 Configure more timers. Repeat steps 1 to 4 as needed.
- Remember you have three slots to set three different schedules. Use these wisely and avoid overlapping them.
-
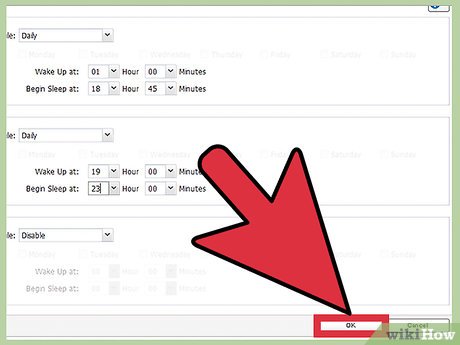 Save your changes. Click on 'Save' when you're done.
Was this article helpful?
Your feedback helps us improve.
Related Articles
 Amazingly, the whole herd of buffaloes returned to save the same kind from hungry lions3 minutes read
 The wild buffalo was knocked to the ground by the rhinoceros and was thrown into the air2 minutes read
 5 tools to help manage and schedule10 minutes read
 Komodo assassin dragon slayed a giant buffalo buffalo with a cup3 minutes read
 Spanish football schedule 2018/193 minutes read
 List of the most current Buffalo battery smartphones by Phone Arena2 minutes read
Reader Comments 0
Sign in with email or Google to join the discussion.