How to Record Screen Video on Windows 7
This article shows you how to record your Windows 7 computer screen. To do this, you can use free programs such as OBS ('Open Broadcaster Software') Studio or ScreenRecorder..
Use OBS Studio
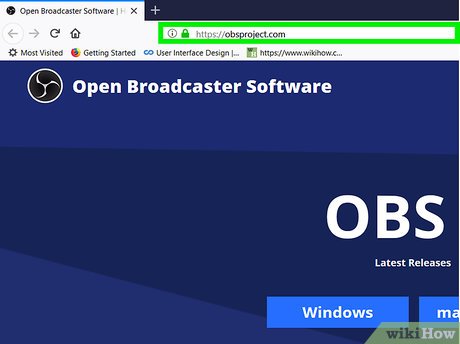
Open the OBS Studio site by visiting https://obsproject.com/ from your computer's browser. OBS Studio is a free program that allows you to record your screen in high resolution and save the data as a video file on your computer.
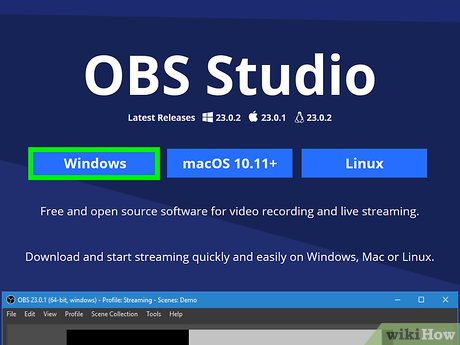
Click the green Windows button near the top of the page to download the OBS Studio installation file to your computer.
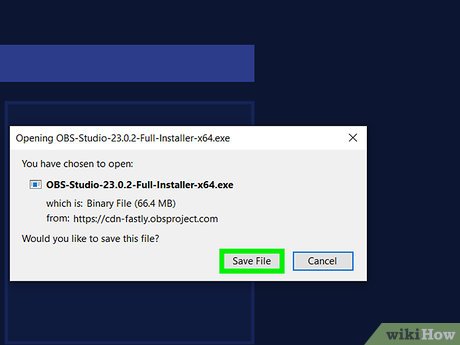
Find the installation file you just downloaded. You'll usually find the file you just downloaded in your "Downloads" folder, opened by pressing ⊞ Win+ Eand clicking Downloads on the left side of the window that appears.

Double-click the OBS Studio installation file to open the installation window.

Install OBS Studio in the following way:
Click Yes when asked.
Click Next (Continue)
Click I Agree (I agree)
Click Next
Click Install
Wait for the program installation process to finish.
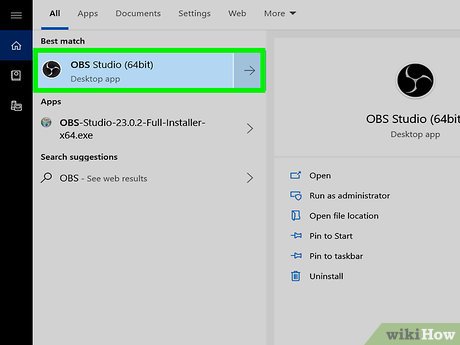
Start OBS Studio. Make sure the "Launch OBS Studio" box is checked in the middle of the page, then click Finish . This is the operation to open the OBS Studio program.
You can also open OBS Studio by double-clicking the application icon on the desktop.
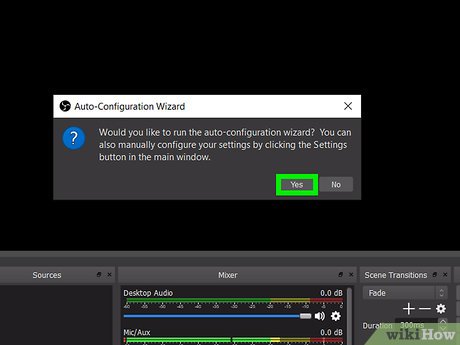
Follow the instructions on the screen. The first time you use OBS Studio, you are often asked if you want to run the Auto-Configuration Wizard. Click Yes and do as requested.
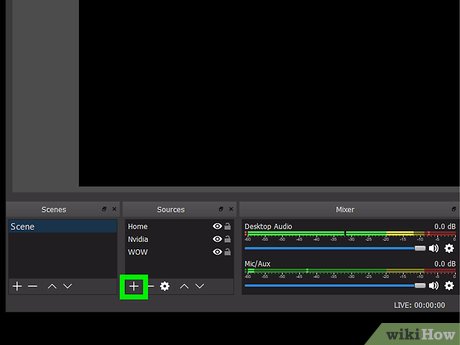
Click + in the lower left corner of the "Sources" window, in the lower left corner of the OBS Studio window to open the menu.
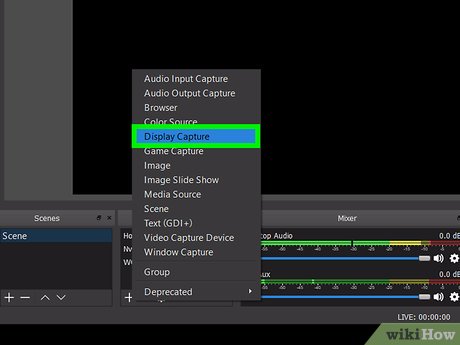
Click the Display Capture option near the top of the currently displayed window. The screen will display a new window.
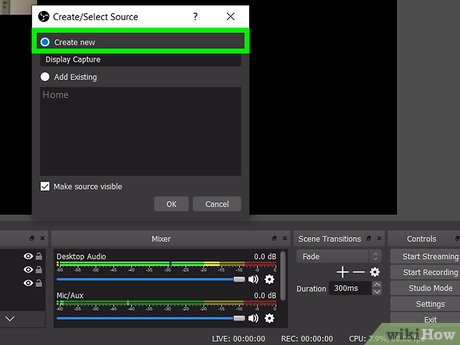
Check the "Create new" box near the top of the window.
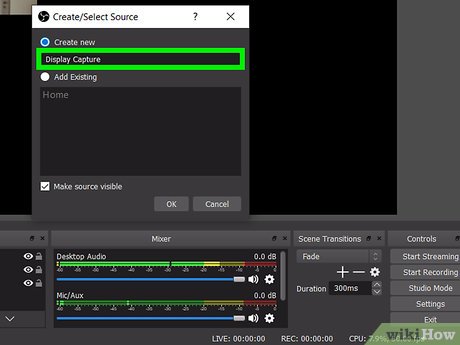
Name the video. Name the video you want to save in the input field at the top of the window.
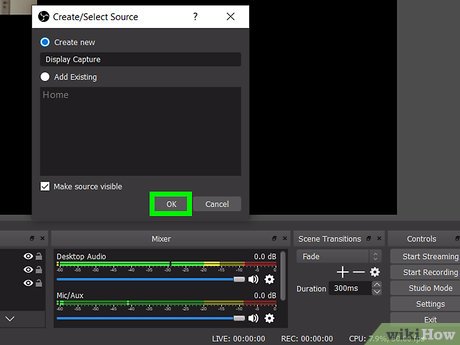
Click OK at the bottom of the window.
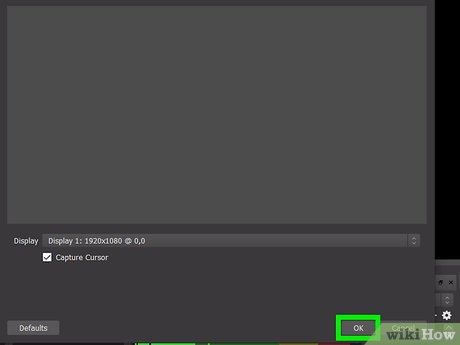
Click OK again to complete the recording setup. Now you can record your screen.
If you don't want the mouse cursor to be visible on the screen while recording, uncheck the "Capture Cursor" box first.
If you use multiple displays, click the "Display" drop-down box, then select the name of the display to record.
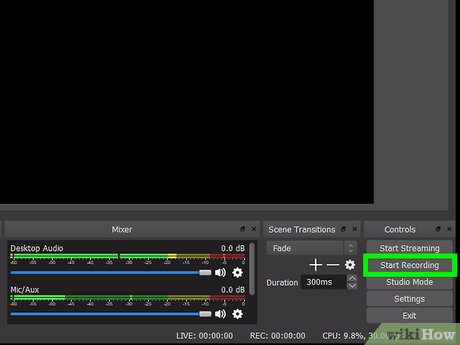
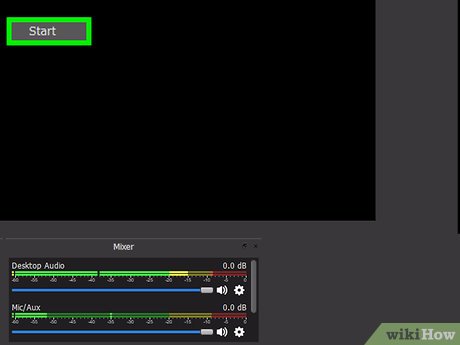
Click Start Recording in the lower right corner of the OBS Studio window to begin recording your screen.

Click Stop Recording when finished. It's also the Start Recording button you clicked before recording. Thus, the video will be saved to the computer.
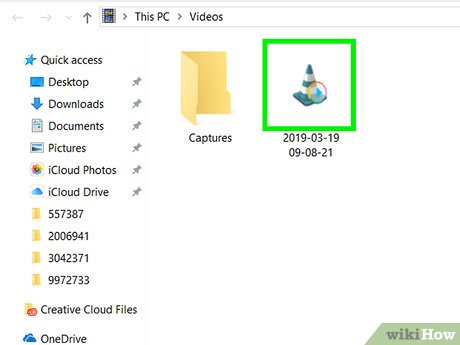
To review the video you just recorded, click File in the menu bar, then select Show Recordings in the menu that appears.
Use ScreenRecorder
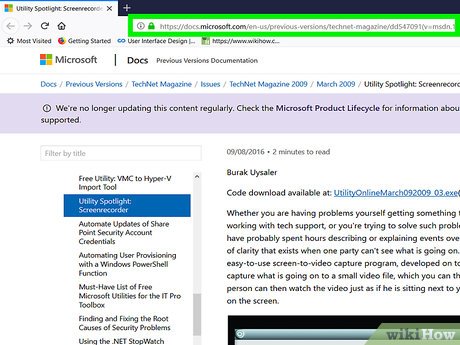
Open the ScreenRecorder page by visiting https://technet.microsoft.com/en-us/library/2009.03.utilityspotlight2.aspx from a web browser.
ScreenRecorder is a free utility developed by Microsoft.
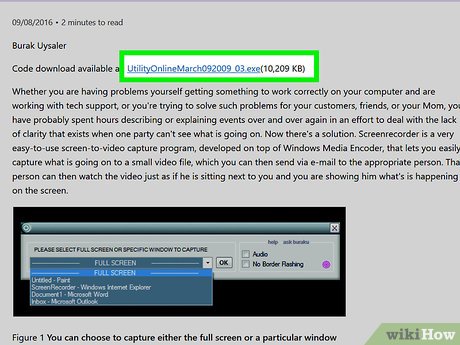
Click UtilityOnlineMarch092009_03.exe at the top of the window to download the ScreenRecorder file to your computer.
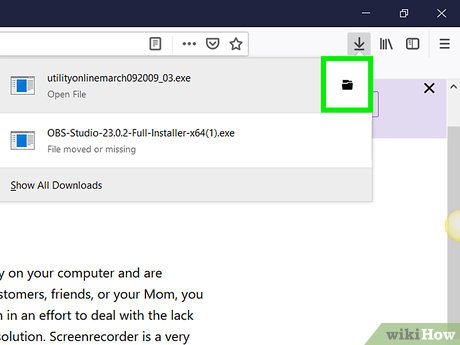
Find the file you just downloaded. You'll usually find the file you just downloaded in your "Downloads" folder, opened by pressing ⊞ Win+ Eand clicking Downloads on the left side of the window that appears.
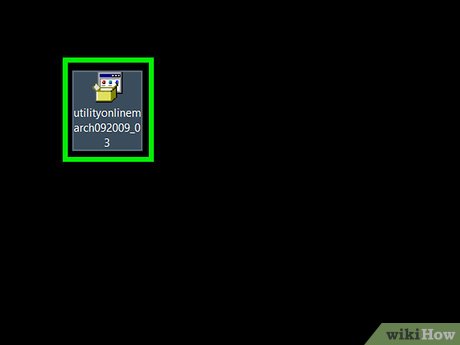
Double-click the installation file to open the installation window.
Install ScreenRecorder in the following way:
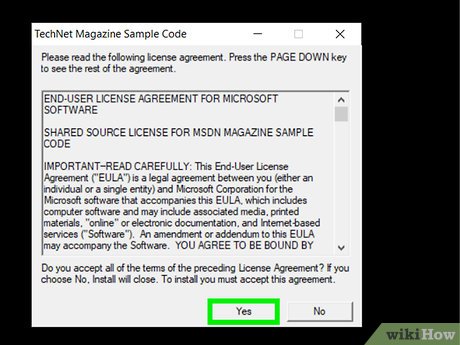
Click Yes when asked.
Select the installation folder by clicking ⋯ , select a folder, and click OK
Select Ok
Select Ok when asked.
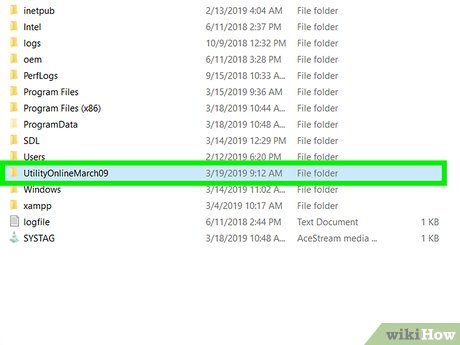
Open the installation folder. Go to the folder where you installed ScreenRecorder, then double-click the UtilityOnlineMarch09 folder .
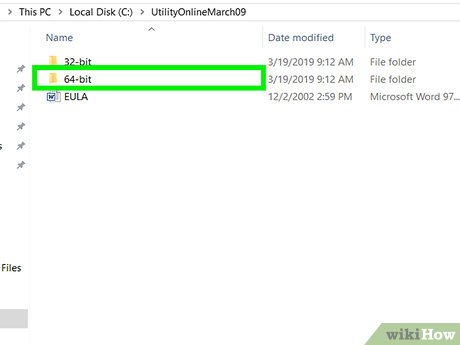
Double-click the "64-bit" folder above the installation folder.
If your computer uses a 32-bit processor, you'll double-click the "32-bit" folder.
You can check your computer's 'bit' number if you don't know if your computer is 64-bit or 32-bit.
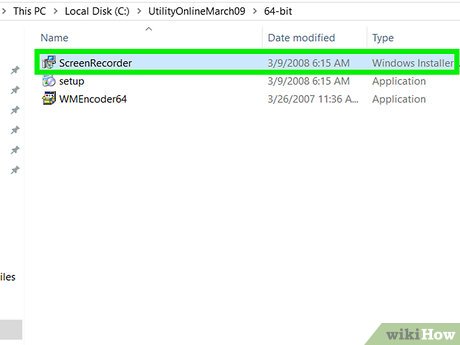
Double-click "ScreenRecorder" with the computer screen icon.
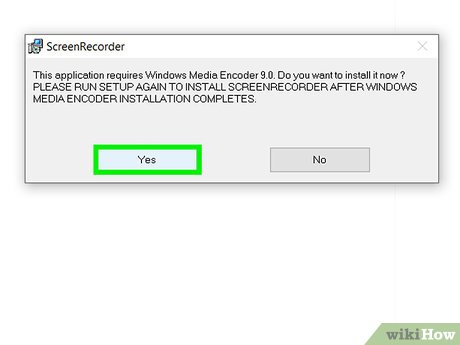
Install Windows Media Encoder 9 following the on-screen instructions.
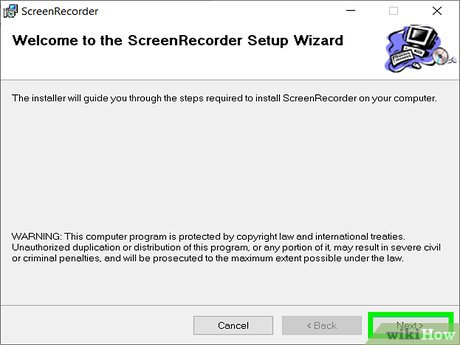
Complete the ScreenRecorder installation process. Double-click the "ScreenRecorder" icon again, then follow the installation instructions in the default folder.
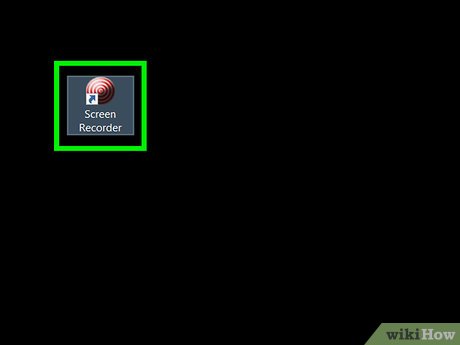
Open ScreenRecorder. Double click the ScreenRecorder icon on the desktop to open it.
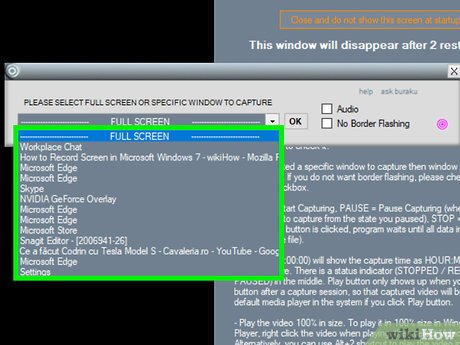
Choose recording mode. Click the selection box to the left of the ScreenRecorder bar, then select FULL SCREEN or another window to record.
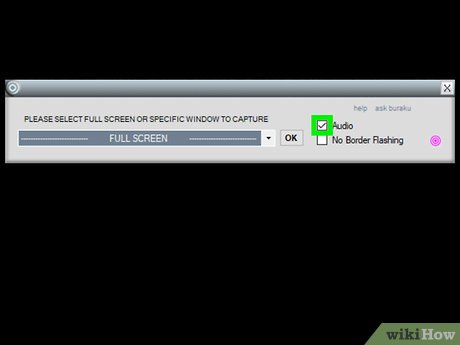
Check the Audio box to enable recording mode. If your computer has a microphone attached, you can check the Audio box to turn on recording mode while recording. This is how you explain your actions in the video.
ScreenRecorder uses Windows' default settings for audio input.
You can adjust the sound using the Volume setting in System Tray.

Decide whether you want window borders to flash or not. This is the setting that creates a flickering effect for the border of the window being rotated. This effect will not be visible in the video.
If you don't want a flashing border, check the "No Border Flashing" box before continuing.

Click OK in the center of the ScreenRecorder window to open the recorder.
Name and select the folder to save the file by clicking the button above the rotator.
ScreenRecorder creates movies in WMV format.
Click the Start button . ScreenRecorder will start recording the screen according to the settings.
You can click the yellow Pause button to pause the recording.

Complete the recording by clicking the red Stop button. This is the operation that ends the recording process and creates files according to the settings.