How to use Smart Objects in Adobe Photoshop
Smart object is an extremely useful feature in Photoshop. They allow you to edit images and add filters without loss of quality. However, not many people know them..
Smart object is an extremely useful feature in Photoshop. They allow you to edit images and add filters without compromising image quality. However, they are not widely known.
Beginners may not have even heard of smart objects, and ordinary users think smart objects are an advanced option, beyond their capabilities. In fact, everyone should use smart objects.
This article will show you how to start using smart objects in Adobe Photoshop.
What is Smart object?
Smart object is a special type of layer, allowing non-destructive editing in Photoshop.
When you convert a normal layer into a smart object, the content of the original layer is stored separately, as a sub-file in a large file. No matter how much you edit the smart object, the original content is still unaffected.

Smart objects can contain both raster and vector content, acting like normal layers. You can resize or convert them, apply filters or add adjustment layers. You can also make selections and use masks.
What makes it even more useful is that you can access and edit the source content at any time. Just double click the thumbnail for that layer in the Layers panel .
Use smart objects to edit nondestructive
Non-destructive editing or non-destructive editing is the main reason why you should use smart objects. You can expand, resize and rotate them without losing quality.
This is how it works.
Open an image on a new layer. Use the Free Transform tool ( Ctrl + T on Windows, or Cmd + T on the Mac) to make the image smaller, then press Enter to apply the change.
Now use Free Transform again to enlarge the image back to its original size. Notice how the image is now softened.
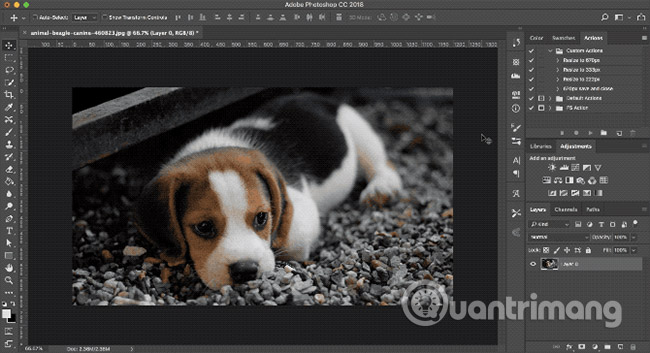
This happens because when you make the image smaller, Photoshop removes additional details that are no longer needed.
Now try this.
Reopen the original image. Right click on the layer in the Layers panel and select Convert to Smart Object . Now repeat the steps above, make the image smaller, then zoom back in.
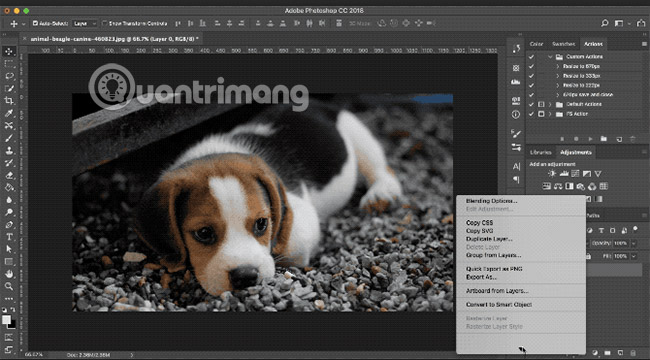
This time the quality will not be reduced. A smart object will save a copy of the original, unedited content so that any changes you make are not permanent. You can even resize images in a comprehensive way without losing quality.
Edit multiple smart objects at the same time
Usually, you will need to reuse the same image, shape or object, multiple times in the same image. By turning it into a smart object, you can edit multiple versions of that element at once.
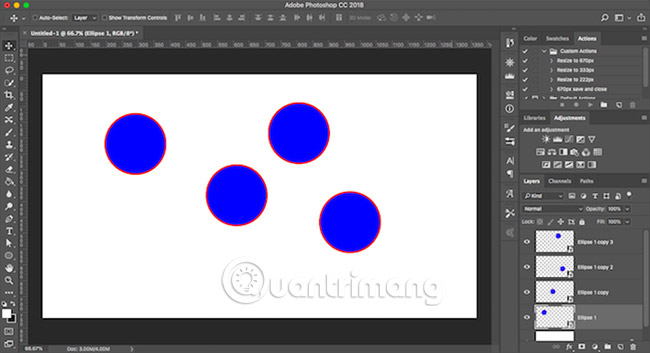
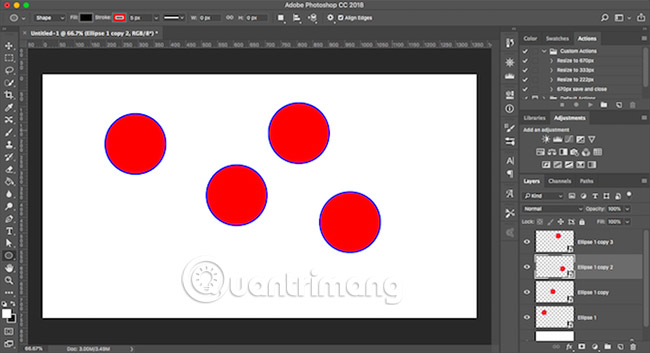
Highlight the layer with the content you want to repeat, right-click and select Convert to Smart Object .
Next, duplicate the layer several times by pressing Ctrl + J on Windows, or Cmd + J on the Mac. This creates multiple copies of the same smart object, all associated with the same source content.
Use the Move tool (V) to reposition all your duplicated layers.
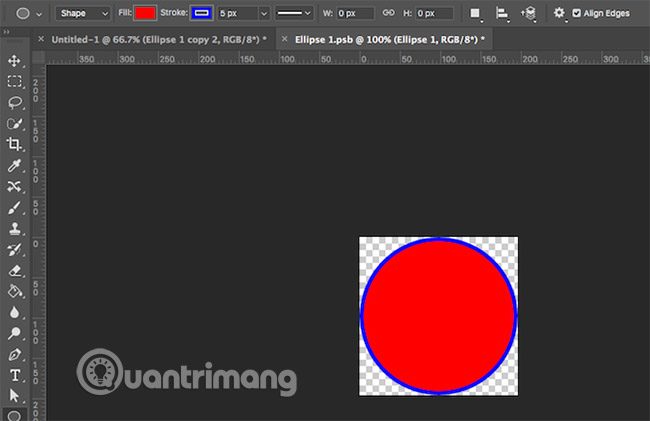
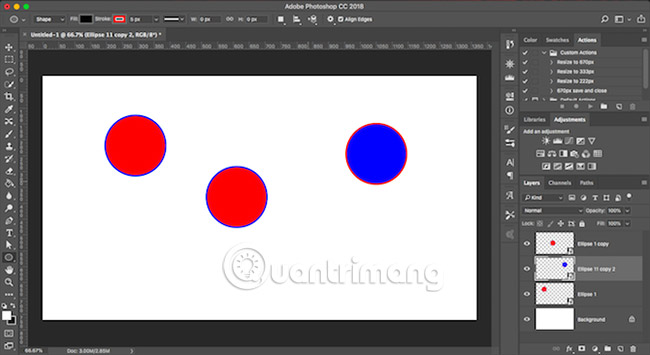
Now, for any of the duplicated layers, double-click the thumbnail in the Layers panel . This will open the original content in the new tab. Edit, then save and close the tab.
Back to your main file, all cloned smart object versions will be updated to reflect the changes you've just made.
Edit each smart object
Of course, you can use smart objects multiple times and edit them individually.

To do this, do not copy the layer.
Instead, go to Layer> Smart Objects> New Smart Object via Copy. This creates a copy of both the smart object layer and the original file.
Use smart objects linked on some files
In most cases, a smart object uses content embedded in your image file. But you can also create smart objects that are linked to external files.
This allows you to reuse smart objects on multiple files and projects. Whenever you update the linked source image, all linked smart object files will also be updated.
Here is an example.
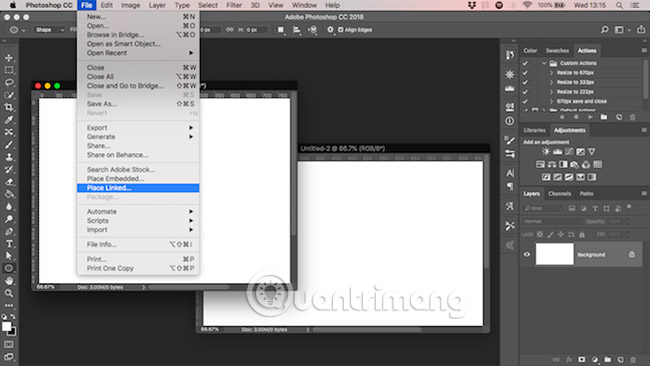
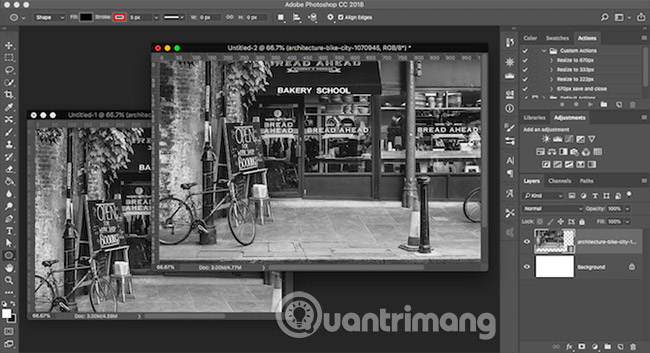
Go to File> Place Linked and select the image file from the desktop you want to use as the basis for your smart object. This will open the image on your canvas as a smart object. Press Enter to confirm.
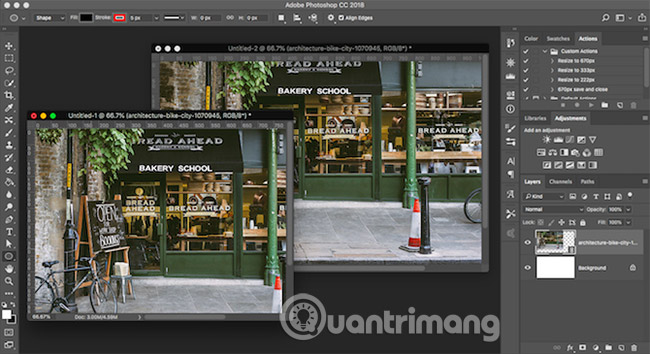
Create another file and do the same again, using the same source image. You should have two documents containing the same image.
Now open the linked external source image, edit it, then save it. Both files linked to this image will be updated with new changes.
When you use this option, you need to take an extra step when saving your file. First, save it as usual. Then go to File> Package and then click Choose to save both your Photoshop file and the linked image in a folder. If you move or delete images linked in another way, your file will fail.
Use smart filter
- How to apply smart filters to multiple layers in Photoshop
Smart objects give you a major upgrade to Photoshop filters, turning them into smart filters.
Filters are usually quite heavy. You apply them and if you don't like the effect, you must undo and try again.
Smart filters on smart objects are indestructible. You can edit them at any time and even hide or delete them if you no longer need them.
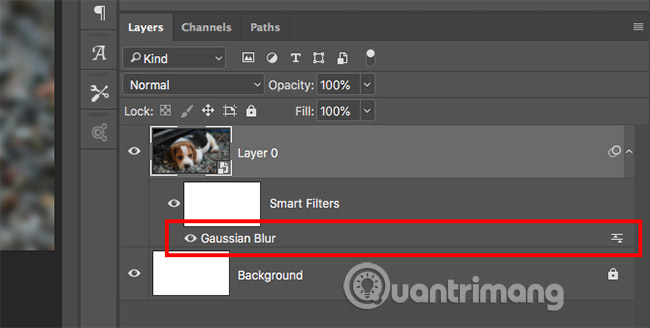
Very easy to use. Turn your layer into a smart object, then apply the filter in the usual way. Look in the Layers panel and you will see the filter listed below the smart object layer.
Double click to edit or drag to the trash to delete it.
Filter mask in Photoshop
Even better, you can hide smart filters to control which position on the image will have an effect.
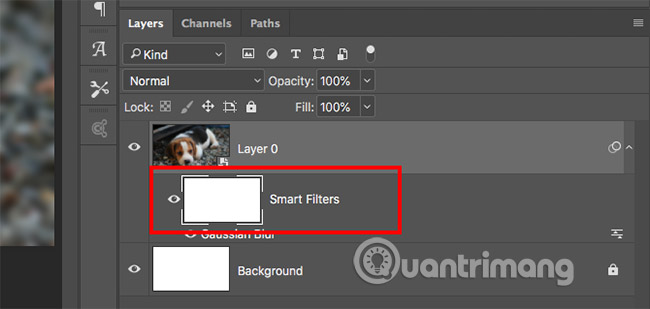
Smart filters have masks that automatically apply to this. That's the box above the filter in the Layers panel. Mask is empty (white) by default. This means that the filter effect is applied across the entire layer.
Click on the thumbnail of the mask, select a brush and set it to black. Now start drawing on your image. Filter effect is removed from all black areas.
Set the brush to gray to display a part.

These masking filters allow you to create bokeh effects in portraits, or selectively apply sharpening or noise reduction effects to specific areas on the image.
Use smart objects to create templates
The last important reason to use smart objects is that they create easy templates in Photoshop.
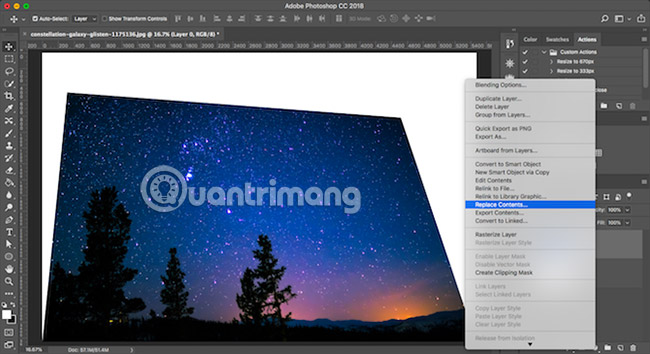
Just right-click on the smart object layer and select Replace Contents. Then select the new image you want to use as the source content.
Why is this useful?
Because if you applied the filter or changed the shape of a layer, the new source image for your smart object will retain these properties. This will not happen if you put a new image into a separate layer.
Disadvantages when using smart objects
Smart objects are extremely useful, but they have some disadvantages you need to know.
First, files containing smart objects will be heavier. They are larger than regular files and require more system resources.
Second, they can also be more complicated. If you are using multiple smart objects, you need to label and group your layers correctly to arrange them neatly.
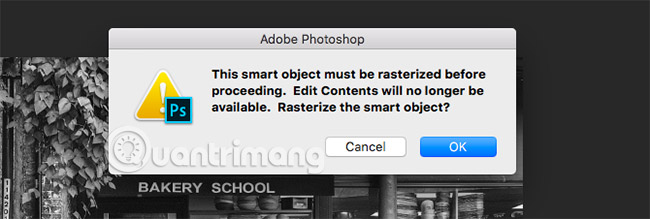
Third, smart objects cannot be edited directly. You can't use things like brushes or clone stamps on an image without converting it into a raster layer. This loses the benefits of smart objects in this process. Do this at Layer> Smart Objects> Rasterize .
In addition, you can directly edit the smart object's source content. In most cases, this may be a better option.
Smart objects are useful, even if you use Photoshop for vector graphics or image editing. And anyone can use them, from beginners to professionals who can benefit from using them.
As we have seen, one of the best uses of smart objects is adding filters to images. The article covered basic concepts and there are many things you can do with them.
Good luck!
See more:
- 45 smart Photoshop tips you need to know
- Instructions on how to create 3D effects and objects in Photoshop
- Create creative blur for photos on Adobe Photoshop