How to manage running processes with XFCE's Task Manager
Task Manager is one of the essential tools that are defaulted on most operating systems today. Although for people who don't know much about the technology, this tool only comes in the form of a live update list of all running processes.
In fact, Task Manager is exactly a list of everything that is 'active' on your computer at any time. But what most people overlook, is that Task Manager not only displays the processes in it but also allows you to take action on them.
By learning how to 'read' the information presented and adjust the processes, you can control the operation of the computer.
There are many different task managers and a distribution may come with one or more task managers by default. Besides, most window managers also include a task manager among many basic applications.
For this article, we will use the Task Manager that comes with XFCE. The configuration in the alternate options will be slightly different, but you use them in almost the same way and achieve the same results.
Use XFCE's Task Manager to manage the process
- Run task manager
- Open the window
- Sort by resources
- See everything
- Why does the tree view help?
- Tame all resources
Run task manager
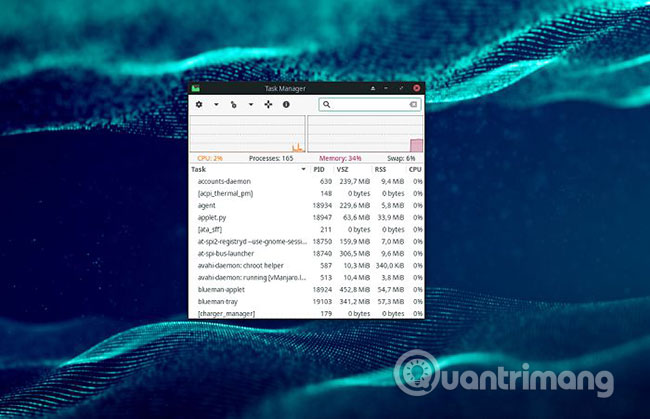
Perhaps no need to provide any instructions on how to install task manager. In most cases, the distribution will have a task manager available. Find it via the distribution's main application menu or by searching for 'task' in any of the available installed software search fields and running it.
Even if your task manager is not the option the article uses here, then all operations are not much different. A list of common running processes takes up most of the window area and by default, sorted by name.

Open the window
This section recommends that you move around and resize the task manager window or maximize it so that it covers the entire screen. The extra space will allow you to see more processes and details at the same time.

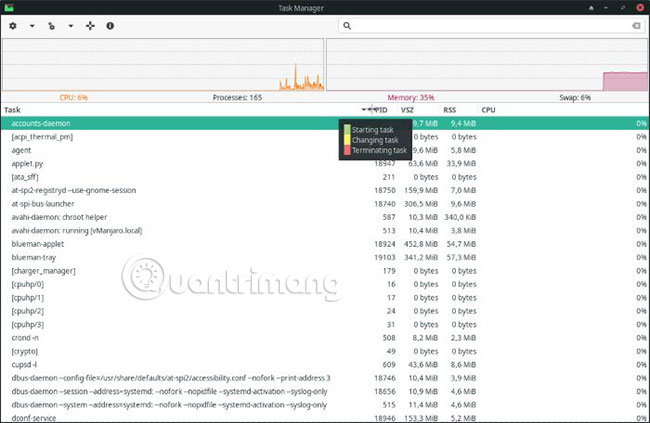
Use extra space to move around columns and easily view all available information. Just click and hold the left mouse button exactly where the two columns intersect and you can drag the separator between them to the left or right.
Sort by resources

Click on any column header and the task list will be sorted accordingly. Click again, the order will be reversed. This is the best way to check which tasks are consuming resources on your computer at any given time, as you will see in the following action.
See everything
The task manager treats some information as 'overloaded' and hides it by default. Theoretically, this makes things more user-friendly. In fact, it's easier to find yourself having 1GB of RAM available at a glance, than you have to calculate in the '13% available 'display.

Click the two gear icon (check the task manager 'Appearance' option or try right-clicking on one of the columns and see if the Configure / Properties option appears). This will allow you to adjust how the program displays everything.
With XFCE's Task Manager, you should enable everything except the 'Hide into the notification area' option .
Why does the tree view help?
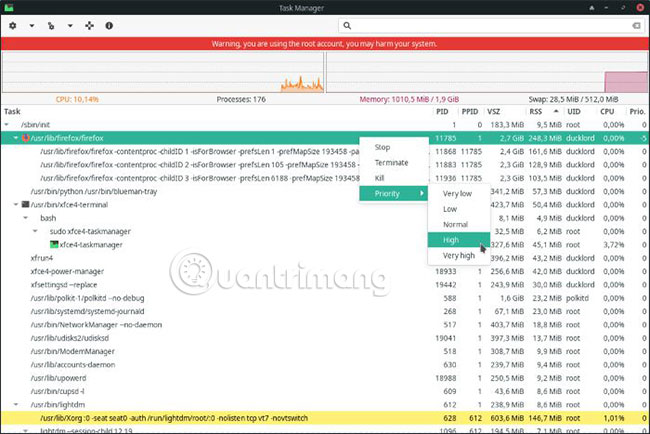
One of the options you activated in the previous step, 'Show processes as a tree' , can change the list into a hierarchy. This way, all running tasks will no longer appear individually but are grouped.
Unlike individual tasks, task groups start from a single task and then generate more tasks. When in tree view, those relationships are displayed in exactly the same hierarchy as the typical file system in most file managers.

That's why a tree view can help when dealing with processes that use too much memory: It allows you to have a clearer overall view.
If you check your task manager with the default view, you can see Firefox consuming between 50 and 200MB of RAM. Then switch to tree view and you'll see, a 'parent' Firefox process generates 3 more child processes.
Tree view along with Firefox progress allows you to see the actual total resources it consumes. Below and below that, you'll see which parent process each belongs to.

Tame all resources
If you run the task manager again with the original information, you will have access to two of the most important options: Priority Settings and the 'Kill' function . Just run it from the terminal like the following command:
sudo xfce4-taskmanager Running in root mode will allow you to change any priority task by right-clicking on it and selecting the appropriate option.
Avoid setting any action to 'Very Low' or 'Very High' . Also, avoid changing anything uncertain, as you could either 'kill' the process wrongly or cause the entire system to be slow.
What you can and should do is set a lower priority for every task you realize you rarely use - like ModemManager (unless you're still using a modem). Add higher priorities to whatever you want to become more flexible.

If in a rare case, a program acts as if it is running, but it freezes and doesn't allow you to interact, you can right-click and 'kill' it.
Note that everything in it will also be stopped. If the freeze program is a word processor or graphical tool, where you've almost done your job, then it's better to be patient.