How to compress and resize photos from Thunar File Manager in Linux
For example, if you are extracting and resizing images to use them with specific resolutions on blog sites, why not perform this task with one click?.
For example, if you are extracting and resizing images to use them with specific resolutions on blog sites, why not perform this task with one click? You can do that by exploiting Thunar's support for external functions.
It should be noted that you can do the same with any other programmable file manager, like Konqueror.
The logic behind what we will do is: When a file is selected, Thunar will 'map' its full path name to a parameter - '% f'. By creating a Custom Action for Thunar, in this case the ImageMagick command , you can use ImageMagick to compress and resize images directly in Thunar.
Install Thunar and ImageMagick
Use your favorite package / software management solution to find and install Thunar, as well as ImageMagick, if they are not already installed in your distribution. For Debian-based distributions, you can do so with:
sudo apt-get install thunar imagemagick
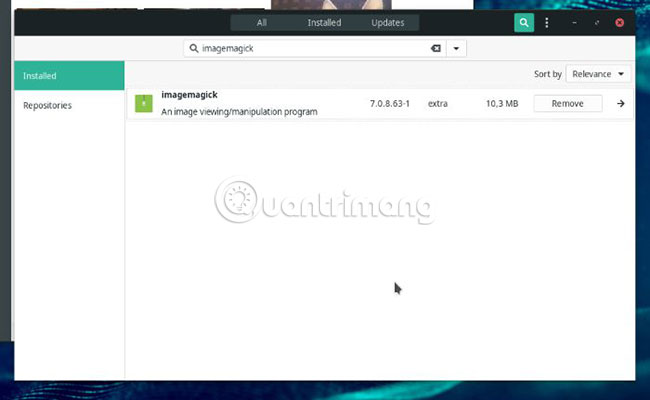
Since most distributions come with some GUI applications that provide access to everything in their repositories, often presented as an 'App Store' (app store), finding Searching through the programs and clicking the 'Install' button is probably the better option for those who hate using terminal.
Visit the Image Summary page of ImageMagick
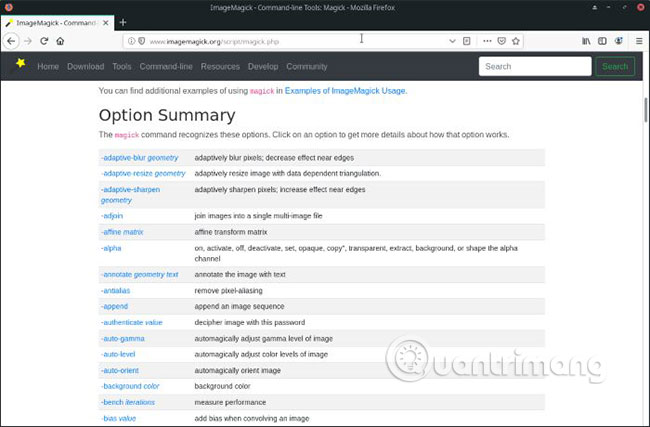
Although the article will only talk about shrinking and saving any selected image file as a compressed JPG, ImageMagick also offers dozens of other options to change your image file. Visit the official Options Summary page (reference link: http://www.imagemagick.org/script/magick.php ) to see everything you can do. Using those options, you can expand on what we will build together below, create a more complex version of the command, or multiple commands, to manipulate images in different ways.
Create a test folder and copy some images there
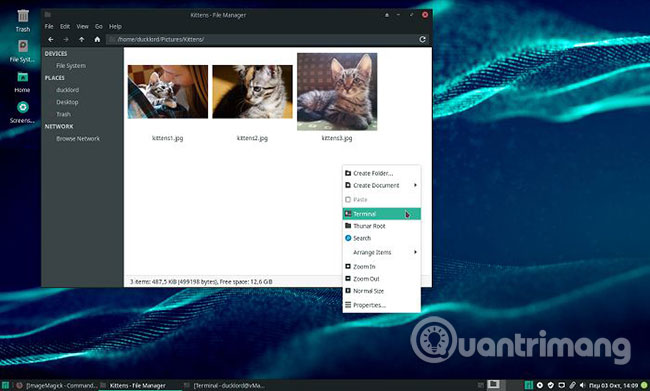
Never take action on the original files - a wrong step could change them or make them disappear forever. Create a test folder somewhere - like in the Pictures folder - and copy some files into it. In that folder, right-click on the free space of the Thunar file list screen and select Terminal from the menu.
Find the optimal compression / quality ratio
The next step is to find the best compression / quality ratio. Each of us has different needs, so what may be good for one person may not be suitable for the other. Another dependent element is the content in your image: Kittens in test images and photos in general, can compress more / lower quality than screenshots, where the text capture must be easy to read.
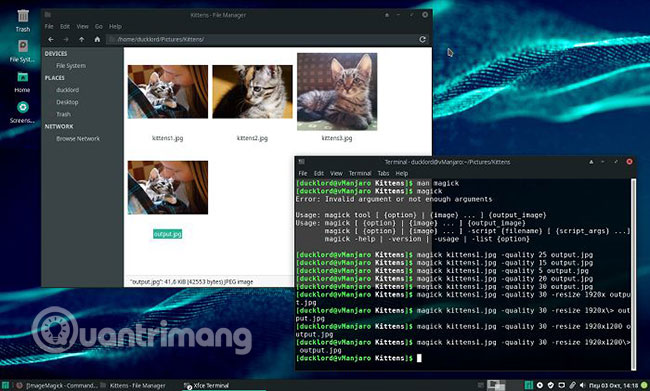
Do some testing until you find the optimal value for yourself, using the command:
magick INPUT_FILE -quality QQ OUTPUT_FILE
Where INPUT_FILE is your original image, OUTPUT_FILE is the result of compression and conversion and QQ is a number between 1 and 100 (the higher the number, the better the quality and the less the compression).

Resize or shrink images
Resizing and shrinking are two different actions, because resizing means you can enlarge the image. ImageMagick allows you to resize your images using the command:
magick INPUT_FILE -resize 1920x1200 OUTPUT_FILE
Here, the article uses a resolution of 1920 x 1200. If this teacher sounds strange, it is because the example uses a screen with a ratio of 16:10 instead of 16: 9, comes with typical 1920 x 1080 resolution . Whichever resolution you choose, by default, ImageMagick will keep the image file rate unchanged to avoid distorting it. You can ask ImageMagick to only resize images, if they are larger than the selected resolution. Just add > after the resolution entered to do so.
magick INPUT_FILE -resize 1920x1200> OUTPUT_FILE
Add commands to Thunar
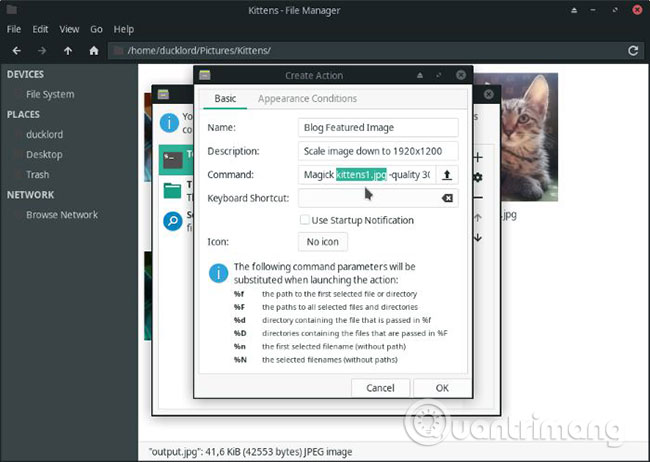
Once you've found the desired compression / quality ratio and set the target resolution to a lower level, copy the command from the terminal to the clipboard. Then, from Thunar, choose Edit> Configure custom actions .
Enter a name for the action and description (if desired). Then paste the copied ImageMagick command into the Command field .
Select the input file name in the command and change it to '% f' , then select the output file name and change the name to '% f_output' .
The command will not work if you do not set a condition for its appearance. Move to the Appearance Conditions tab and select 'Image Files' so that the command appears whenever an image file is selected. Click OK and the custom action will be saved for future use.
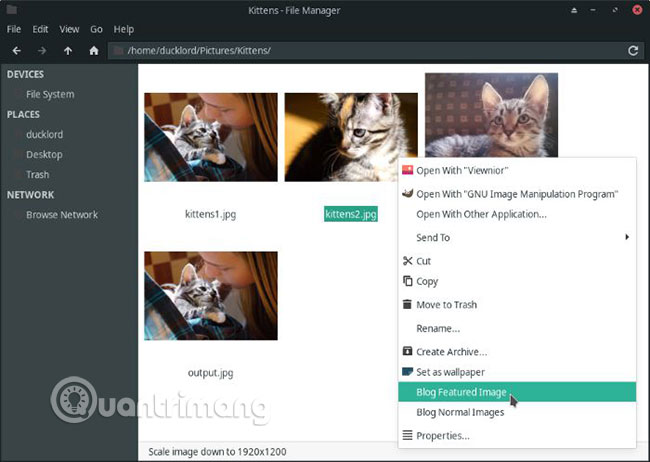
Try your custom action!
The custom action will appear whenever you right click on the image file. By selecting a custom action, a new compressed and minimized file will appear in the same directory, with '_output' after its name. Unfortunately, Thunar is not flexible enough to just switch the main name (and remove the extension) to ImageMagick, so you'll have to do it manually. There are many ways to avoid that, but will have to create more complex scripts.
This issue will be addressed at another time. Until then, why not create some other alternative commands with different compression levels or resolution targets to meet all your needs?
Hope you are succesful.