How to Take a Screenshot on a Dell Computer
Use Windows 8 and 10

Go to the page you want to screenshot. All content on the screen (except the mouse pointer) is captured when you take a screenshot, including the taskbar.
For example, you can open a Facebook conversation with your friends.
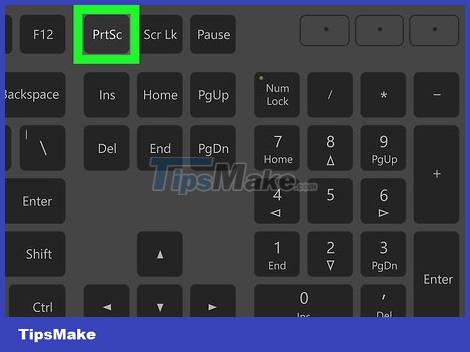
Find the key ⎙ PrtScr. The "Print Screen" key is usually located on the right side above the Dell keyboard. Unlike other computer keyboards, the "Print Screen" key is usually a blank key without text.
The "Print Screen" key can print text in many different ways, but "PrtSc" and "Prnt Scr" are the two most common.
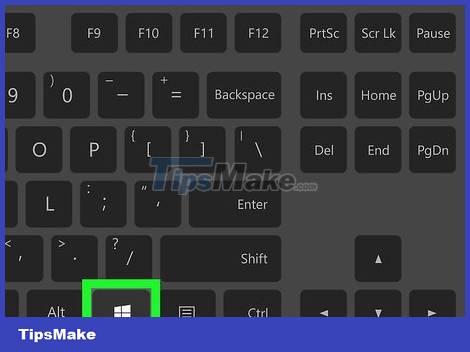
Find the key ⊞ Win. This key has the Windows symbol above it, usually located in the lower left corner of a Windows computer.
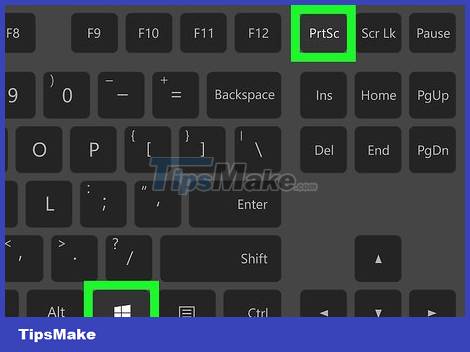
Press ⊞ Winand ⎙ PrtScrat the same time. The screen will darken briefly, signaling that the screen has been captured.
If the screen does not go dark, you can hold down the key ⊞ Winand press the key firmly ⎙ PrtScr.
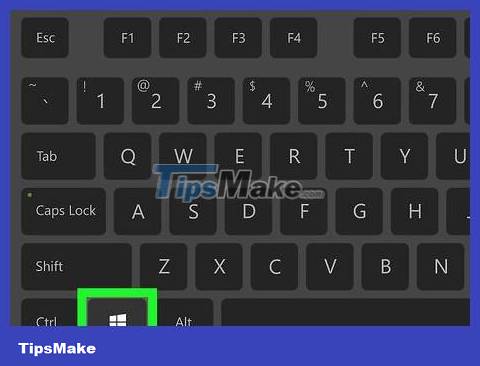
Open the Start menu. Operate by pressing a key ⊞ Winor clicking the Windows icon in the lower left corner of the screen. The Start menu opens with the mouse pointer in the "Search" frame.

Tap screenshotsStart. You'll see a folder titled "Screenshots" appear at the top of the Start window.
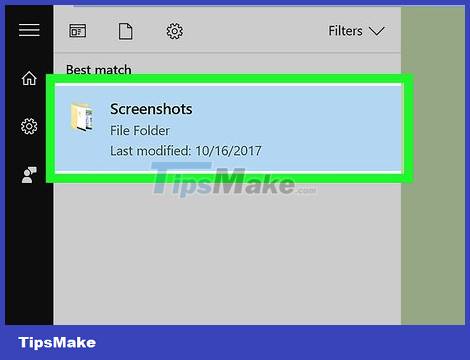
Click the Screenshots folder. Perform this step to open the folder; you will find screenshots inside.
The Screenshots folder is created in the Pictures folder after you take your first screenshot.
Use Windows XP, Vista, and 7

Go to the page you want to screenshot. All content on the screen (except the mouse pointer) is captured when you take a screenshot, including the taskbar.
For example, you can open a Facebook conversation with your friends.
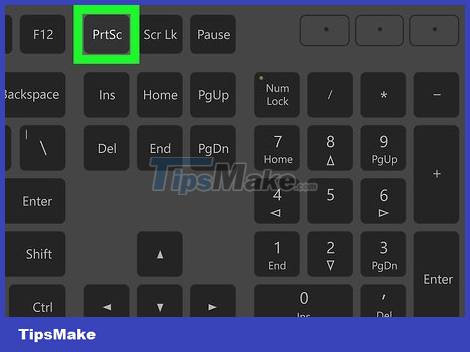
Define key ⎙ PrtScr. The "Print Screen" key is usually located on the right side above the Dell keyboard. Unlike other computer keyboards, the "Print Screen" key is usually a blank key without text.
The "Print Screen" key can print text in many different ways, but "PrtSc" and "Prnt Scr" are the two most common.
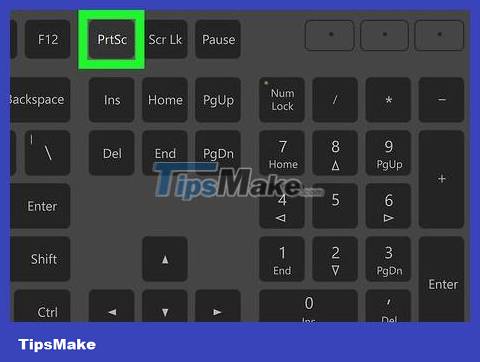
Press ⎙ PrtScr. Doing this will copy the screen image to your computer's temporary storage area, from where you can paste it into software that allows you to save it as an image.
Some Dell keyboards have the word "PrtSc" printed in a color different from the regular key color (for example, white). If so, you need to press Fnthe left corner of the keyboard and press ⎙ PrtScr.
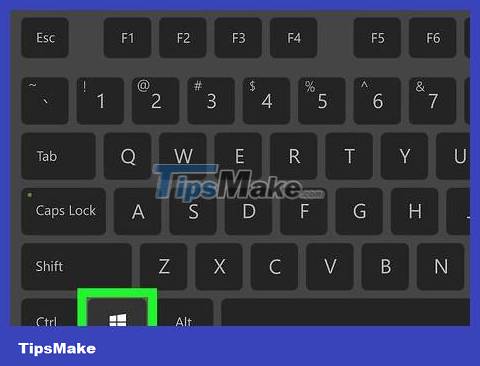
Open the Start menu. You can do this by clicking the Windows (Windows Vista and 7) or Start (Windows XP) icon in the lower left corner of the screen, or you can press the key ⊞ Win.
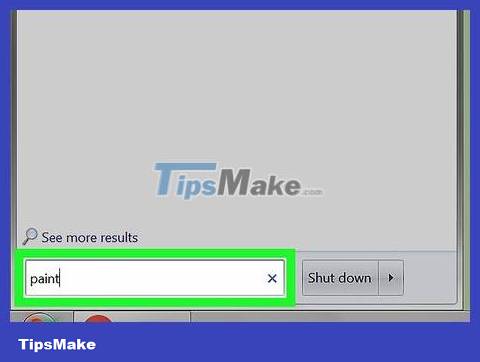
Type paintin the Start menu. You will see the Paint software appear at the top of the Start menu window.
For Windows XP, click All Programs and then Accessories .
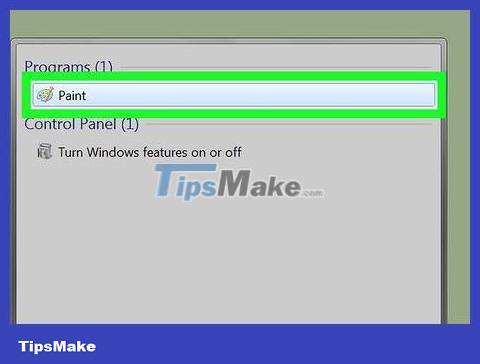
Click the Paint icon. The icon resembles a cup filled with a paintbrush (Windows XP and Vista) or a palette (Windows 7).
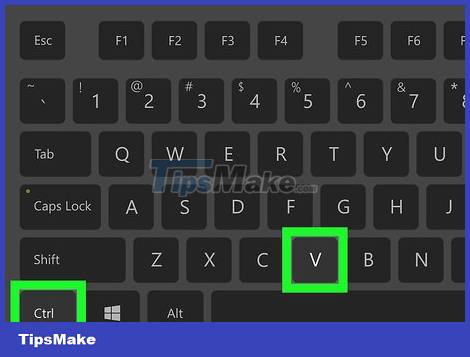
Hold Ctrland press V. Doing this will paste the captured image into Paint.
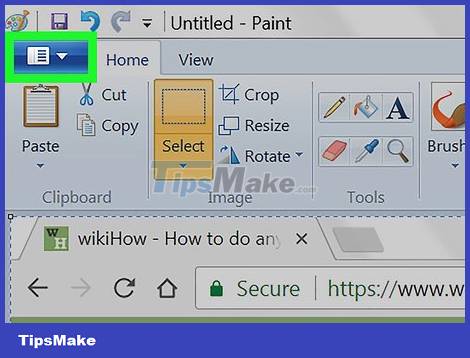
Click File . The item is in the upper left corner of the Paint window.
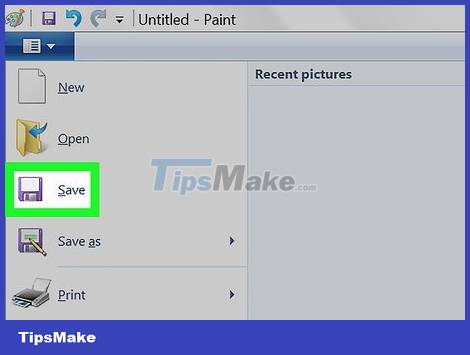
Click Save . This step will open a window for you to name the file.
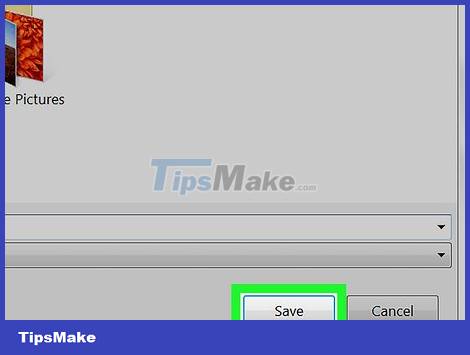
Type a name then click Save . This step will save the screenshot to your computer's default save location, usually in the Documents folder.
You can change the save location by clicking the folder in the left sidebar.
Use Snipping Tool
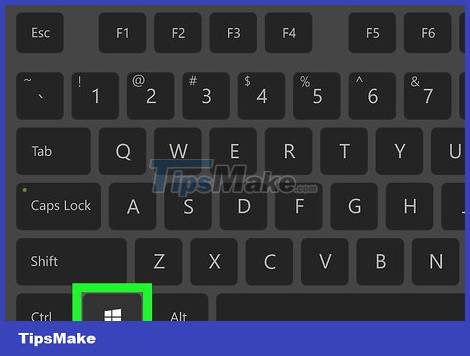
Open the Start menu. Do this by pressing the key ⊞ Win, or clicking the Windows icon in the lower left corner of the screen.
Snipping Tool is not available in Windows XP.

Tap snipping toolStart. This step will display the Snipping Tool icon at the top of the Start window.

Click the Snipping Tool icon. The icon resembles scissors. This step will open the Snipping Tool application.
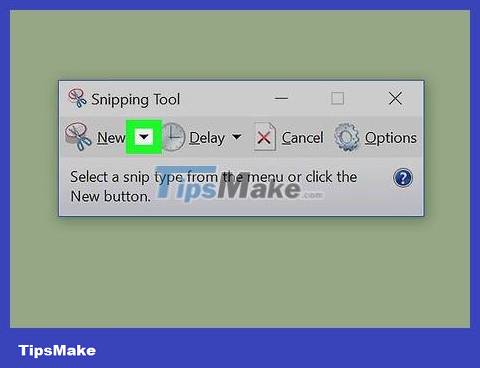
Click Mode or ▼ . This step will open a drop-down menu with the following screenshot options:
Free-form Snip – This option allows you to use your mouse to draw any shape. The area inside the image will be captured as a screenshot.
Rectangular Snip – This is the default shape, and allows you to draw a rectangle at any scale to use as a screenshot.
Window Snip – This option captures the screen of a specific window, just like holding Alt and pressing Print Screen. You can select the window you want to use.
Full-screen Snip – This option takes a screenshot of the entire screen, but does not display the Snipping Tool window.
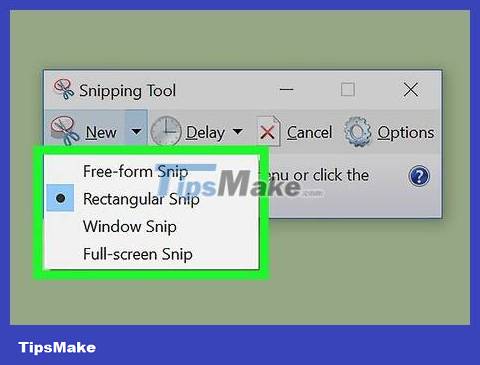
Click on the frame. The frame will be applied to the screenshot frame.
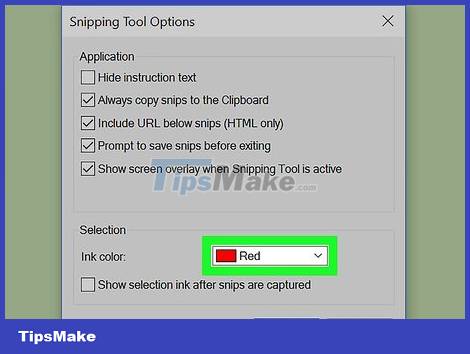
Change borders. By default, the entire snip has a red border around it. You can change it by clicking the Options button. This step will open a new window, allowing you to disable the border or change the color.
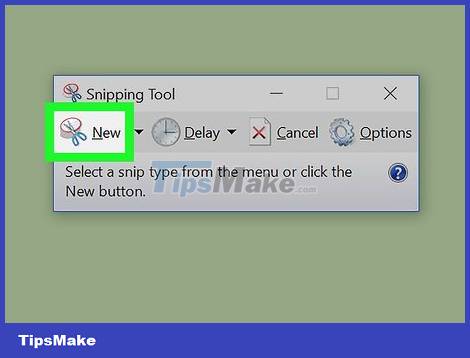
Click New . The item is on the right side of the Snipping Tool bar. The screen will go dark, and the mouse pointer will turn into a cross.
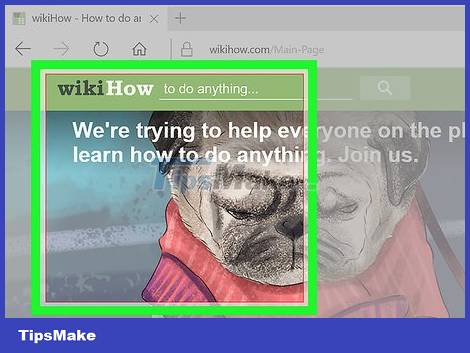
Click and drag your mouse across the screen. When performing this step, a rectangle will appear and surround the selected area.
If you select Full-screen Snip , clicking New will take a screenshot.
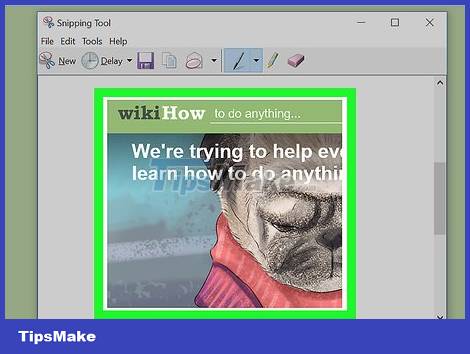
Release the mouse. This step will capture all content in the rectangular area.
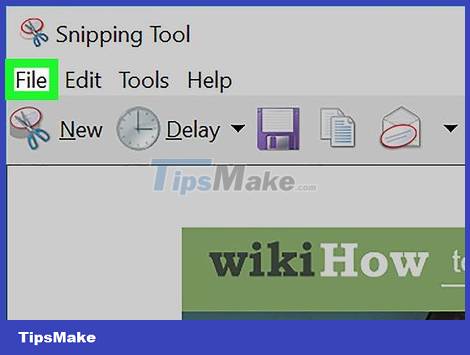
Click File . The item is in the upper left corner of the screenshot page.
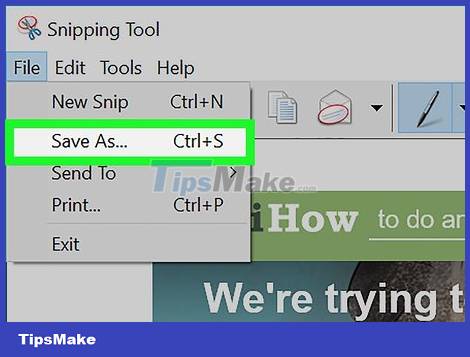
Click Save as . The option is near the middle of the drop-down box.
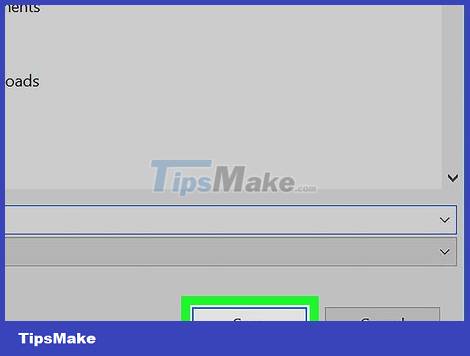
Type a name, then click Save . This step will save the screenshot to your computer's default image saving location, usually the Pictures folder.
You can change the save location by clicking the folder in the left sidebar.
You should read it
- 3 simplest ways to take screenshots of Acer computers
- 9+ ways to take screenshots of ASUS computers for details
- How to take screenshots on HP Laptop computers
- How to capture computer screen fast, self-saved, without software
- Summary of 9+ ways to take screenshots of HP computers
- How to Take a Screenshot in Microsoft Windows
 How to Edit JPG Photos
 How to Edit PDF Documents
 How to Manually Adjust Voice Using Audacity
 How to Copy (rip) DVD discs with VLC
 How to Insert Lines in HTML
 How to Insert Text in Photoshop