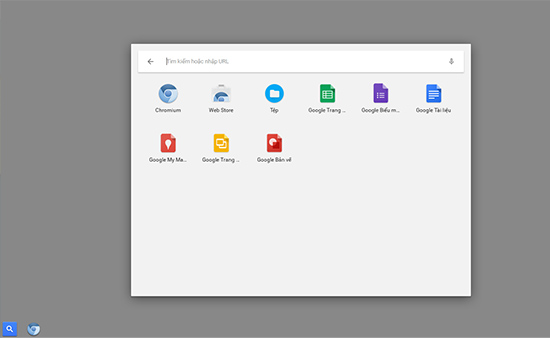
How to install Chrome OS on a laptop
1. What is Chrome OS?
Chrome OS is an open source operating system developed by Google that is much lighter than the Windows operating system. All operations of using, accessing data, using applications are performed on the Web platform .

2. Instructions to download and create a USB to install Chrome OS
Step 1: You need to use a USB with a minimum capacity of 4GB and standard 3.0 and format the USB to FAT format .
Right-click on the USB and select Fomat .

Next, at the Format interface, File system select FAT > click Start to format USB.

Step 2: Download the CloudyReady software here:
http://www.neverware.com/freedownload
In this article, I choose to download the version for Windows and save it to USB .

Step 3: Go to the link here> select Run the application to install the Recovery Utility for Chromebooks for Chrome browser .
http://chrome.google.com/webstore/detail/chromebook-recovery-utili/jndclpdbaamdhonoechobihbbiimdgai

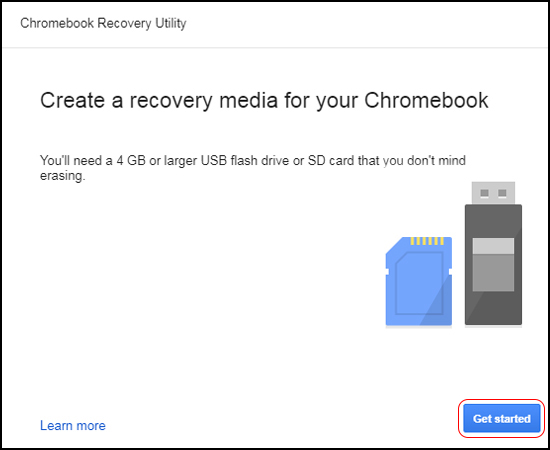
Step 4: The recovery interface appears, select Get Started to start .
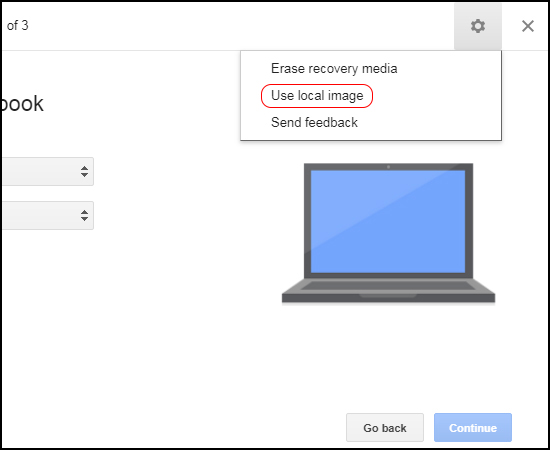
Next, click your mouse on the gear icon and choose Use local image .
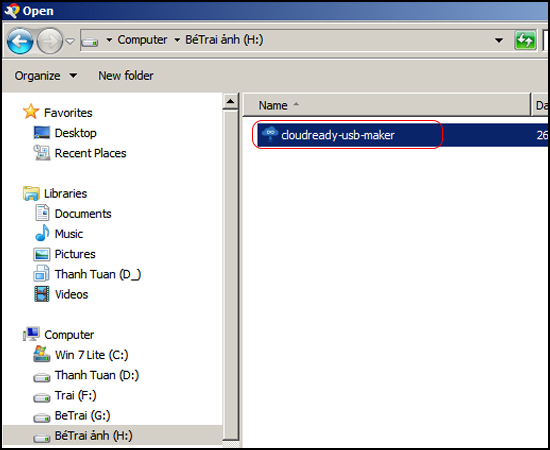
Open the folder where CloudyReady software is stored and select Open .
Click on the USB device name and continue .

Then click Continous > click Created now to start the installation process.
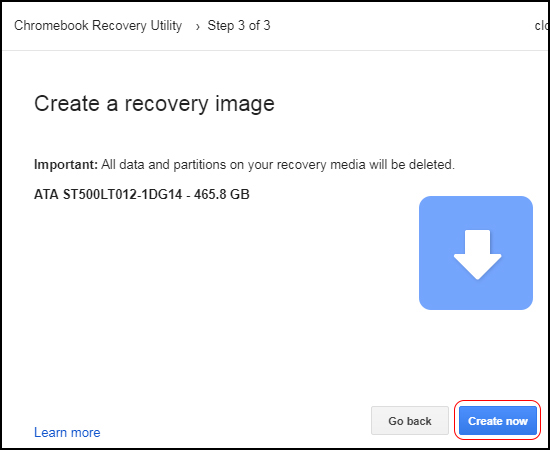
The recovery utility for Chromebooks on the Chrome browser automatically installs the version of Chrome OS to USB.
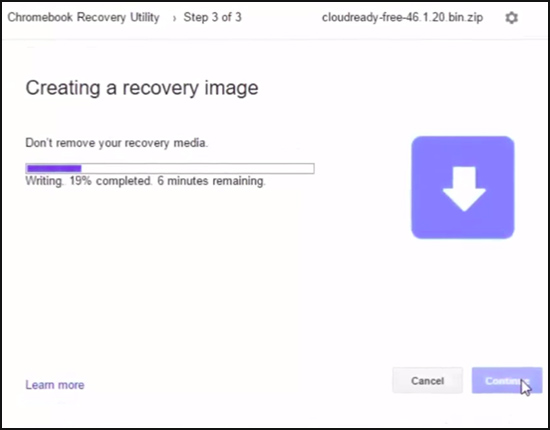
3. Detailed installation instructions
Note: In this article I will guide you to install Chrome OS directly on your own laptop and do not guide parallel running of Chrome OS and Windows operating systems, you should consider before installing offline. .
Step 1: Restart your computer and open the Boot Menu (depending on the model, there is a different way to access Boot Menu) and select Boot by USB to boot Chrome OS.
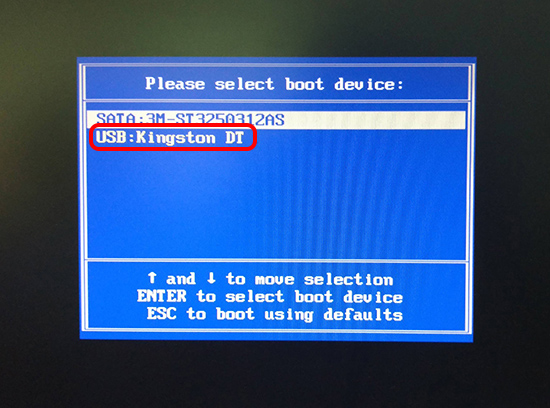
You will have to wait a bit for Chrome OS to run.
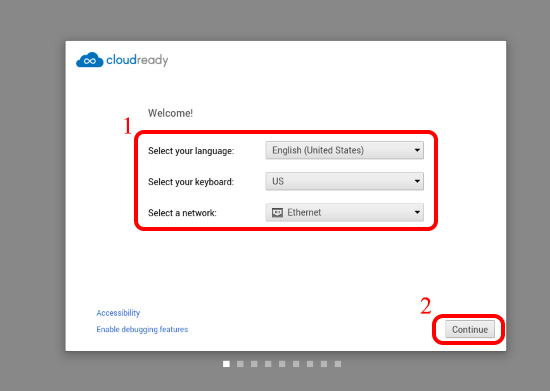
The Chrome OS installation interface appears: Select your language select the language for the operating system, Select a network option, select the wifi or wired network (Ethernet) > then select Continue to continue .
At Adobe Flash EULA interface , click Accept and install .

After installation is complete, the operating system will ask you to sign in to your Gmail account to start using . When you are done installing, you will be taken to the main screen of the Chrome OS operating system.
