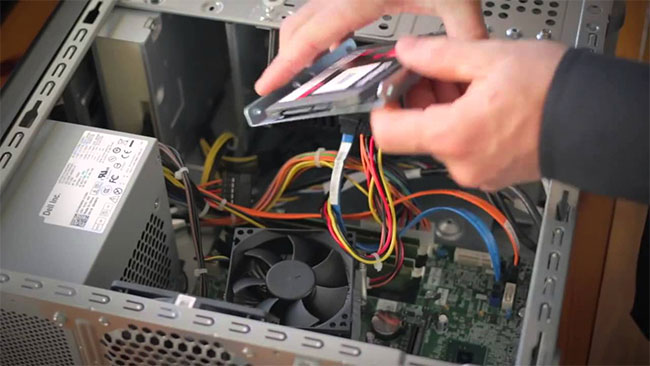
How to install an SSD for PC
Computers have changed a lot over the years. Now, people care much about performance and speed, whether launching applications and performing other activities. Everything from the processor to RAM and memory is developed in this direction. Therefore, SSD has become very popular for gamers and even other common users.
Whether you want to install an SSD on a laptop or desktop, the process is quite simple. TipsMake.com has had an article on how to upgrade a laptop hard drive to an SSD, you can refer to for more details. In today's article, we will learn how to mount SSDs for desktop.
Some note
Almost every PC has an internal compartment to install an extra hard drive for the computer. Most of the available space is 3.5 inches (about 9cm) wide, so you need a stand that fits an SSD, which is only 2.5 inches (5cm) wide.
In addition, SSD is designed with SATA data connectors with 3 versions:
1. Can transmit data at 1.5Gbps speed
2. Can transmit at 3Gbps speed
3. Can transmit at 6Gbps speed.
The good news is that even if your PC doesn't support SATA 3, SSDs are still backward compatible.
How to install an SSD for PC
Here are the steps to install SSD on PC:
1. The first thing to do is open the shield on the side of the computer. Depending on the type of PC you are using, you may need to hold down the pins on the sides. After opening this protective shield, you will have access to the drive bays, as well as the motherboard and the SATA ports.
2. After selecting the appropriate bracket or holder for the SSD, put the SSD in and then tighten it to secure it.
3. Now, you can screw the stand with the SSD into its place.
 Screw the stand with the SSD into place
 4. Once completed, you will need to connect the SATA cable to the SSD. Make sure you have also connected the SATA power cable to the drive.
 Connect SATA cable to SSD
 5. If you want to use the drive to install the new Windows operating system, disconnect any other drives connected to the computer. Insert a USB memory stick or DVD with the version of Windows you want to install.
6. Start your PC and then, during processing, press F12to take you to the boot menu, where you will select the disk or USB containing the Windows operating system. Follow the next instructions to install Windows on SSD.
7. Replace the hard drive when everything is complete, then return the shield to its original position. Even though the new Windows operating system is on an SSD, you'll still find all the old data and files on your hard drive.
8. Right now, you can decide whether to install the most used programs on SSDs for better performance. You will need to specify where you want to install the program. If the settings are left by default, they will be automatically installed where you installed Windows.