How to import Recovery Console in Windows XP?
Windows Recovery Console is one of the tools to help restore the system when it doesn't boot as expected or can't boot. In the following article, Network Administrator will guide you how to enter Recovery Console in Windows XP.
1. Start Windows XP from the CD drive

To install Recovery Console in Windows XP, you must start Windows XP directly using the Windows XP installation CD drive.
Step 1:
On the screen you will see the message Press any key to boot from CD .
Step 2:
Enter any key to restart your computer from the CD drive.
If you do not press the key, your computer will continue to boot to the installed Windows XP installation on your hard drive. If this happens, just reboot and try booting Windows XP with the CD drive again.
2. Allow Windows XP to start the setup process

In this step, users do not need to intervene. Windows XP will download some files to prepare to reinstall Windows XP or use the Recovery Console.
Note:
In the process you cannot press any function key if required. This option is only required when installing Windows XP or reinstalling Windows XP and in certain cases.
3. Press the R key to enter the Recovery Console

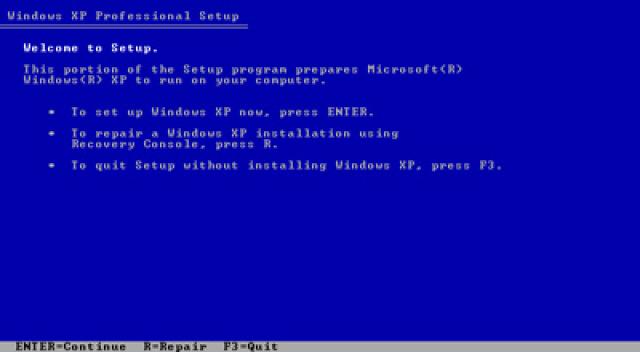
When the Windows XP Professional / Home Setup screen appears, press R to enter the Recovery Console.
4. Select Windows installation

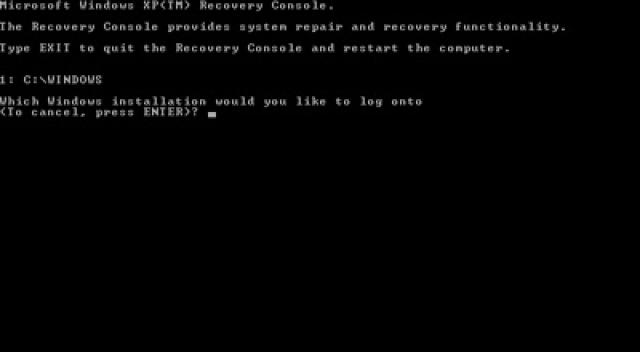
On the screen you will see the question Which Windows installation would you like to log onto , just enter the number 1 and press Enter.
5. Enter Admin password

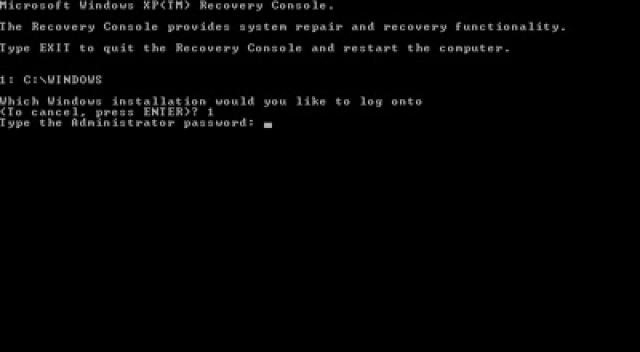
You must enter the Admin password to install Recovery Console in Windows XP.
If you are not sure what Admin password is, you can use the Offline program NT Password & Registry Editor. Offline Password Password Password NT Registry & Registry Editor is a tool that allows you to reset lost Windows passwords, as well as convert User accounts to Admin accounts.
Download Offline NT Password & Registry Editor to your computer and install it here.
If the screen of the Admin password (Type the Administrator password) appears on the screen, enter the password and press Enter.
Note:
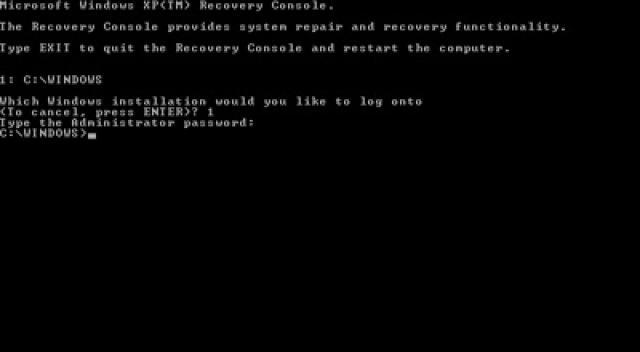
If your computer does not have a password or Windows XP starts normally without requiring a password, simply press Enter.
6. Change the Recovery Console in Windows XP when needed

You can change the Recovery Console in Windows XP when needed. After you have completed the process, remove the CD drive and enter Exit and restart your computer.
Note:
Some of the commands available will be limited when you use the Recovery Console.
You can refer to some of the following articles:
-
Create a Recovery Console recovery disk in Windows XP
-
How to login to Windows XP when you forget or lose your password
-
Install and use Recovery Console in Win XP
Good luck!
You should read it
- ★ Add Recovery Console to the boot menu on Windows XP
- ★ What is Microsoft Management Console (MMC)? Steps to use Microsoft Management Console
- ★ What is the Bootcfg command?
- ★ How to create a Recovery partition to customize Windows recovery
- ★ Windows File Recovery: Microsoft's free data recovery application