How to enable Windows Protected Print on Windows 11
Windows Protected Print Windows 11 feature helps users better control the printing process, minimize the risk of vulnerabilities and protect sensitive information in printed content..
Windows Protected Print feature in Windows 11 helps users have better control over the printing process, minimize the risk of vulnerabilities and protect sensitive information in the content when printing. With this setting, the printing device when connected to the computer is also more secure. Below are instructions for enabling Windows Protected Print on Windows 11.
How to enable Windows Protected Print on Windows 11
Step 1:
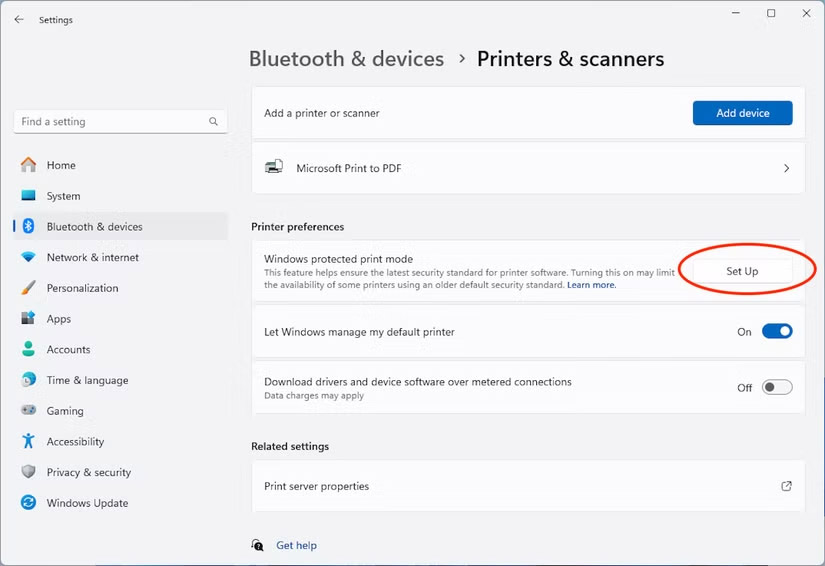
Press Windows + I to access Settings, then click Bluetooth & Devices in the list on the left. Now select Printers & Scanners to adjust the printer connected to the computer.
Users scroll down to Printer Preferences, click Set Up at Windows Protected Print Mode.
Step 2:
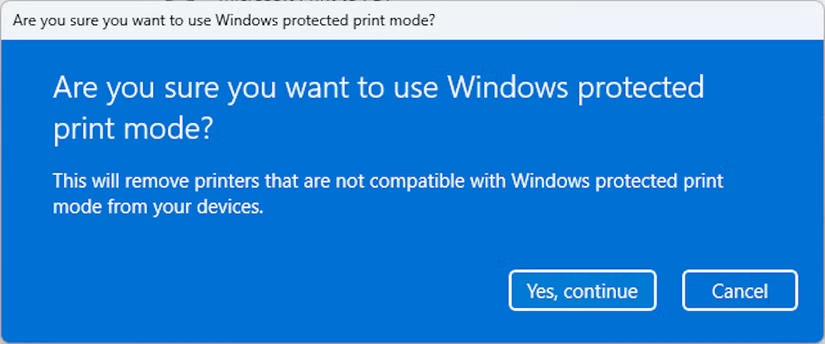
Your computer will now display a message confirming that you want to enable protected printing. If your printer or other device is not compatible, you will receive a warning. Click Yes, Continue, or Cancel to cancel.
So printing on Windows is somewhat protected.
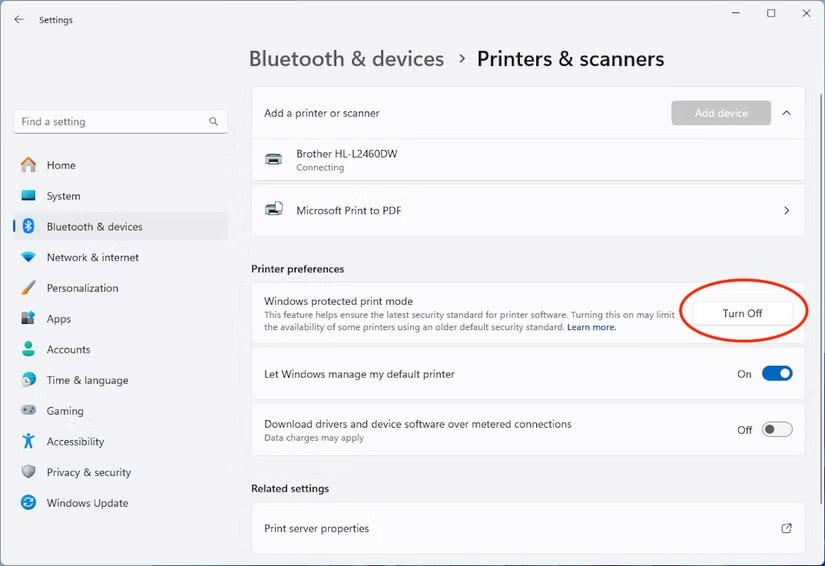
Step 3:
In case the user wants to turn off this mode, just press Turn Off to stop.