How to Edit Group Policy in Windows XP
Method 1 of 2:
Run at user logon policy
- This option is utilized when you would like to develop or edit the list of applications that load automatically when you log into your PC. To do so, follow the instructions listed below:
-
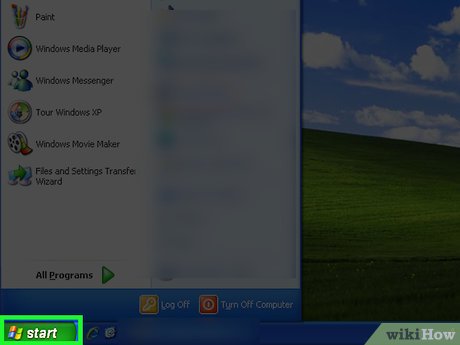
 Click the Start button from the taskbar.
 -
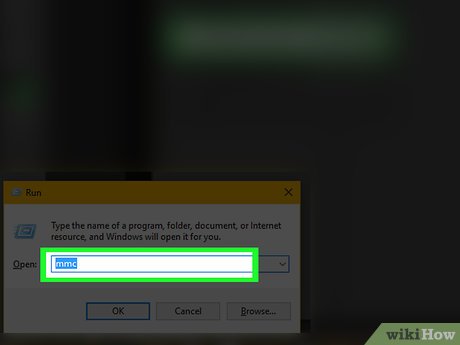
 From the popup menu choose Run and in the dialog box that appears, type mmc and press the enter key or click OK.
 -
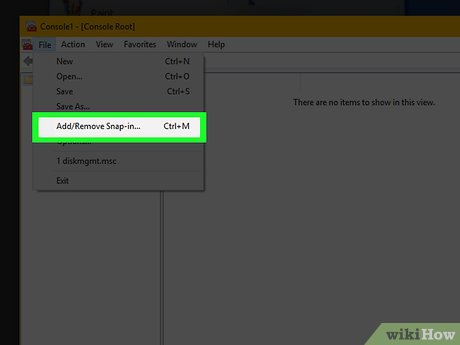
 Click File from the menu bar and in the drop down list choose Add or Remove Snap-in and choose Add.
 -
 Look for the tab labeled Available Stand-alone Snap-ins and click on Group Policy Object Editor. Thereafter click Add and then choose Finish.
Method 2 of 2:
Editing Other User
-
 If you do not wish to edit the Local Computer Policy, click on the button labeled Browse to search the Group Policy object which you want. Provide your user name plus password when prompted for it.
 -
 Click finish when you are taken back to the Select Group Policy Object dialog box.
 -
 Select the Close button and then click OK in the Add or Remove Snap-in.
 -
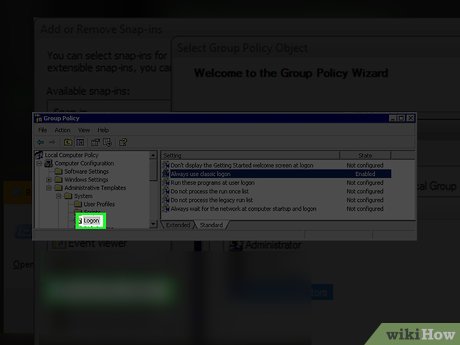
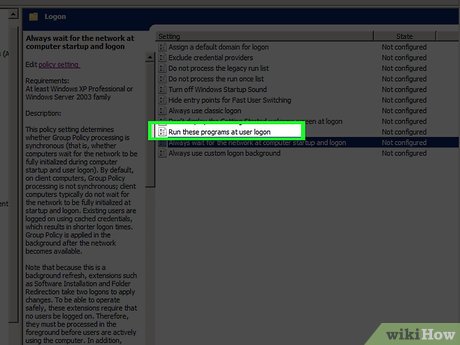
 Extend the Local Computer Policy located in the left pane of the Group Policy Snap-in. In addition, extend the Computer Configuration as well as the Administrative Templates. Extend the System object and then click on the Logon object.
 -
 Double click on the "Run these programs at user logon" from the right pane of the window.
 -
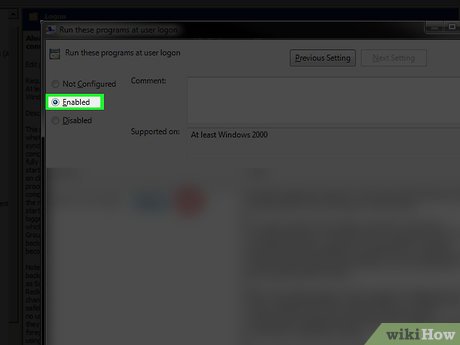
 Look for the button labeled Enabled and click on the option labeled Show. In the dialogue box that appears choose Add and type the name of the executable application (.exe) file or any other document which you may want and then click on OK. You have to outline the path to the files. But, if the files are stored in the %Systemroot% directory, you do not have to outline the path.
 - Repeat the above step to include extra objects to the Items to run at logon list and then click OK two times.
Share by
David Pac
Update 04 March 2020
