Use Group Policy Filtering to create a NAP DHCP enforcement policy - Part 1
Thomas Shinder
Network Access Protection (NAP) is a new network access feature in Windows Server 2008. NAP allows you to control which computers can join the network. Whether or not the ability to join the network is determined by the NAP client is sufficient to meet the security factors needed for your NAP policies.
NAP has a number of 'dynamic parts', which make it complicated to configure. In addition, there is a problem with the type of NAP enforcement you want to activate. For example, there are a number of NAP Enforcement Client controls access to the network based on IP address information, or based on whether the client has a good status certificate to allow it to connect to the network.
In this article we will help you implement a simple DHCP NAP enforcement solution. When you use DHCP NAP enforcement, the DHCP server becomes the network access server. This means that it will be responsible for the DHCP server to provide NAP clients with information that matches their performance level. If the NAP client is fully qualified, it will receive IP addressing information to allow connection to another computer on the network. In case if the NAP client is not qualified for your network health policy, the NAP client will be assigned IP addressing information to limit the connectivity of this computer. Typically, your NAP policy allows unqualified computers to connect to domain controllers and network infrastructure servers, as well as machines that will allow unqualified computers to negotiate. and so will become qualified.
In the DHCP NAP execution scenario, other services are also required. If the DHCP server is a network access server in the scenario, a RADIUS server is required to contain NAP policies. There are a number of policies stored in NAP-compatible RADIUS servers, such as health policies, network policies, and connection request policies. In Windows Server 2008, Network Policy Server (NPS) is used as a RADIUS server to contain NAP policies. The NPS server will work with the DHCP server and declare your DHCP server to see if the client is NAP compliant with your policies.
To set up health policy, you need to install at least the Security Health Validator (SHV) on the NPS server. By default, Windows Server 2008 will provide you with the Windows Security Health Validator that you can use to set up your network health policy.
On the client side, there are two components that you need to activate: - NAP Agent and client to execute NAP. The NAP Agent will collect information about the security state of the NAP client, and the NAP Enforcement Agent is used to enforce the NAP policy, depending on the type of NAP enforcement you choose. In the scenario that will be used in this series, we will enable NAP Enforcement Agent. The example network is a very simple network. It consists of three machines:
-
Windows Server 2008 Domain Controller. No other services are installed on this server. The IP address assigned to the computer is 10.0.0.2, this computer is a domain controller in the msfirewall.org domain .
-
Windows Server 2008 member in the msfirewall.org domain. The IP address of this computer is 10.0.0.3 . This computer will have DHCP and NPS services installed, these are the two services we will be running throughout this series.
-
Windows Vista client is a member of msfirewall.org.
-
In this series, we will follow the procedures below:
-
Create a security group so that NAP clients will be set up properly.
-
Install NPS and DHCP services on the member server
-
Use NAP wizard to create NAP DHCP enforcement policies
-
Review the connection request policy
-
Review network policies
-
Review health policies
-
Configure the DHCP server to communicate with the NPS server that is executing NAP
-
Configure NAP settings in Group Policy
-
Enter the Vista computer into the group of NAP enforcement computers
- Check the solution
Create security groups for NAP clients
The first thing we will do is create a security group for computers that use NAP policy. Open the Active Directory Users and Computers console, then right-click the Users button. Point to New and click Group .
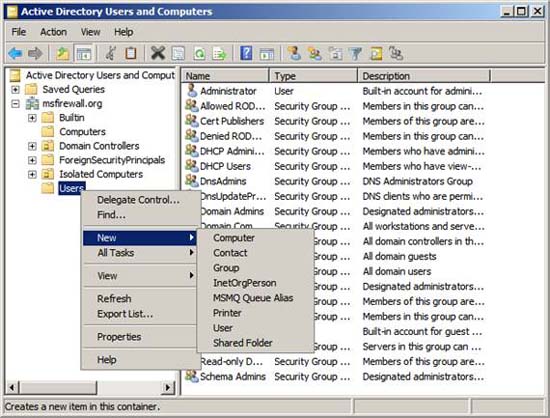
Figure 1
In the New Object - Group dialog box , enter NAP Enforced Computers in the Group Name input box. Select the Global option from the Group scope list and select the Security option from the Group type list . Click OK .
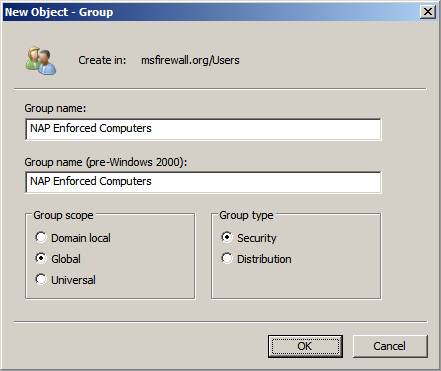
Figure 2
Install NPS and DHCP on the NPS server
The NPS computer will maintain the Network Policy Server and DHCP server roles. Note that you can set up a DHCP server on another computer instead of the NPS server that will configure NAP policies, but you will still need to configure that DHCP 'remote' server as a DHCP server and machine. host NPS, and then configure the NPS server to send authentication requests to the NAP server. To make things easier, we just need to set up NPS and DHCP servers on the same machine.
In the Server Manager interface , click the Roles button, then click the Add Roles link , see what is shown in the figure below.
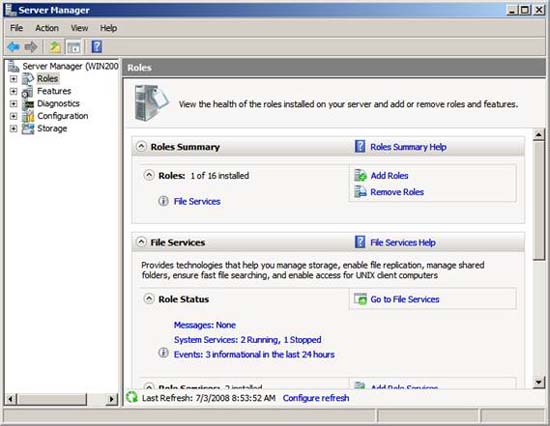
Figure 3
Click Next on the Before You Begin page .
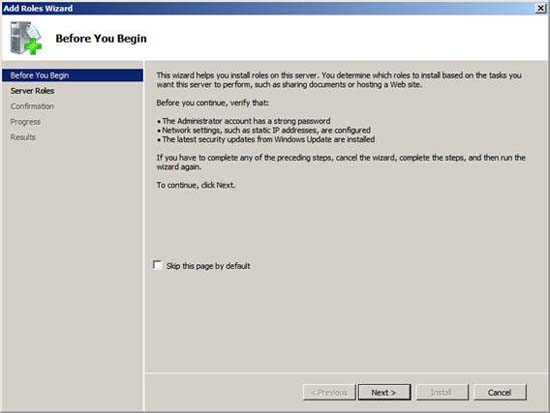
Figure 4
On the page, check the checkboxes in the DHCP Server and Network Policy and Access Services . Click Next .
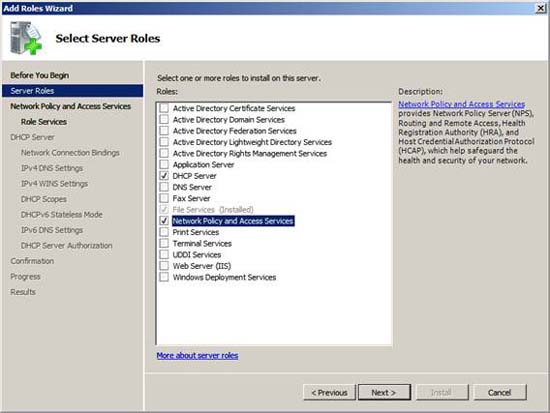
Figure 5
Read the information in the Network Policy and Access Services page , and then click Next .
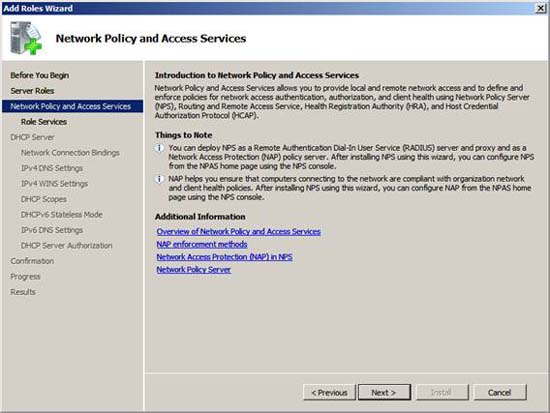
Figure 6
We do not need all role services provided by the Network Policy and Access Services role, just go to the RADIUS (Network Policy Server) role. Check the Network Policy Server checkbox . Do not select any other options, then click Next .
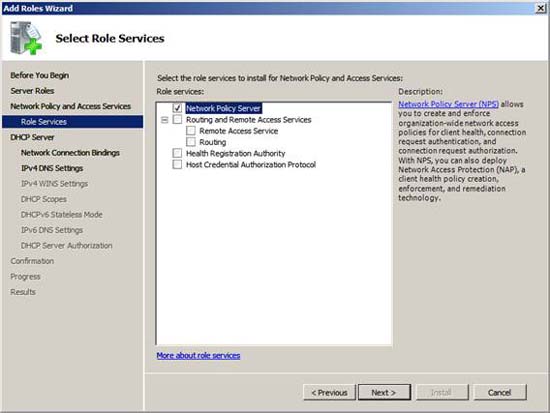
Figure 7
Read the information in the DHCP Server page and click Next .
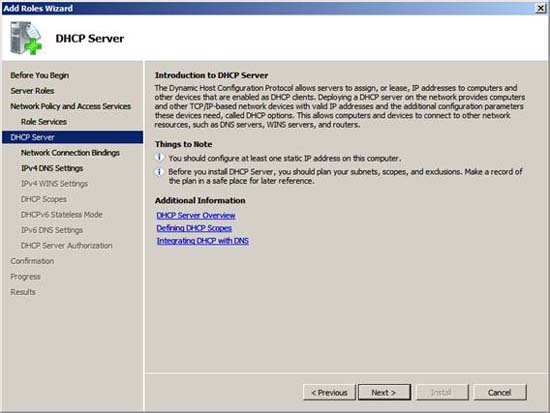
Figure 8
Server Manager will make you feel easier than previous managers, which allows you to configure the DHCP server during the installation process. On the Select Network Connection Bindings page, select the IP address that you want the DHCP server to check. The choice you make here depends on the complexity of the DHCP environment because you can configure one of many DHCP transitions in the organization, and so there are many IP addresses assigned to a server. DHCP. However, this is not in this scenario because we only have one IP address assigned to this computer. Check the checkbox in the IP address box, then click Next .
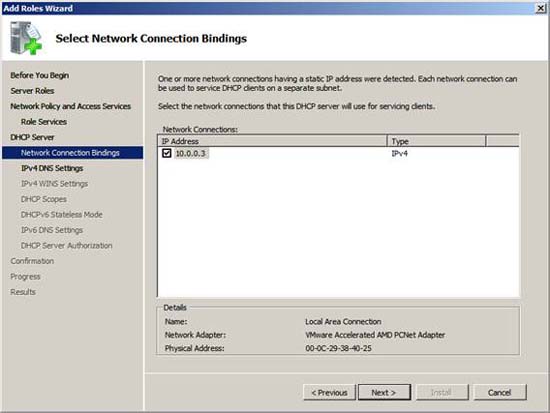
Figure 9
On the Specify IPv4 DNS Server Settings page , you can change the configuration of some DHCP options. Enter the domain name in the Parent Domain text box and enter the IP address of the DNS server in the Preferred DNS Server IPv4 Address text box . In this example, our domain name is msfirewall.org so we will enter that domain name. The IP address of the DNS server is 10.0.0.2 , so we will enter this IP address. Since we do not have a DNS server in this example, please click Next .
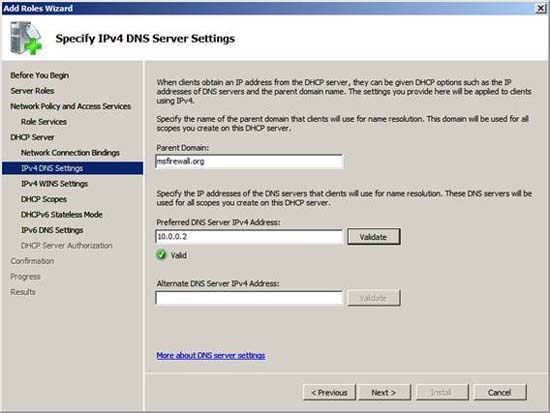
Figure 10
We do not have a WINS server in this example network so we will not enter anything on the Specify IPv4 WINS Server Settings page . Select only the required option for applications on this network and click Next .
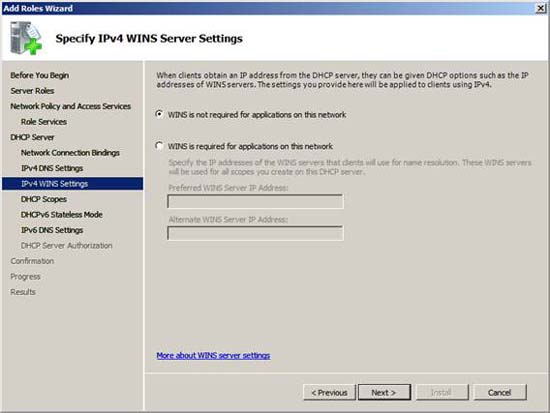
Figure 11
In the Add or Edit DHCP Scopes page, click the Add button. In the Add Scope dialog box , enter the Scope Name , the Starting IP Address , the Ending IP Address , the Subnet Mask , the Default Gateway , and select the release time interval. The figure below shows our entries for options in this example network. Click OK in the Add Scope dialog box .

Figure 12
Click Next in the Add or Edit DHCP Scopes dialog box .
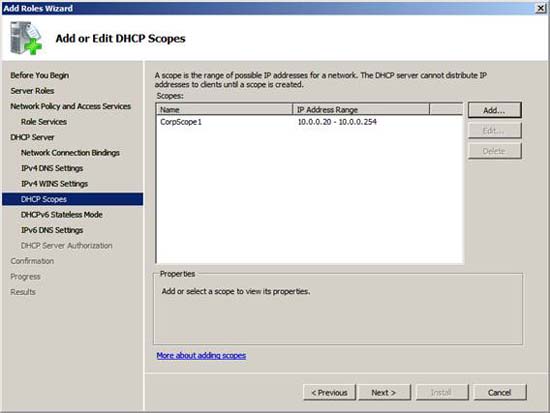
Figure 13
We will not use IPv6 in this example network, so select the option Disable DHCPv6 stateless mode for this server and click Next .
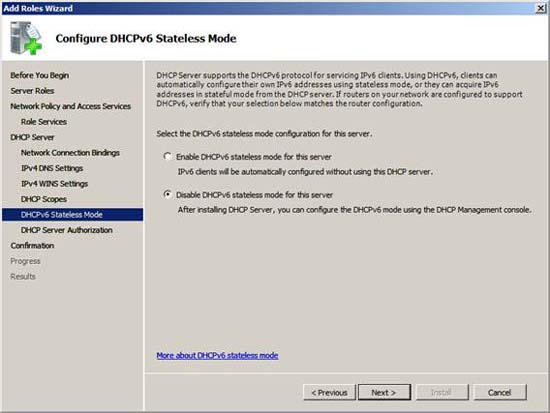
Figure 14
To operate in our domain, this DHCP server needs to be authenticated in Active Directory. Select the option Use current credentials if you are logged in as the domain administrator. If not, select the Use alternate credentials option and click Specify . In this example, we logged in as a domain administrator and so will select the Use current credentials option and then click Next .
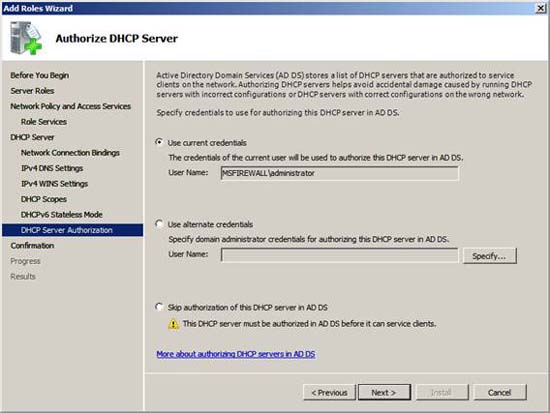
Figure 15
Review your settings on Confirm Installation Selections and click Install .

Figure 16
Click Close on the Installation Results page after you have seen the successful installation of NPS and DHCP servers.
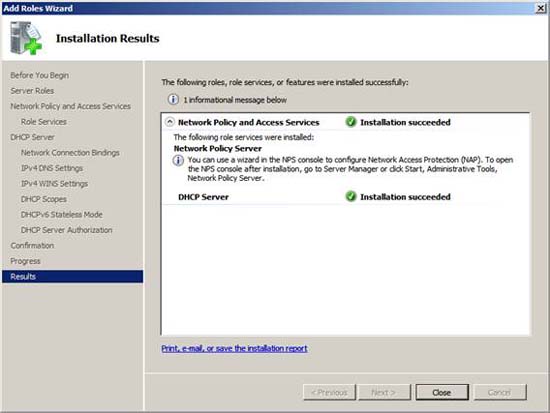
Figure 17
Conclude
In part 1 of this series of using this NAP DHCP implementation, we introduced some of the basic NAP concepts. Then, we created a security group for NAP clients and ended up installing NPS and DHCP server components in the solution. In the second part of this series, we will use the NAP wizard to create a NAP DHCP enforcement policy, then introduce the settings created by the wizard.