How to create USB Kaspersky Rescue Disk to kill computer viruses
When your computer is infected with a virus that cannot access Windows, we immediately think of a solution to reinstall Windows or ghost again. However, we can boot the computer using Kaspersky Rescue Disk software to remove viruses for the computer, bring the computer back to work without reinstalling Windows or ghosting the machine.
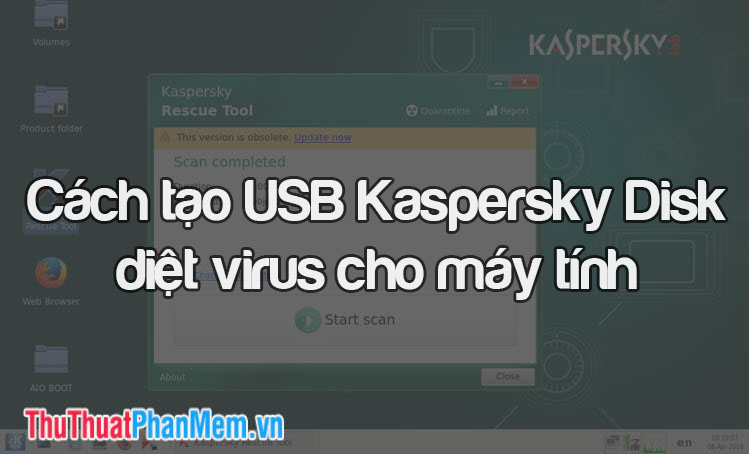
1. Create USB Kaspersky Recue Disk with Rufus software
First, you must have a USB with at least 1 GB of memory along with two tool tools that are Rufus (USB boot creation tool) and Kaspersky Rescue Disk . You download 2 tools on the computer at the link below:
Rufus: https://rufus.ie/
Kaspersky Rescue Disk: https://rescuedisk.s.kaspersky-labs.com/updatable/2018/krd.iso
Step 1: You plug the USB into the computer and open the software Rufus . Then you choose the correct USB name and then select Select .

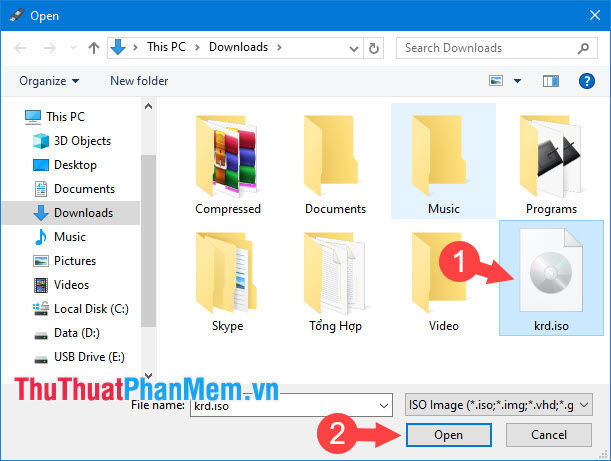
Step 2: Select the iso file of Kaspersky Rescue Disk and open ( Open ).
Step 3: You choose the standard USB (Partition scheme) is MBR, the USB (File system) format is FAT32 and press START to start.

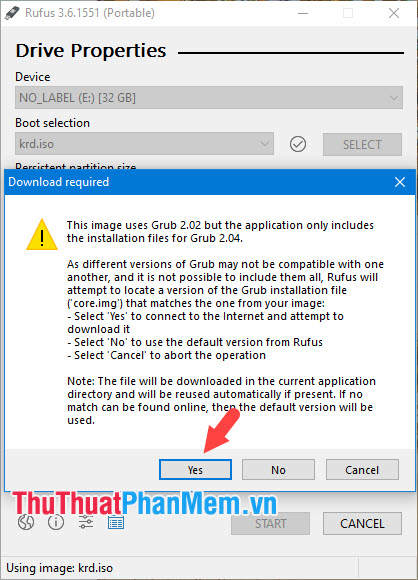
Click Yes when the message appears as shown below.
Step 4: Select the first line Write in ISO Image mode (Recommended) and click OK .

So we have created USB Kaspersky Rescue Disk successfully, please reboot your computer to check it out.
2. Boot and boot your computer with USB Kaspersky Recue Disk
You insert the USB containing Kaspersky Recue Disk into the computer and restart. Then go to the Boot menu and find the USB device containing the Kaspersky Recue Disk installer. If you do not know how to enter the Boot menu, please refer to the following article: http://TipsMake.vn/phim-tat-vao-boot-option-boot-menu-tren-may-asus-dell-hp- sony-vaio-acer-lenovo-thinkpad /
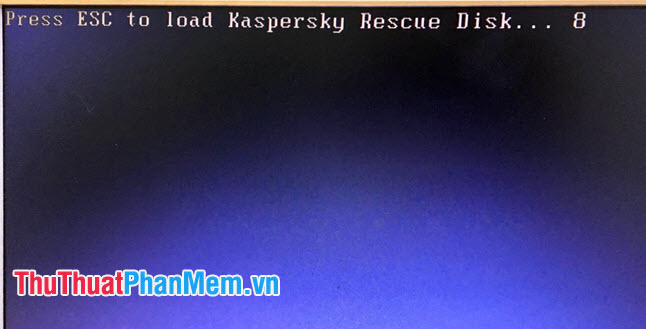
Step 1: After the Boot successfully, press the Esc key to continue.
Step 2: Select the English language (English) and press Enter .

Step 3: Kaspersky's Boot interface will have the following interface and options.
Kaspersky Recue Disk, Graphic mode: This option will allow us to Boot into the computer with the interface of the Linux operating system with full features such as web browser, virus scanner .
Kaspersky Recue Disk, Limited graphic mode: This option provides us with a simpler interface with command lines and does not have the full functionality of a gracphic mode interface .
Hardware Info: View machine information.
Reboot: Restart the computer.
Shut down: Shut down .
We should use Kaspersky Recue Disk, Graphic mode option to use the interface fully and easily to manipulate.

Step 4: After the Boot is successful, the Kaspersky software message will appear, tick the 2 lines below (1) and click Accept (2) to continue.

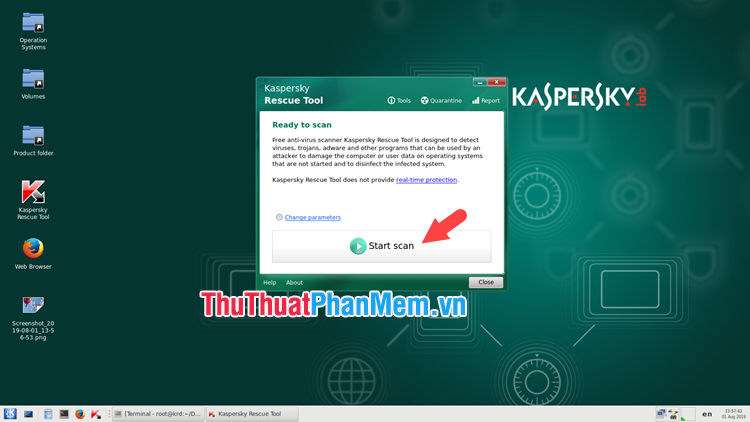
Step 5: Click Start Scan to Kapersky scan for viruses on your computer.
So we have completed the creation of the Kaspersky Recue Disk USB successfully. You can use USB to Boot into any computer that fails to load Windows and remove viruses through Kaspersky software. Good luck!