Table of Contents
This updated guide examines Steps to Remove Temporary Files Stored on Kaspersky and organizes the essential facts, background, and practical takeaways in clear American English.
After a period of use, the number of files will gradually increase and occupy a large amount of hard drive memory. This is one of the reasons why your computer is getting slower and slower.
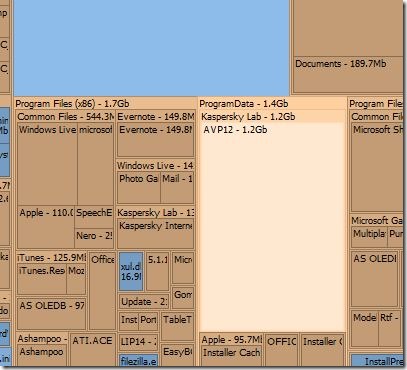
Therefore, to free up hard disk space as well as to make the computer run smoother, you should delete the temporary storage files on Kaspersky.
To delete the temporary files stored on Kaspersky, please refer to the following article of Network Administrator.
Note:
This applies to Windows 7, Windows 8 / 8.1 and Windows 10.
Steps to delete temporary files on Kaspersky:
Step 1:
Double-click the Kaspersky icon in the system tray to open Kaspersky.
Step 2:
On the Kaspersky interface, click Settings in the top right corner and then switch to the Advanced Settings tab .

Step 3:
Disconnect all Internet connections on your computer in preparation for disabling temporary storage files on Kaspersky.
Step 4:
At the Advanced Settings section, click the option Self-Defense then leave the Enable Self Defense option in the right frame and then click Apply.

Step 5:
Right-click the Kaspersky icon in the system tray and click Exit .
Step 6:
Open the Windows installation drive, then navigate to the path:
ProgramDataKaspersky LabAVP12DataUpdater
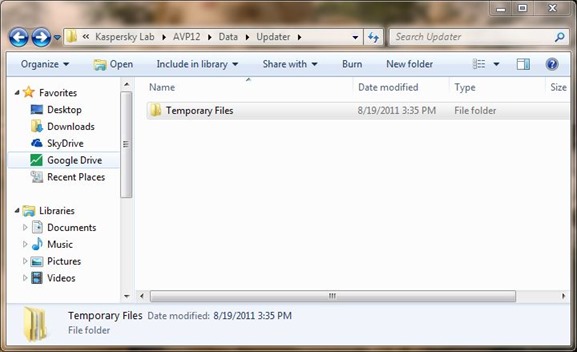
Note, you need to enable Show hidden files and folders before moving to view on the ProgramData folder.
To enable the option Show hidden files and folders, first open the Folder Options dialog box, then go to the View tab and look for the Show hidden files and folders option to activate the option.
You can refer to how to overcome the phenomenon of hidden virus files in explorer here.
Step 7:
Here you find and select the Temporary File folder and delete the folder.
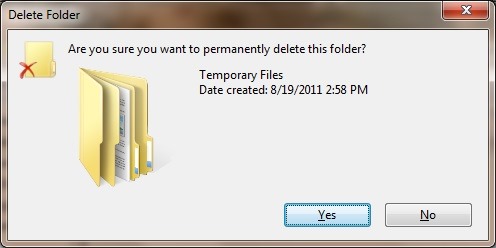
Once completed, run Kaspersky and activate Self Defense by navigating Settings then selecting Advanced Settings .
Refer to some of the following articles:
- Instructions for changing language interface on Kaspersky Lab security programs
- Windows Defender is disabled or inactive, this is a fix
- Remove "rooted" programs that have not been removed completely on Windows 7, XP
Good luck!
FAQ
What is Steps to Remove Temporary Files Stored on Kaspersky about?
It provides a structured overview of Kaspersky, explains the main context, and highlights practical takeaways for readers.
Why does this topic matter?
Understanding the main concepts helps readers evaluate the issue, avoid common mistakes, and make better-informed decisions.
How should readers use this information?
Use the guidance as a practical starting point, confirm details that may have changed, and follow current product, safety, or security recommendations.
Related Articles
 What Is Temporary File? How to Delete Temporary Files on4 minutes read
 Click: How to Locate Temporary Internet Files9 minutes read
 TEMPORARY TABLE Temporary Table in SQL6 minutes read
 Click: How to Delete Temporary Files in Windows 77 minutes read
 Kaspersky Cleaner - Software to Clean, Remove Junk Files, Optimize the Best3 minutes read
 How to Fix Temporary Files Taking up a Lot of Space on Your Computer7 minutes read
Reader Comments 0
Sign in with email or Google to join the discussion.