Table of Contents
This guide provides a practical overview of Instructions on How to Use Clone Stamp in Photoshop, including its main features, benefits, limitations, and important considerations.
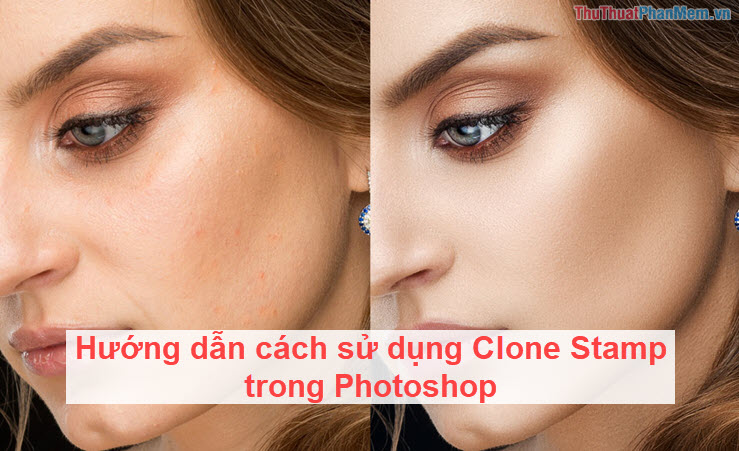
I. What is Clone Stamp?
Clone Stamp in Vietnamese means virtual stamp and its use is the same as the definition in Vietnamese. Clone Stamp will copy a small area of data on the image (forming a seal) and you use it to close on the image to overlap the original content.
Clone Stamp is most often used by photographers, because no one is perfect on the pictures, they still have some defects. The editors have to intervene with the software to make the photo samples more beautiful and perfect.
Some applications of Clone Stamp are: Remove acne, eradicate acne, remove hair, remove junk.
II. Instructions on how to use Clone Stamp in Photoshop
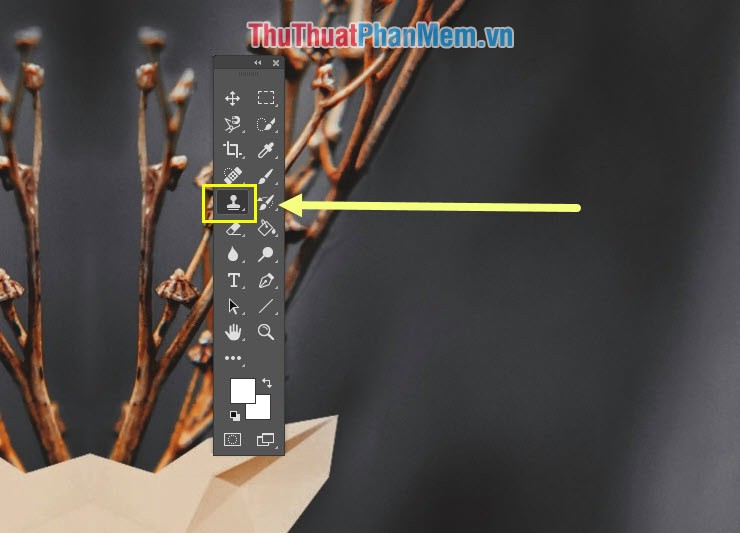
Step 1: Open the image you need to edit and select the Clone Stamp tool (Shortcut S ).

Step 2: Before we begin we need to set up some information about editing strokes:
- Size: Pen tip size
- Mode: Blending mode
- Opacity: Darkness / lightness
- Flow: Smoothness (density / lightness of pen edges)

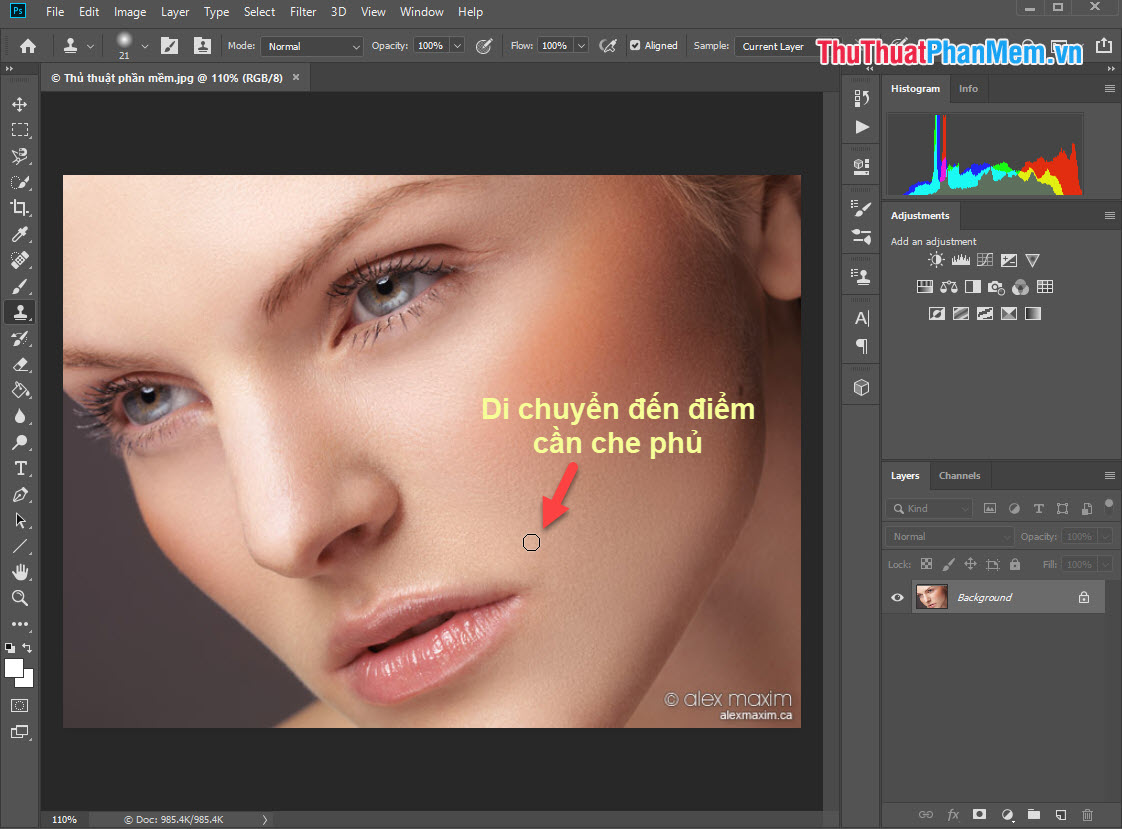
Step 3: After you set up the Clone Stamp brush, we started as follows.
You hold ALT and left click on the image area we want to copy to create Clone Stamp .

Step 4: Once you've copied the image area, remove the ALT and move the mouse to the area where the image should be overlaid. Then you left-click to override Clone Stamp .
Photoshop's algorithm automatically recognizes the content you are manipulating and aligns the lighting and color parameters so that you don't need to worry.
For example: In this image, the software trick wants to focus on treating acne on the face of the sample image.
Step 5: So we have successfully removed the acne on the face pattern.
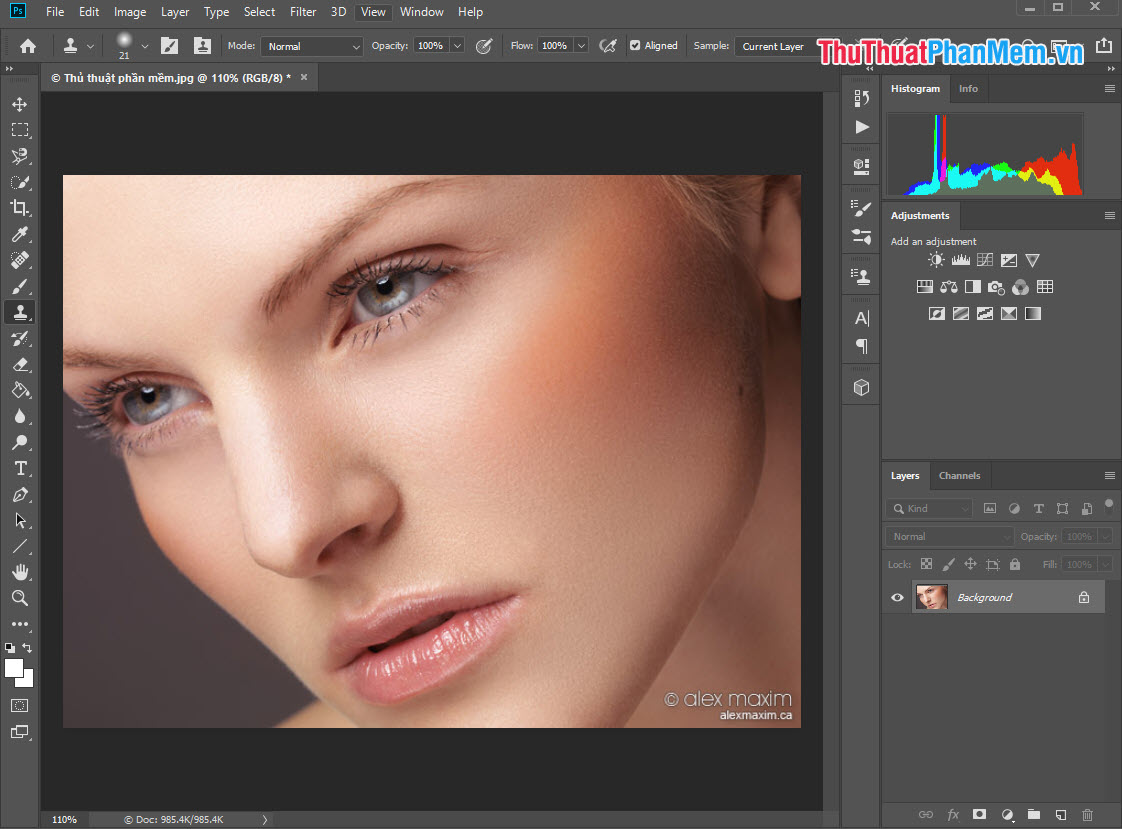
Step 6: Try Zoom (Ctrl + +) to test it.
The results after editing are very homogeneous, it is impossible to find the difference between the original content and the newly edited content.

Tip: When you select the Clone Stamp point, select the area that is most beautiful and closest to the area we want to overlap with Clone Stamp to get the most consistent uniformity.
In this article, Software Tips introduced you to Clone Stamp and how to use them most effectively. Have a nice day!
FAQ
What should I know about Instructions on How to Use Clone Stamp in Photoshop?
Focus on the key features, requirements, limitations, and practical use cases explained in this guide.
How do I get the best results with Instructions on How to Use Clone Stamp in Photoshop?
Follow the recommended steps, use current software or information, confirm compatibility, and review settings before major changes.
Are there any risks or limitations?
Potential limitations depend on compatibility, data quality, cost, privacy, support, and how the product or method is used.
Related Articles
 4 Ways to Use the Clone Stamp Tool in Photoshop7 minutes read
 How to Recording a Clone Effect Video on TikTok4 minutes read
 CLONE TABLE in SQL5 minutes read
 How to Use the Clone Tool in GIMP2 minutes read
 Quick Clone in Canva: How to Clone Quickly in Canva3 minutes read
 Instructions for Using Photoshop for Newbies: Adobe Photoshop19 minutes read
Reader Comments 0
Sign in with email or Google to join the discussion.