How to create a grid in Photoshop
When you need to work with content that needs precise division, creating a grid in Photoshop is extremely necessary, when creating the grid, you will have the milestones to deploy content and ideas. However, creating a grid requires a lot of skill set parameters to get the most beautiful grid frame with high accuracy.
Table of Contents
1. Create a freehand grid
If you only need to create a grid to get milestones, regardless of the size or distance between the cells in the grid, you can do the following:
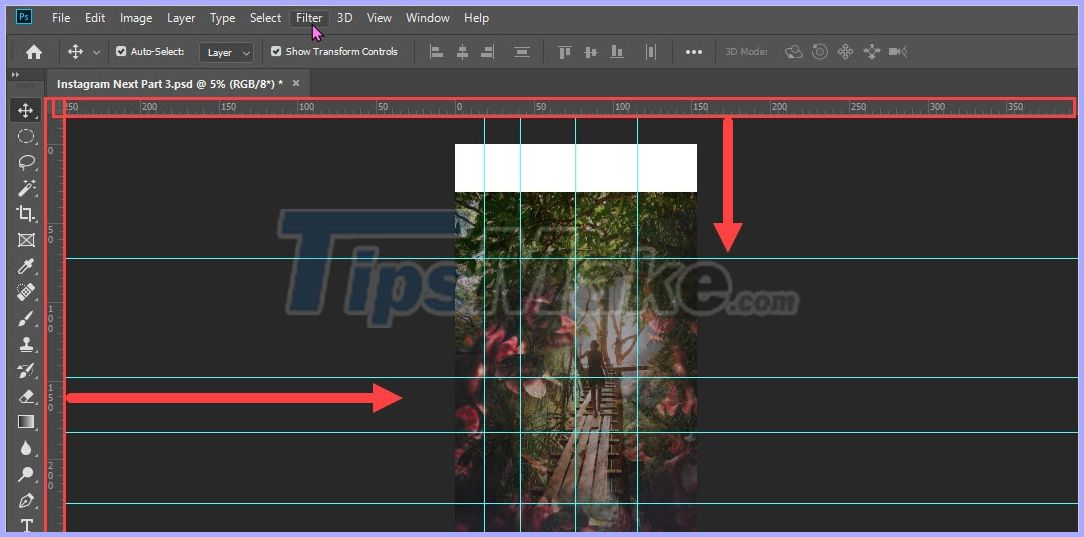
You proceed to hold down the left mouse button on the bar and drag down the framework. Each time you do this you will create a grid line, repeated you will get a lot of mesh on the screen.
To delete the free mesh, you just need to hold and click on the grid bar and drag them back to the ruler area to automatically delete.
2. Create an even grid of images
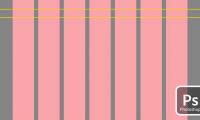
This method is used when you want to create squares, grid lines of equal size and straight, evenly divided from the main working frame.
Step 1: First, select View -> New Guide Layout .

Step 2: When the New Guide Layout window appears, you proceed to set the following information:
1. Columns: Vertical columns
- Number: The number of cells to divide
- Width: The width of the cell
- Gutter: The thickness of the grid line
2. Rows: Horizontal rows
- Number: The number of cells to divide
- Height: The height of the cell's height
- Gutter: The thickness of the grid line
If you want to split cells equally based on the size of the working frame, then you set Width and Height to 0.00cm, the system will default to split the size equally.
Typically, Gutter (size grid thickness) people will also set to 0.00cm always so they do not take up too much work area on the screen. If you leave Gutter big, they will hide a lot of details on your main canvas.

3. Move the gridlines
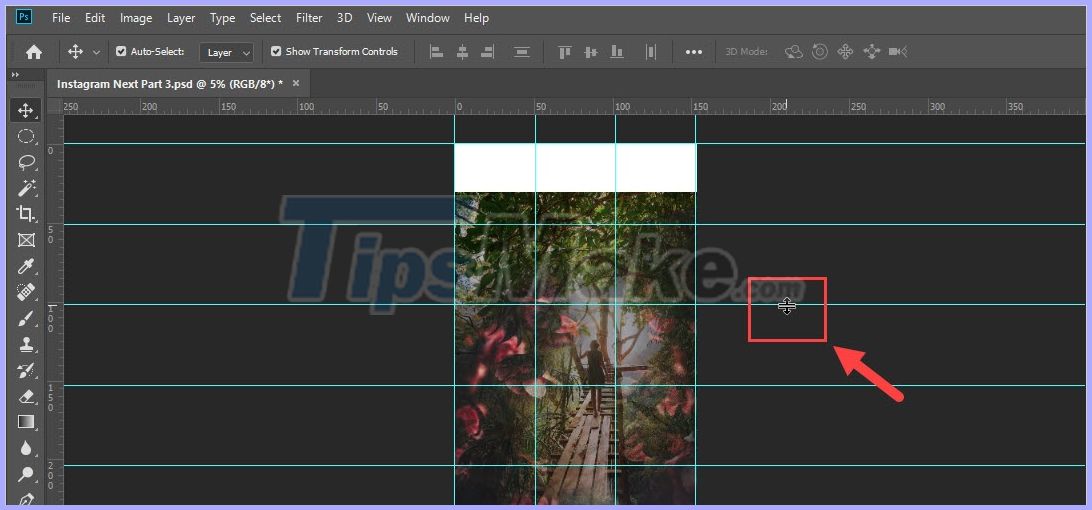
To move the grid line, you just need to move to the grid line, the mouse pointer will switch to the Move tool. You proceed to hold and right click on the grid line and drag away to move them.
4. Lock the gridlines
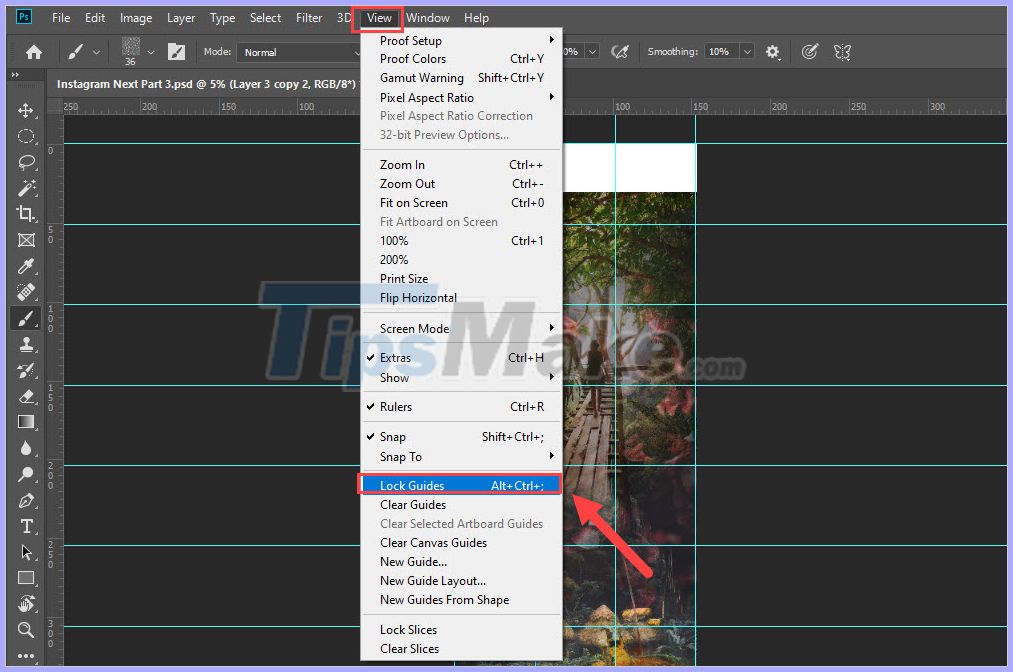
If you are afraid that during the process you will move the wrong net and cause the size to be skewed, you can lock them. When locked, it is impossible to move the grid line (unless you unlock it again)
You choose View -> Lock Guides (Alt + Ctrl +;)
5. Save grid settings
If you use that grid, you can save them as a Preset so that the next use will only need to choose without setting information and parameters.
Step 1: First, select View -> New Guide Layout .
Step 2: Then, in the Preset section you choose Save Preset .

Step 3: Then, you proceed to name the grid to easily distinguish and select Save to save.

After saving, you will see that there are always Presets created the grid you just saved. From now on you can click on it to create a set of pre-set nets.

When you know how to create a grid, you will create a lot of different products. One of the good examples of grid making is Instagram photos.

In this article, TipsMake showed you how to create grids and all grid related settings. Have a nice day!
Was this article helpful?
Your feedback helps us improve.
Related Articles
 How to create custom grid systems in Photoshop3 minutes read
 Lesson 38: Grid Systems from Stacked to Horizontal in Bootstrap 53 minutes read
 Lesson 41: Grid Medium in Bootstrap 57 minutes read
 Lesson 40: Small Grid in Bootstrap 59 minutes read
 Lesson 42: Large Grid in Bootstrap 56 minutes read
 How to create checkboxes with CSS Grid5 minutes read
Reader Comments 0
Sign in with email or Google to join the discussion.