How to create a frosted glass effect in Figma
Creating a frosted glass effect is easy in Figma and can add unique flair to your designs. The following article will show you how to do it.
Table of Contents
How to create frosted glass effect
For the full frosted glass effect, you should have some type of background image available in your design. This effect works best on photos or images that are visually complex, rather than just blocks of color or simple backgrounds.
The article is using a frosted glass effect as a bullet indicator on the design to add a minimalist, yet attractive effect to the presentation. This brings some flair to your design rather than just using a simple line or bullet as an indicator.
You can create a master template for your presentation in Figma and use this frosted glass effect in it. If you want to create a beautiful bullet indicator, just follow these instructions.
1. Draw a straight line
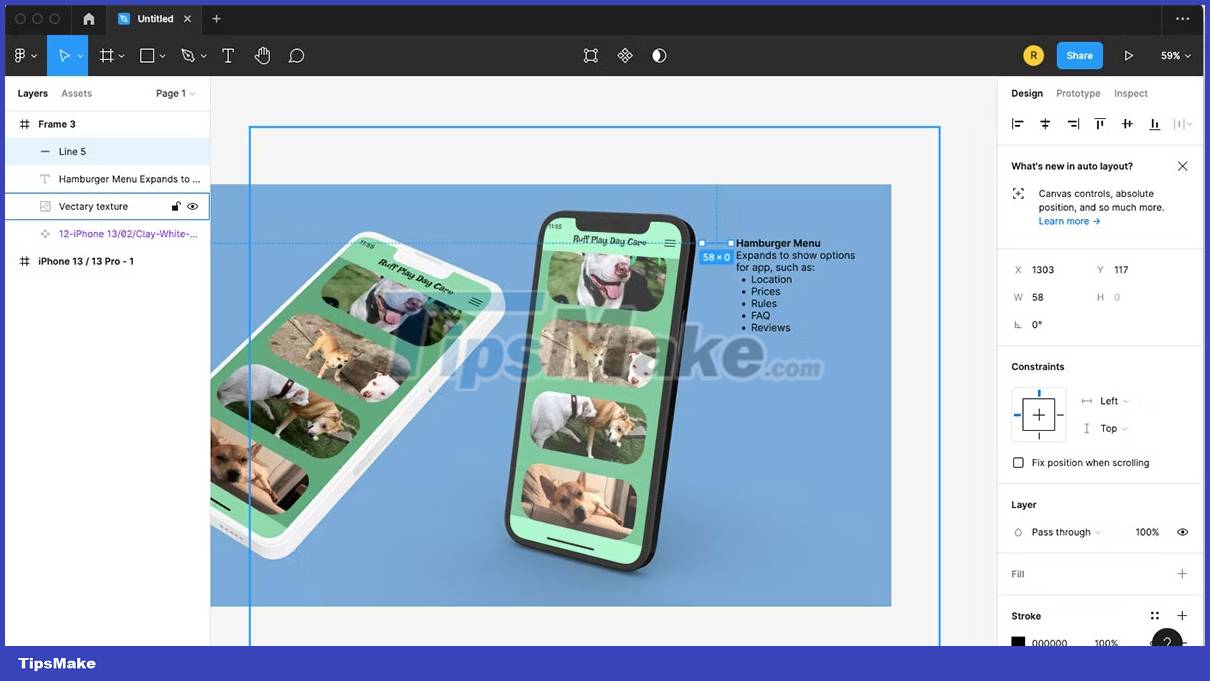
Draw a line using the Line Tool (L). To keep the line horizontal, hold down the Shift key while drawing it. Choose a color for the line by clicking the color square below Stroke while the line is selected.
The color should be dark enough to contrast with your background, but it also needs to look harmonious with the colors of your presentation. You can use Adobe Illustrator to create a color palette to find colors that work together.

Change line width in Stroke settings; Click on the icon with three horizontal lines and increase until you reach the desired thickness. For rounded tips, click the horizontally-lined drop-down menu in the Stroke menu and scroll to the bottom of the dorp-down menu for rounded tip options.
2. Draw a circle
Draw a small circle using the Ellipse Tool (O). Hold down the Shift key while drawing the circle to make it perfectly circular. Your circle should be small enough to be used as a bullet point, but large enough to clearly see the frosted glass effect.

To add color, select the circle and use Fill on the right toolbar. You can use neutral colors - such as gray or beige - or lighter colors from the design's color palette.
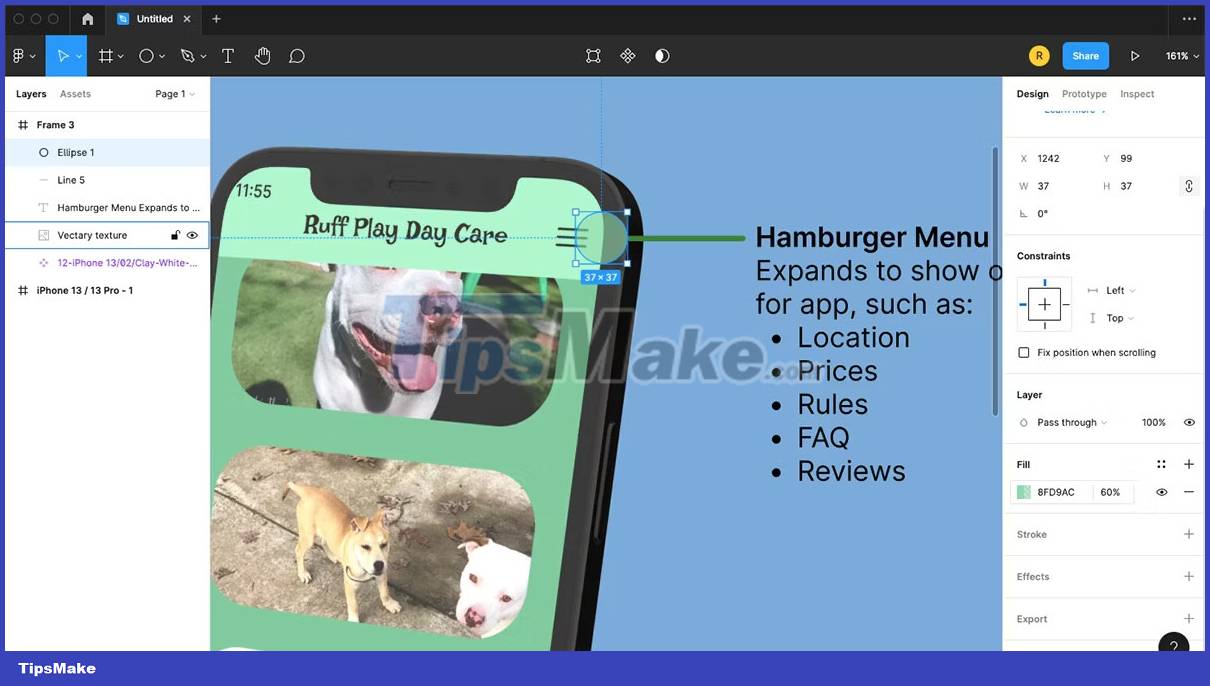
Then change the opacity next to Fill to any value between 40% and 70%. You want to be able to see the design behind the circle while still seeing the color you filled the circle with.
3. Add blurred background

This is the part that gives the blur effect to your shape. Select the circle and go to Effects. The default effect is Drop Shadow, hover over it and click the arrow that appears. Select Background Blur.
To increase or decrease the blur, click the icon next to Background Blur and change the number to the blur effect you want.
To complete the bullet indicator, move the line so that it lines up with the edge of the circle. Select both the line and the circle, right-click and select Group Selection. You can now move or copy this to use on different parts of your design.

The blur effect works the same on any part of the design. Why not turn this technique into a creative design challenge? This effect is sure to become a great design highlight.
The frosted glass effect in Figma is a simple way to add some flair to simple designs. You can use the frosted glass effect in many ways, such as a color palette, a search bar, or a privacy window on the design. Try adding a border, creating gradients, or placing the frosted glass layer in between other layers for some textural difference.
Was this article helpful?
Your feedback helps us improve.
Related Articles
 Figma - Free Multimedia Design Tool7 minutes read
 How to create an engaging presentation using Figma10 minutes read
 Instructions for creating liquid glass effect on iPhone screen2 minutes read
 11 useful Figma shortcuts to work faster7 minutes read
 How to convert any website into a Figma design6 minutes read
 What is Figma? Benefits and Advantages of Figma9 minutes read
Reader Comments 0
Sign in with email or Google to join the discussion.