What is Clarity in Lightroom? When should I use it?
Many beginner photographers take a long time to get used to Clarity - and many don't take full advantage of the tool's potential. But what is Clarity? Let's find out details through the following article!
Table of Contents
Adobe Lightroom is one of the most popular image editing tools on the market and has a ton of features that cater to both hobbyists and professional photographers alike. Clarity is one of the most commonly used features and you will probably fall in love with it immediately after downloading this platform.
However, many beginner photographers take a long time to get used to Clarity - and many don't take full advantage of the tool's potential. But what is Clarity? Let's find out details through the following article!
What is Clarity in Lightroom? What is the effect?
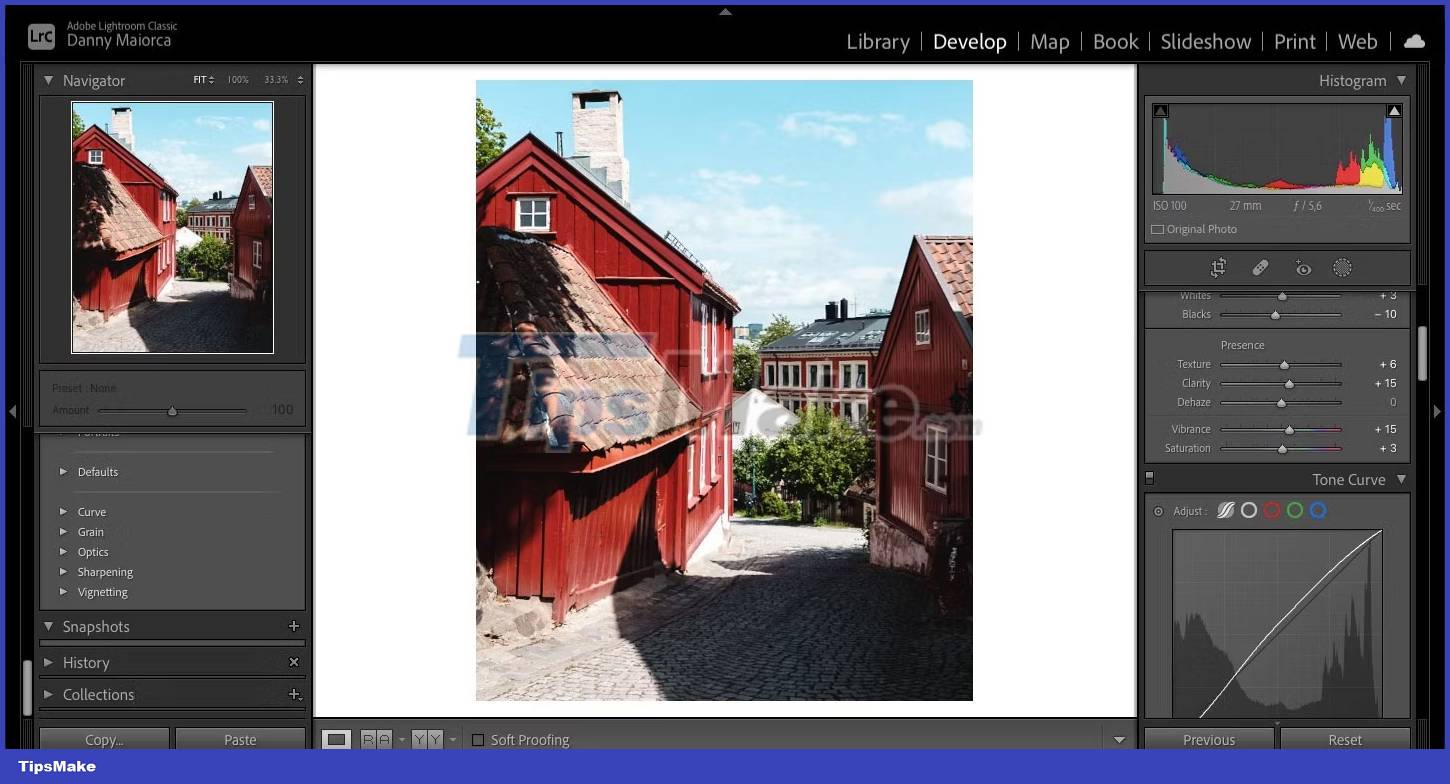
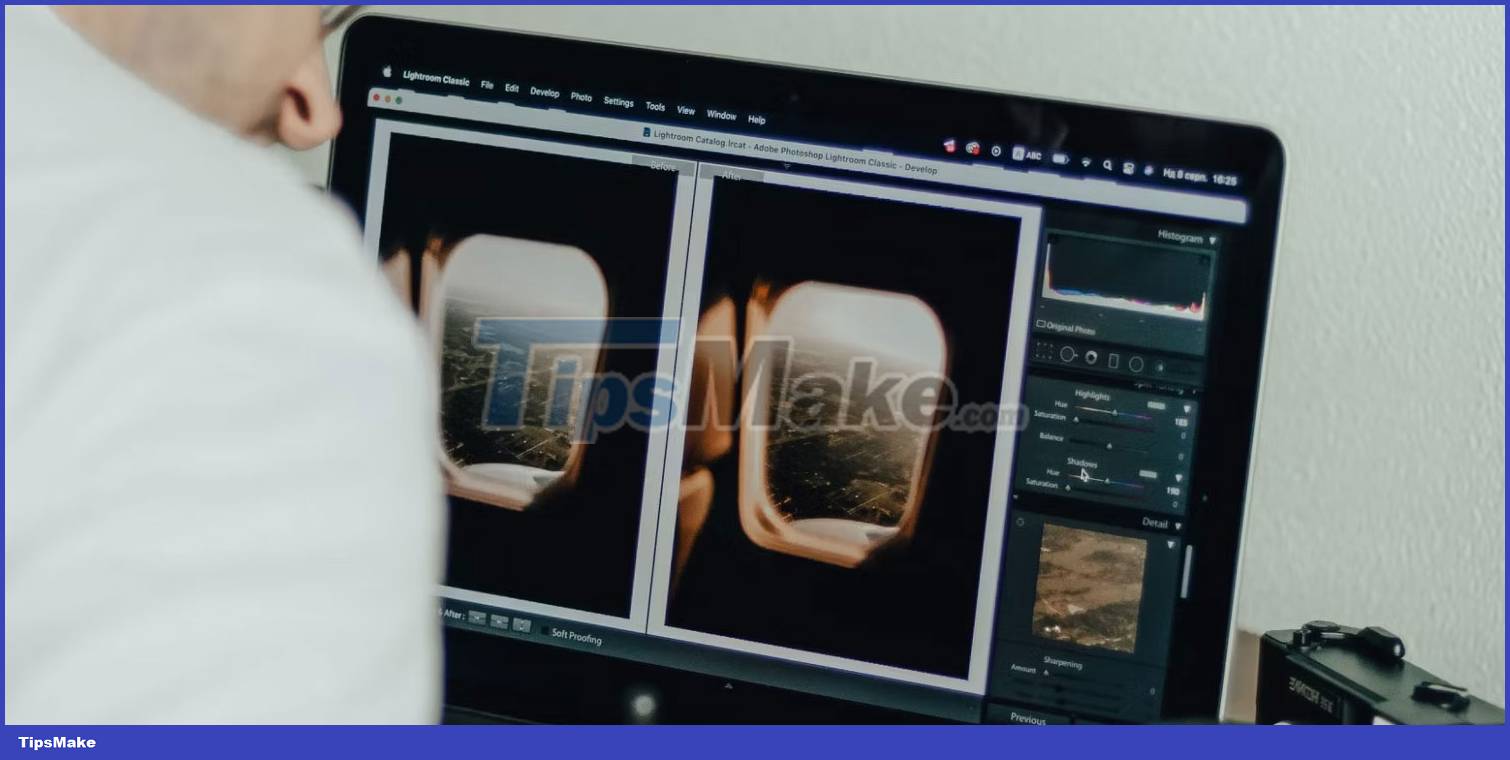
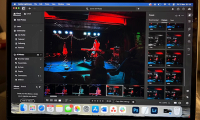
Clarity is one of many slider tools in Adobe Lightroom, and you can find a similar feature in Capture One if that's your preferred platform. This tool focuses mainly on the middle area of the photo and adds another dimension to your file.
How much you can use Clarity depends on the type of file you upload. RAW files have more detail to work with, meaning you have more creative freedom in your editing process.
Using the Clarity tool in Lightroom is easy. After opening the application, open the Basic tab. Then slide Clarity left or right - depending on what you need to do.
When should you use Clarity?
You can use Lightroom's Clarity slider in a number of situations. To give you an idea of what you can expect, here are 3 situations where you should use this tool.
1. When you want to make the main subject stand out more
As you learn more about photography, you'll start to think about different concepts and forms of composition. You'll almost always have a main subject in your photos, and making them stand out is important to telling a good story.
If you want to make the main subject in your photo stand out more, you may find the Clarity slider very useful. You'll especially see this happen if your lens is near the most important part of the photo when you take it.
2. When you want to show off key details in architecture
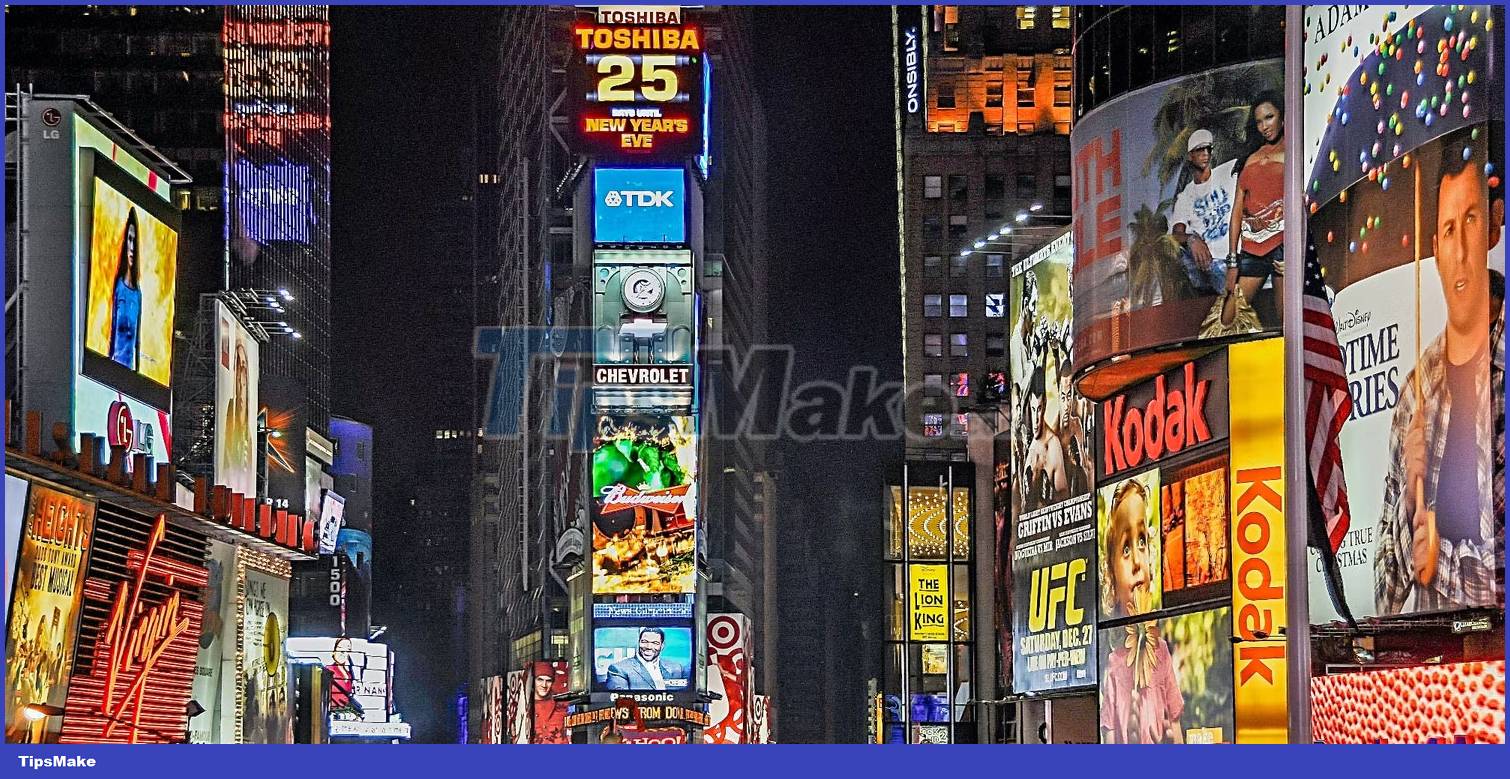
Architectural photography is one of the most difficult genres to master. Although many people think this is as simple as pointing a camera in the direction of a building, that's only a small part of the story. You will want to capture shapes, textures, etc.
Regardless of the style of building you photograph, you'll want to make the most important details stand out as much as possible. To do so, using the Clarity tool - and sliding it to the right - is one of your best starting points.
3. When you want to make your image look flatter or sharper
Arguably the main reason photographers use the Clarity slider is to make their photos look sharper. And if that's your goal, this tool is great for showing off the most important details in your images.
On the other hand, you may have taken a photo that you feel looks too sharp. You'll find that this is especially common when working with textures like tiles. For cases where you want to reduce Clarity, you can move the slider to the left instead.
Things to consider when using Clarity in Lightroom
There are a few things worth considering when using the Clarity filter in Adobe Lightroom.
1. Don't overdo it
Anyone who's past the beginner stage will tell you that they've probably overused the Clarity slider in Lightroom. It's easy to think that moving it further to the right will make your image look more like real life, but that's often not the case.
Once you go past a certain number on the slider, your image will start to look weird. A better option is to slowly increase Clarity and stop before it starts to look unnatural.
2. Adjusting Clarity will affect the entire image
Although Clarity mainly affects the middle of the photo, it will also impact other areas. Using a universal slider is probably not a good idea if you only want to edit a specific part of the image.
You can edit a specific area in an image by adding a mask or using the Brush tool instead.
Was this article helpful?
Your feedback helps us improve.
Related Articles
 Instructions on how to improve and speed up Lightroom7 minutes read
 Lightroom - Download Lightroom here4 minutes read
 10 Lightroom mistakes that can ruin your photos13 minutes read
 7 Ways to Use Lightroom and Photoshop Together6 minutes read
 Instructions on how to pair HDR photos on Lightroom5 minutes read
 8 Creative Ways to Use Lightroom to Transform Photos on Desktop, Mobile, and Web6 minutes read
Reader Comments 0
Sign in with email or Google to join the discussion.