How to create a master template for presentations in Figma
If you're creating a stylized presentation, but don't want to use the familiar templates from PowerPoint, Google Slides, or Canva, you can create your own master template for future presentation designs..
This is a great choice for those who want to design a themed presentation or need a real branding style. Keep reading and learn how to use Figma to create master templates for presentations.
1. How to set up a Figma document for presentations
Sign up for a free account at Figma.com, or if you already have an account, log in. You can use Figma directly in your browser or download the desktop app.
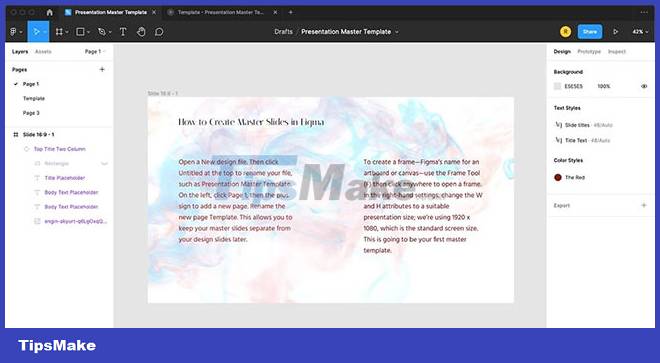
Open the New design file, then click Untitled at the top to rename the file, such as 'Presentation Master Template'. On the left, click Page 1, then click the plus sign to add a new page. Rename the new page to 'Template'. This allows you to keep your master slides separate from your design slides later.

To create a frame - the name of the artboard or canvas in Figma - use the Frame Tool (F), then click anywhere to open the frame. In the right settings, change the W and H properties to the appropriate presentation size. The example is using 1920 x 1080, which is the standard screen size. This will be your first master template.
Double-click the blue header at the top of the frame to rename it. Think about the page layout you are planning and name it accordingly - for example, 'Top Title Two Column' or 'Top Title Right Picture' would be helpful.
2. Design the presentation layout
To help with layout design, you can use the layout grid. To enable this, select your frame, then on the right toolbar, click the plus sign next to Layout Grid. This will open up a red translucent grid on top of your design.

To create columns - easier to design - click the grid icon with squares below Layout Grid, then click Grid in the drop-down menu and select Columns. Set the count to 12, which is typical for screen designs. The grid does not save to the final design. You can temporarily disable or enable the mesh with the eye icon, or permanently remove it by clicking the minus icon next to the eye.
Whether you use grid layouts or not, you can start adding basic placeholder elements to your first slide layout. In general, the layout of the slides will be up to you.
3. Create a two-column text layout
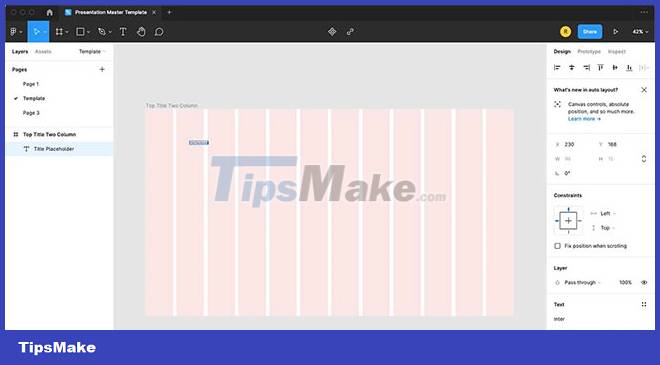
Let's start with the design of the top header along with the two-column body text slide. To add a title placeholder, use the Text Tool (T) and type 'Title Placeholder'. The default text size in Figma is quite small, so with the placeholder imported, highlight it and use the settings on the right to increase the size and choose the font - download the font if needed. You can also set kerning and other properties.
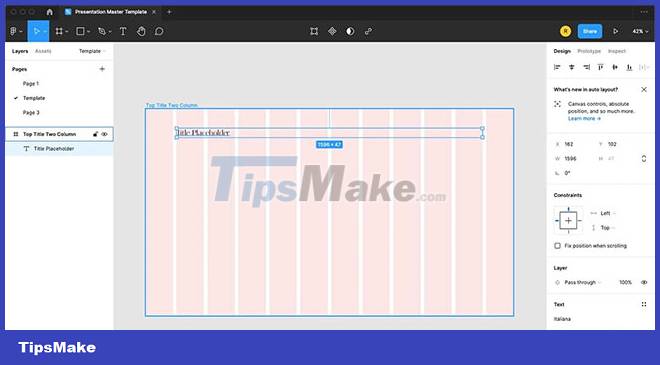
To fit the width of the slide, increase the width of the title text box by clicking and dragging the corner to the right. Leave a margin on each side. This means that the text box will contain different title lengths for future presentations.
To add a two-column body text, use the Text Tool (T) and drag the text box along the layout grid, leaving enough room for a second column of the same size next to it.
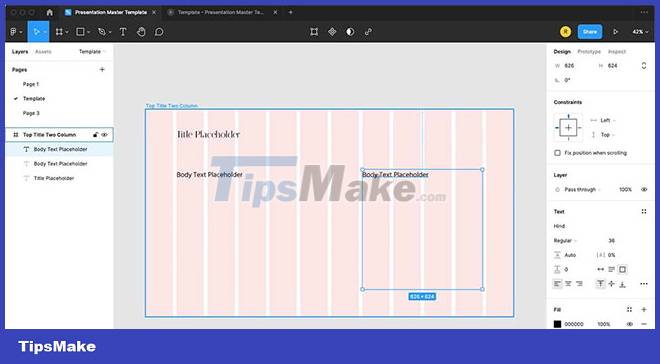
With the text box in place, choose an appropriate font and size. Select the text box and duplicate it by holding Option (Mac) or Alt (Windows) while dragging the box. This creates a two-column layout; however, you can use this system to design other types of layouts.
4. Add background color or image
You can set the background color by selecting the frame and going to Fill on the right menu to choose a color. But if you want, you can use an image or a set of images as the background. Just drag your background image from a folder into frame. You can instantly resize it by dragging the corners to fit the frame.
If using an image as a background, make sure you arrange the image at the back or bottom of the layers for each slide by right-clicking and choosing Send to Back or by dragging the image to the bottom on the left layer panel. .
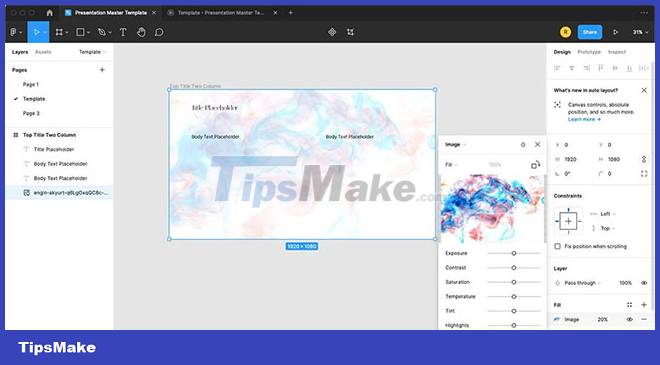
To further edit the image, under Fill, click Image in the drop-down menu. You will be able to change the Blend Mode, the crop factor, and other aspects. To change the opacity, change the percentage next to the drop-down menu.
For an individual image other than the background, use the Frame Tool (F) to draw the frame where you want the image to rest and drag the file from your computer onto the frame. You can then use the same settings as before.
5. How to Style Text in Figma
When creating a master template, text styles must be consistent across all slides.
This can be done manually by placing each text element the same, but if you have a lot of slides this can be quite tedious. Thankfully, you can automate your text styles in Figma.
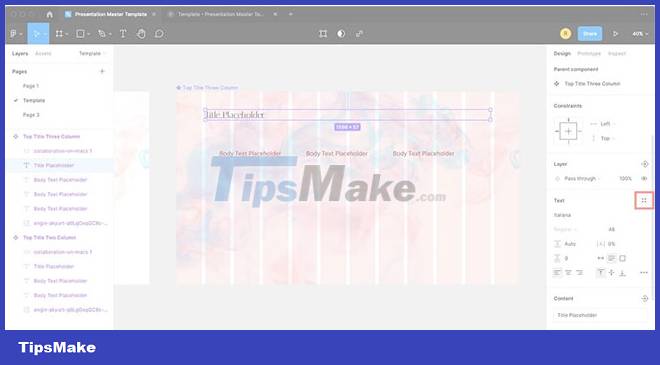
With selected text selected — for example, captions in your preferred style, font, and size — click the four-dotted square next to Text in the menu on the right. Click the plus sign to set a new style.
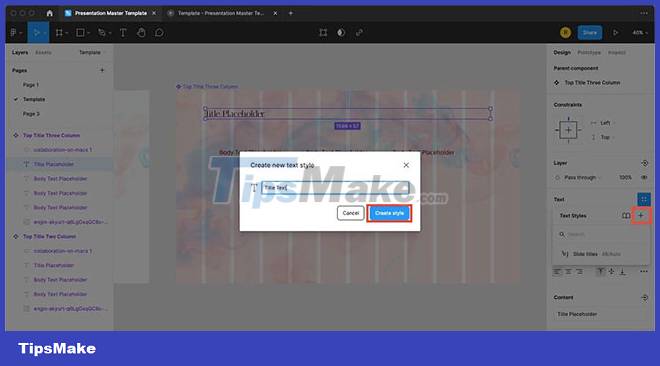
In the pop-up window, give the style a name - for example 'Slide Title or Body Text'. When designing other slides in this template, you can choose the style listed in the text menu by selecting the text and style. To unlink the style and override the feature, click the broken link icon that appears when hovering over the text style header.
It works the same for colors. Select something with the color you want, then click the Figma and Quick Actions menu buttons. Type 'Select all with same fill' and it will select everything with the same color. You can then set that as a color style in the Fill menu the same way you style text. This works well for background color by simply selecting frame and color.
6. Creating components

To be able to use your templates later, they need to be linked components. To make a frame a component, select the current frame and click Cmd + Option + K (Mac) or Ctrl + Alt + K (Windows).
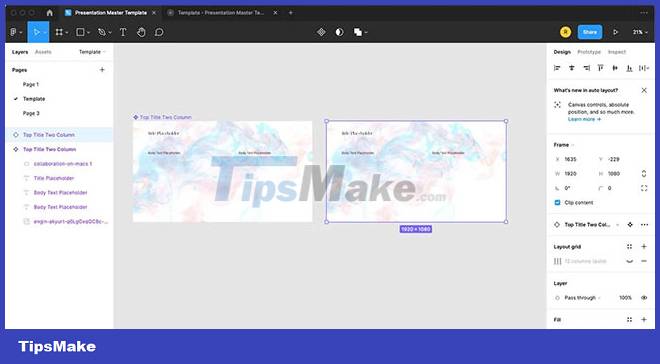
The title of the frame will change from blue to purple with a diamond icon to show that it is now an element. Then, to duplicate the frame, click Cmd + D (Mac) or Ctrl + D (Windows) once and drag the new frame to the right of the first frame.
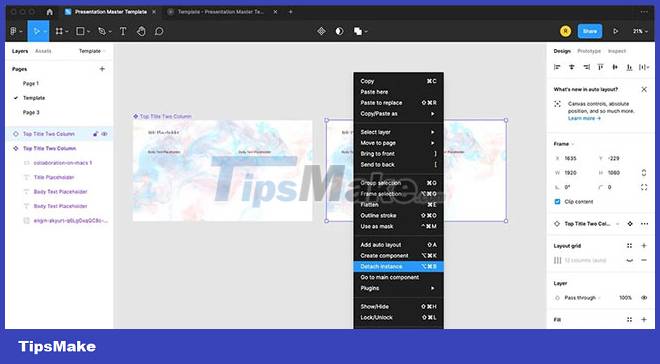
Separate the copy's composition from the original by right-clicking on the title of the new frame and selecting Detach instance. Rename the new slide with a title appropriate for its layout. Add the new design to the slide and then create its own element by clicking Cmd + Option + K (Mac) or Ctrl + Alt + K (Windows). This process needs to be done every time you create a new slide.
When designing the layout for each new slide, use your pre-made text and color styles to save time. Complete this process with as many base slides as you want, making sure they're all titled with descriptive names.
7. How to use master slides
To use the slides for future designs, select Page 1 in the Pages menu - with the template under its own heading - and create a properly sized frame for the new presentation. Then, on the left, click Assets > Local Components where your slide templates are located. Drag the slide templates to the new frame and center it. Edit the placeholder for your content.
Follow the same process until your presentation is complete.
You can give your master templates to teammates or colleagues, keep them for personal use, or even sell them as design packages. While it may seem daunting at first to create a slide master template, it will aid in productivity as you work on creating future presentations on Figma, saving you a lot of valuable time.