How to edit images on Copilot AI
Basically, you just need to request how you want to edit the image for Copilot to follow. The article below will guide you in editing images on Copilot.
Instructions for editing images on Copilot
Step 1:
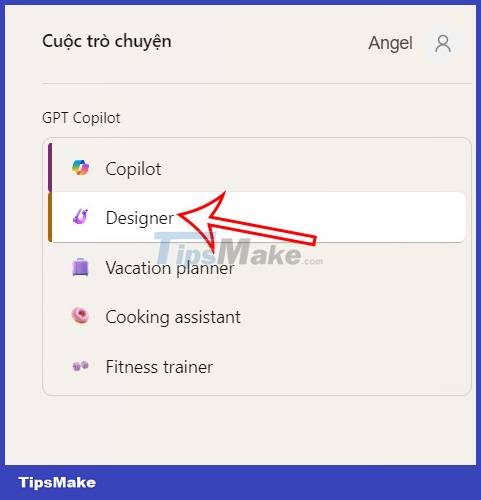
First, access Copilot and log in to your Microsoft account. In Copilot's interface you will see the GPT Copilot list on the right side of the interface as shown below. We click Designer to use the image creation feature on Copilot.

Step 2:
Next, the user enters the image content he wants to create in the box below. As a result, you will see four images created from the content you entered. To edit any image , simply click on the created image .

Step 3:
At the new image viewing interface, we click on the 3-dot icon in the right corner and select Edit In Designer to proceed with image editing.

Step 4:
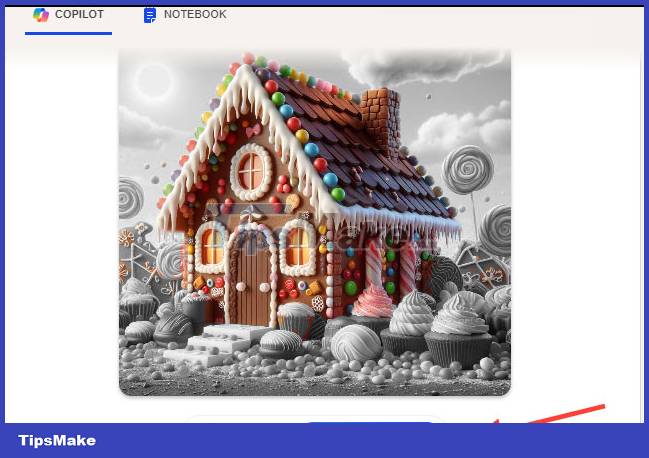
Now you need to right-click the detail you want to edit in the image. You can press the Shift key and then select multiple details to edit at the same time. Then below the image displays 2 options: Color Pop to turn unselected details into black and white and Blur Background to blur the background.

If you like the edit, click Looks Good to save .

In addition, below the image there are other effects to apply to the photo. After editing, click Download to download the image.
