How to skew images in PowerPoint
When you want to add more interest to objects in your PowerPoint slides, tilt or distort the image to create a more unique perspective..
When you want to add more appeal to objects in PowerPoint slides, a useful but often overlooked option is to tilt or distort images to create a more novel perspective, creating a 3D effect for the image. Here is a guide to tilting images in PowerPoint.
How to tilt images in PowerPoint
Step 1:
At the PowerPoint interface, users click Insert and then click Pictures to insert images into the slide.
Step 2:
Click on the image then click on the Format tab , select Picture Effects > 3D Rotation .

Step 3:
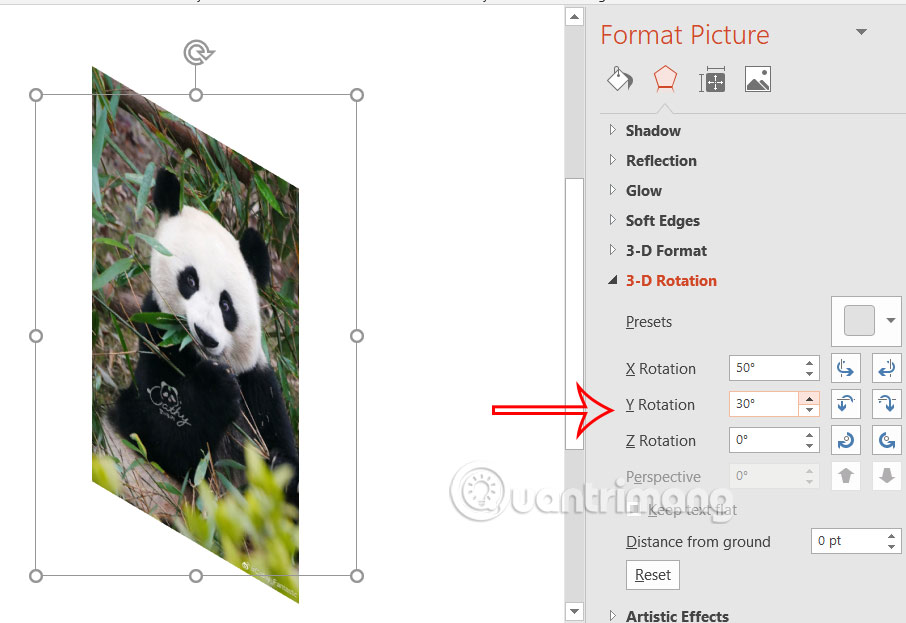
Displays 3D effect options for images in PowerPoint slides. Users select effects to tilt the images in the slide.

Step 4:
If you want to customize the 3D effect further, click on the image, then select the 3D Rotation effect, then click 3D Rotation Options . Then on the right side of the screen, adjust the tilt angle for the image.
How to Tilt an Image in PowerPoint via Shapes
Step 1:
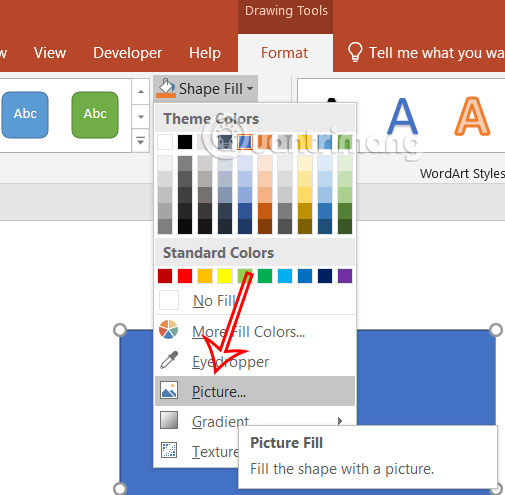
We click Insert and select Shapes and select the shape to insert into the slide . Click on the newly added shape, then select Format > Shape Fill > Pictures to insert the image into the shape.
Step 2:
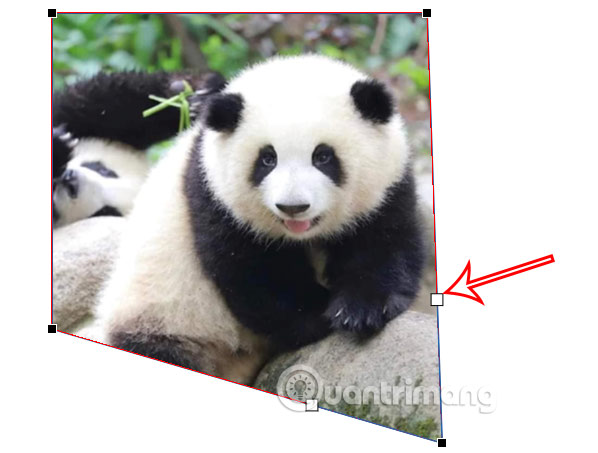
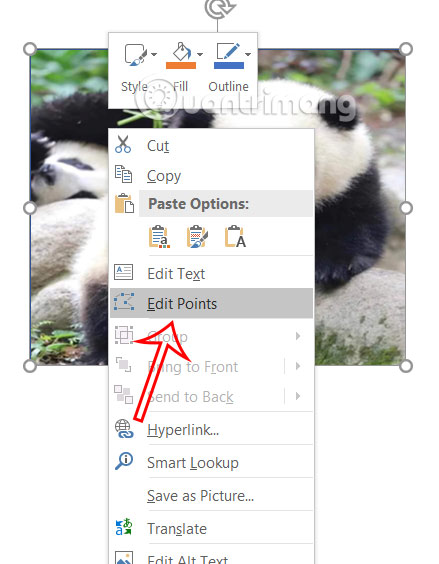
Select the image you want to insert into the shape. Right-click on the shape with the image and select Edit Points .
Step 3:
Then you will see the border around the image and we will adjust by dragging or shrinking the border to create a tilt effect for the image, or even adjust to create a different image for the image.