This guide explains how to change the IP Address in Windows 10, with clear steps, practical tips, and important checks before you begin.
Steps to change IP address on Windows 10
Follow these simple steps to modify the network settings on your computer.
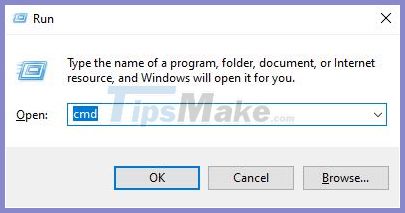
Step 1: Press the key combination Windows + Rto launch the Run window.
Step 2: Type: ' cmd ' and press the key combination Ctrl + Shift + Enterto open Command Prompt with administrator privileges .
Step 3: In the Command Prompt window, copy and paste this command and press Enter.
ipconfig / all

Then all internet connection settings will be displayed in the window.
Step 4: From the list of connection settings, find your network connection (for me it's the "Wi-Fi" setting).
Step 5: Memorize the data of the network adapter including IPv4 Address and Subnet Mask , then minimize the Command Prompt window .
In fact, you also do not need to remember, we only rely on these figures to change IP so that they do not conflict in the next step.
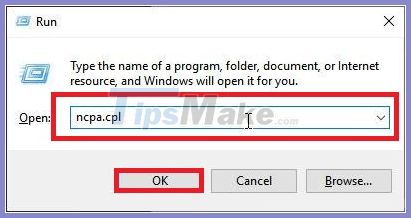
Step 6: Again click Windows + Rto launch the Run window .
Step 7: Type ' ncpa. cpl ' and press Enter.
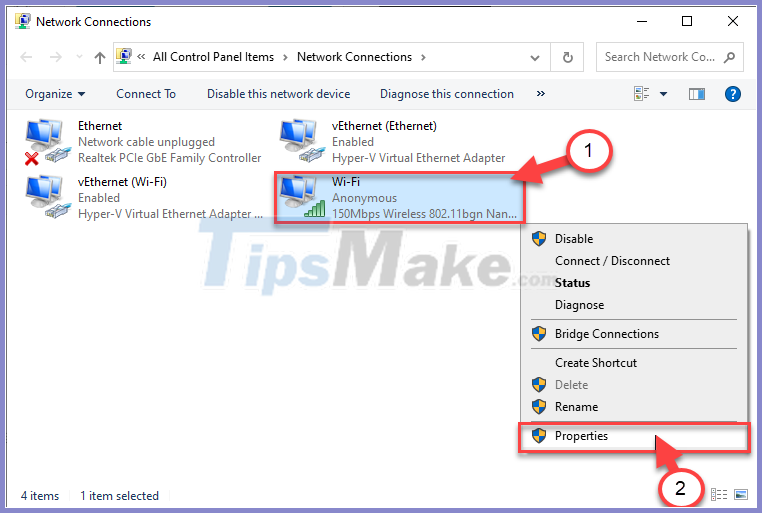
Step 8: Now right-click on the network adapter you are using and select Properties to initiate the IP change.
Step 9: In the section ' This connection user the following items ' scroll down and then double click on Internet Protocol Version 4 - ' Internet Protocol Version 4 (TCP / IPv4)'.
Step 10: In the next window, click ' Use the following IP address: '
Step 11: Please reopen the miniature Command Prompt window from step 5 , the data I said that you should remember them, put those data in specific tabs (such as IP address , Subnet mask , Default gateway ).
Step 12: Select ' Use the following DNS server settings: ' and enter the DNS servers you want, for example the example below is Google's DNS.
Preferred DNS server: 8.8.8.8 Alternate DNS server: 8.8.4.4
Step 13: Finally click OK and close all the windows that we just opened, so complete the IP address change in Windows 10.
summary
The article sharing how to change the IP address in Windows 10 is here to end. With these simple steps, you can manually set your IP address on a Windows 10 computer. Please share this article with your friends when they also want to change IP address on Windows 10.



Reader Comments 0
Sign in with email or Google to join the discussion.