Table of Contents
This guide explains how to bring This PC (Computer), Network, Control Panel Icon to the Desktop, with clear steps, practical tips, and important checks before you begin.
Step 1 : Right-click on the Desktop and select Personalize

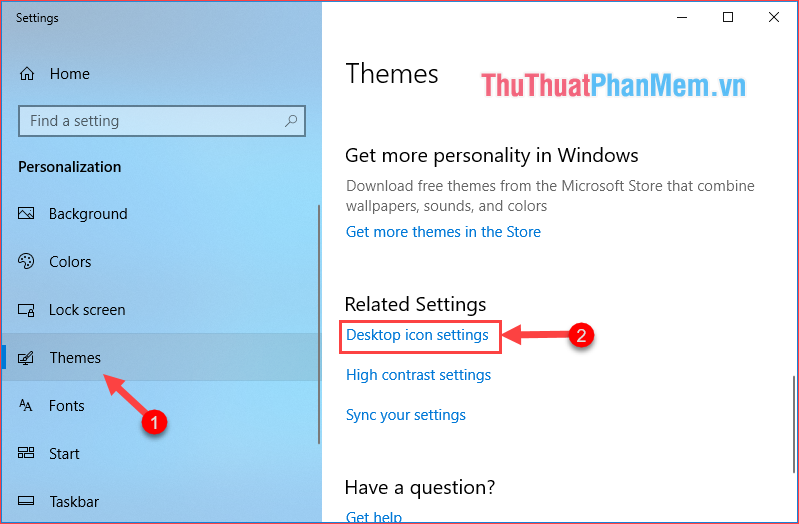
Step 2: A new window appears, select Themes, then on the right side, scroll down and select Desktop icon settings.
Step 3: A new window will appear, in the Desktop icons section, which icons do you want to show, then tick the icon, here I will select them all, then click OK to finish.

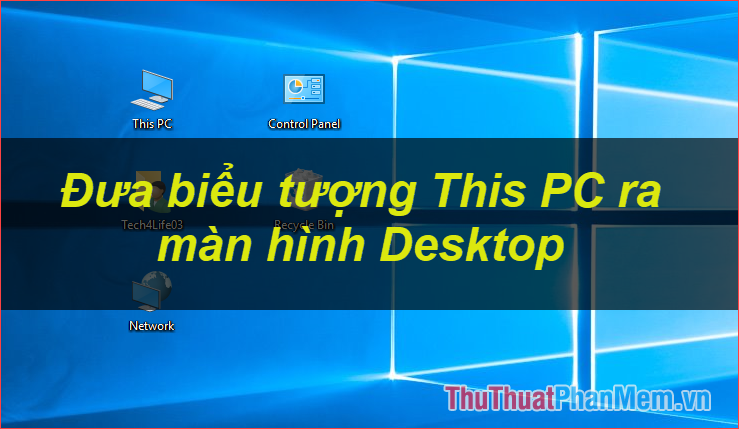
Now you return to the Desktop to see the icons appear:

So with just a few simple steps, we can bring This PC, Control Panel, Network icons to the Desktop screen on windows 10. Thank you for watching the article!
FAQ
What should I know about Bring This PC (Computer), Network, Control Panel Icon to the Desktop?
Focus on the key features, requirements, limitations, and practical use cases explained in this guide.
How do I get the best results with Bring This PC (Computer), Network, Control Panel Icon to the Desktop?
Follow the recommended steps, use current software or information, confirm compatibility, and review settings before major changes.
Are there any risks or limitations?
Potential limitations depend on compatibility, data quality, cost, privacy, support, and how the product or method is used.
Related Articles
 Instructions to Disable Control Panel on Windows 74 minutes read
 How to Add or Remove Control Panel from Navigation Pane on5 minutes read
 Instructions for Displaying My Computer Icon on Desktop Screen3 minutes read
 How to Display My Computer, This PC on Windows 10 Desktop2 minutes read
 How to Bring the Calendar and Clock to the Windows 10 Desktop Screen3 minutes read
 How to Open Control Panel on Windows 10, 8.1, 712 minutes read
Reader Comments 0
Sign in with email or Google to join the discussion.