Create private cloud with Hyper-V (Part 4)
TipsMake.com - The previous article showed users how to create executable image files and assign image files to Windows Deployment services. Although the image file that we created can start immediately, it is not ready for use yet. Because we are creating a private cloud with the ultimate goal of being able to create virtual machines above via the self-service console. Before achieving this goal, the image file needs to be standardized.
As you know, each Windows installer contains information such as the hostname and SID to uniquely identify the computer in the network. Also, virtual machines using Windows operating systems cannot replicate if they are running a regular Windows installer, because the replication process will duplicate the machine on the network. In such a case, we need to standardize the created image file. Standardization will remove identity information so that virtual machines can be duplicated as many times as possible.
Now, create and then standardize a virtual machine according to the existing image file, starting by using a server running Hyper-V to create a new virtual machine. To do this, open the Hyper-V Manager manager and select New | Virtual Machine from the Actions pane. When the virtual machine installation window appears, click Next to bypass the Welcome screen.
In the previous article, we created two image files for Windows 7 and Windows Server 2008 R2. Here we will use the Windows 7 image file. Therefore, specify the Windows 7 image file as the virtual machine name. The screen also has the option to allow the location of the virtual machine to be saved.
Click Next to go to the RAM setup window for the virtual machine. Minimum RAM memory should be 1024MB.
The next screen will require the designation of the network card for the virtual machine to use. By default, virtual machines are not configured to connect to the network, so make sure you have selected the network card before clicking Next .
Next, we will have to specify the virtual hard drive capacity. Should allocate at least 50GB. However, even if you specify a hard drive size up to 2040GB, the actual virtual hard drive file will be as large as the amount of data stored in it.
The next screen asks if you want to install the operating system. Select the option to install an operating system from the server installed on the network, as shown below. Click Finish to create the virtual machine.

Install Windows
When you return to the Hyper-V Manager screen, double-click on the newly created virtual machine. The original virtual machine is off (power off), so select Start from the Action menu to turn it on. After a few minutes of startup, the virtual machine will receive an IP address from the DHCP server. At that time, we have to quickly press F12 to start the online boot mode. At this point, the virtual machine will load a pre-boot environment for Windows, as shown below.
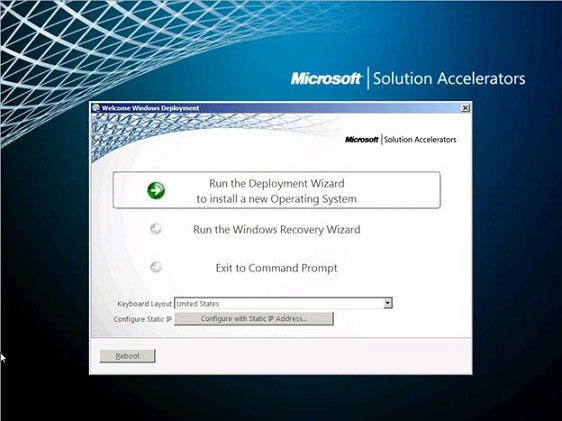
Make sure the correct standard keyboard is selected and then click Run the Deployment Wizard to install a new Operating System . Next, provide the username, domain name and password you can use to connect to the public folder.
After entering the authentication information, click OK . Select the operating system you want to install.
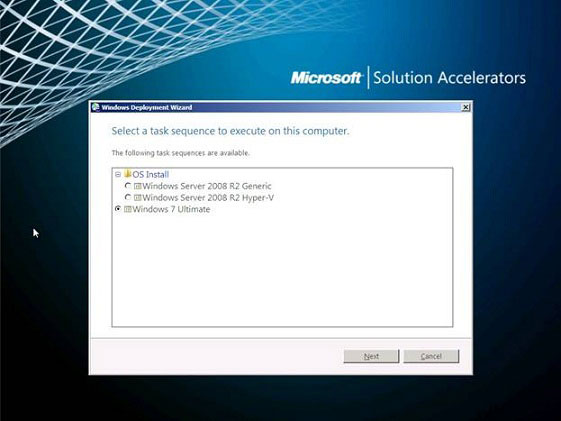
Click Next to enter the hostname. The selected hostname is not suitable because we will standardize the image file, so just click Next to accept the default name.
The next screen asks the domain name (domain) the user wants to join. I will not join any domain at this time. Instead choose Join a Workgroup and click Next . Select Do Not Restore User Data and Settings and click Next again.
Now, check the language, the time format and the selected keyboard and click Next to select the time zone.
Next, select Capture an Image of this Reference Computer , as shown below. The Location field must point to the public folder and we must specify the identifier for the image file we are creating.
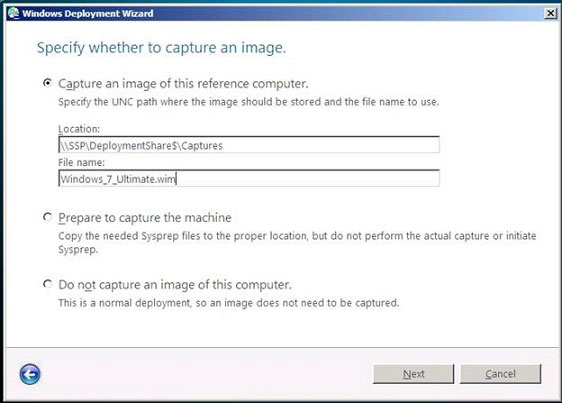
Click Next and then click Begin . Windows 7 starts to be installed.
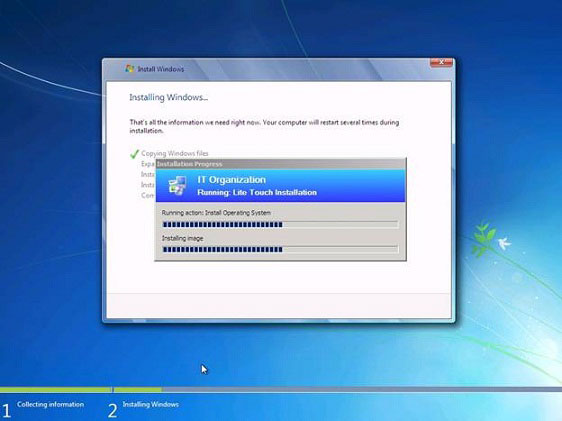
After completing the basic installation steps, an image file is created (.WIM file type).
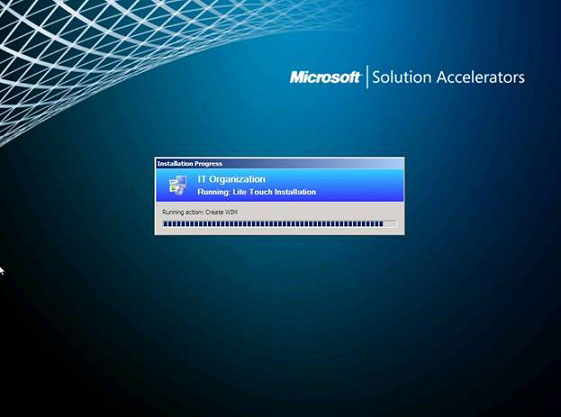
The previously entered authentication information for the .WIM file created after the Windows installation process is written to the public folder via the path we provided.
Conclude
Now, we have a standardized image file that can be used to deploy more virtual machines. These virtual machines themselves will reside on Hyper-V. In the previous article, we created the Hyper-V image file and the image file can be used to create multiple Hyper-V servers.
Of course, Hyper-V is just a platform for virtual machine owners. The private cloud infrastructure is really based on the virtual machine manager System Center Virtual Machine Manager and the Self Service Portal version 2.0. In the next lesson, we will learn how to build private cloud infrastructure. Then, how to use the newly created image file to automatically create virtual machines in the private cloud.