Back up virtual machines with Windows Server 2008 R2 and Hyper-V
In this article we will not cover the basic principles of backing up virtual machines, instead we want to focus on backup methods using Windows Server Backup.
Table of Contents
TipsMake.com - Virtual machines are basically made from files. They contain configuration files, virtual hard disks, snapshot files and save file state. We all know the benefits that virtualization technology offers, so one important thing we need to do is protect its content and the virtual machine itself. In the event of a malfunction, you can completely restore the state and the required features.
>>>Enable Hyper-V Manager mode in Windows 8
Interested readers can refer to: Windows Server 2008 R2: Hyper-V Component Architecture.
In this article we will not cover the basic principles of backing up virtual machines, instead we want to focus on backup methods using Windows Server Backup .
Install Windows Server Backup
First, you install Windows Server Backup as instructed here .
Note : To install Windows Server Backup you need to log in to the computer with an Administrator account or another account with Administrator rights. And if you want to perform backup or restore with Windows Server Backup, you also need Administrator rights.
Next you need to register Microsoft Hyper-V VSS writer with Windows Server Backup. (If you do not know how you can refer to the guide in English here ).
Start the backup process
Follow these steps to perform a virtual machine backup:
Open Windows Server Backup from the Administrative Tools folder. In the Actions pane, click " Backup Once " (of course you can schedule backups, but this problem will be covered in the following article).

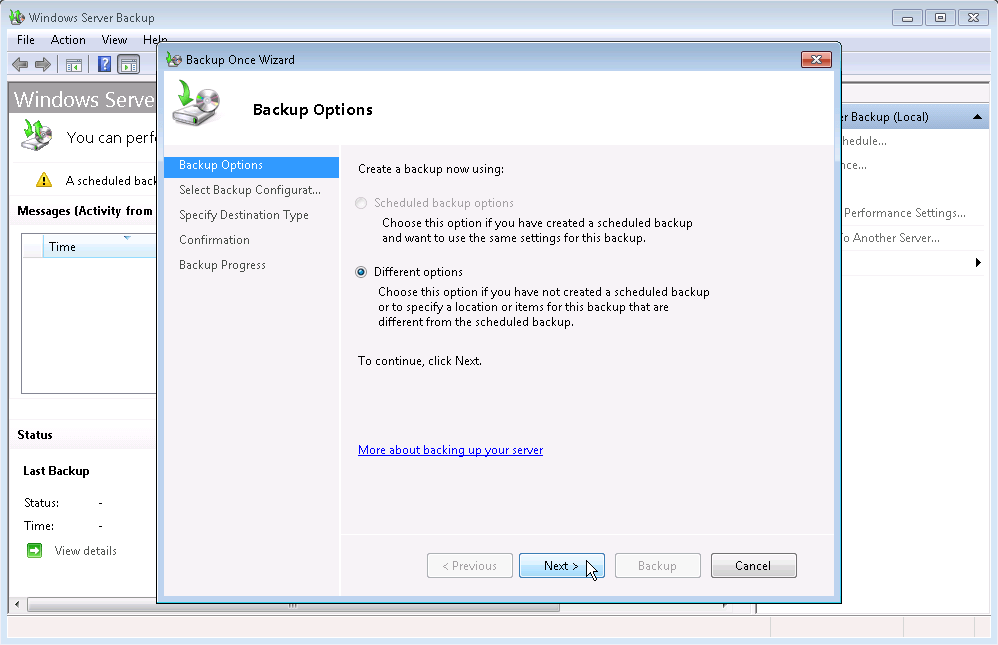
On the " Backup Options " page, select " Different Options " and click Next .
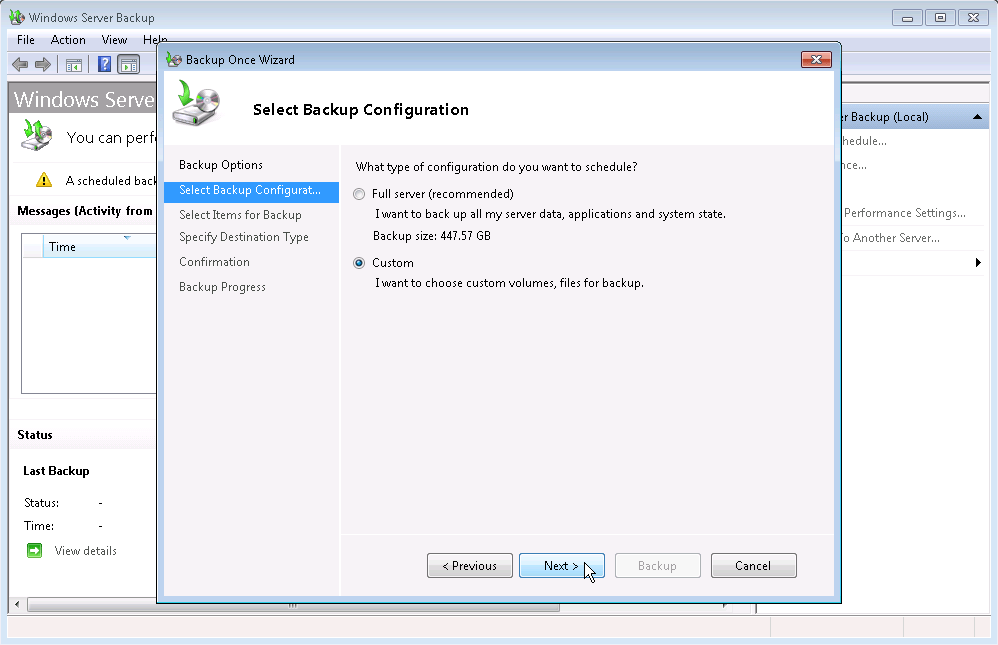
On the " Select Backup Configuration " page, select " Custom " then click Next .
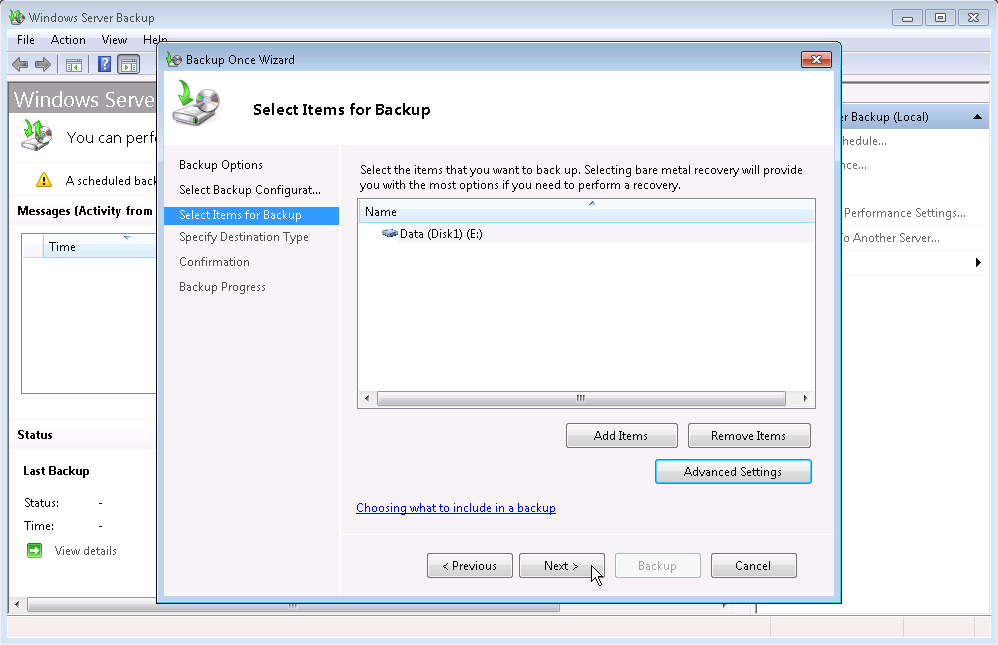
On the " Select Items for Backup " page, click " Add Items ".
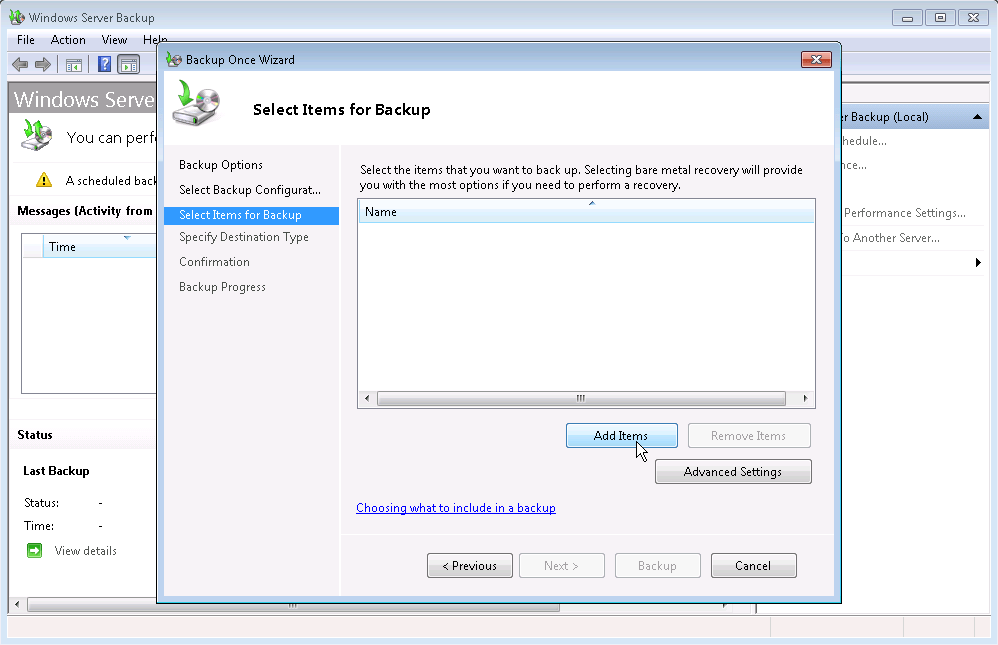
In the " Select Items " window, click to select the number of virtual machine configuration files and hard disks installed on the virtual machine. Keep in mind that even though the folders have many options (listed by clicking the plus sign next to each folder), absolutely not select individually, but also a large folder. Failure to select it will result in failure in backup procedures, even if the backup takes place normally but you cannot actually use it to restore your virtual machine. Click OK to continue to the next step.

Go back to the " Select Items for Backup " page, click " Advanced Settings ".

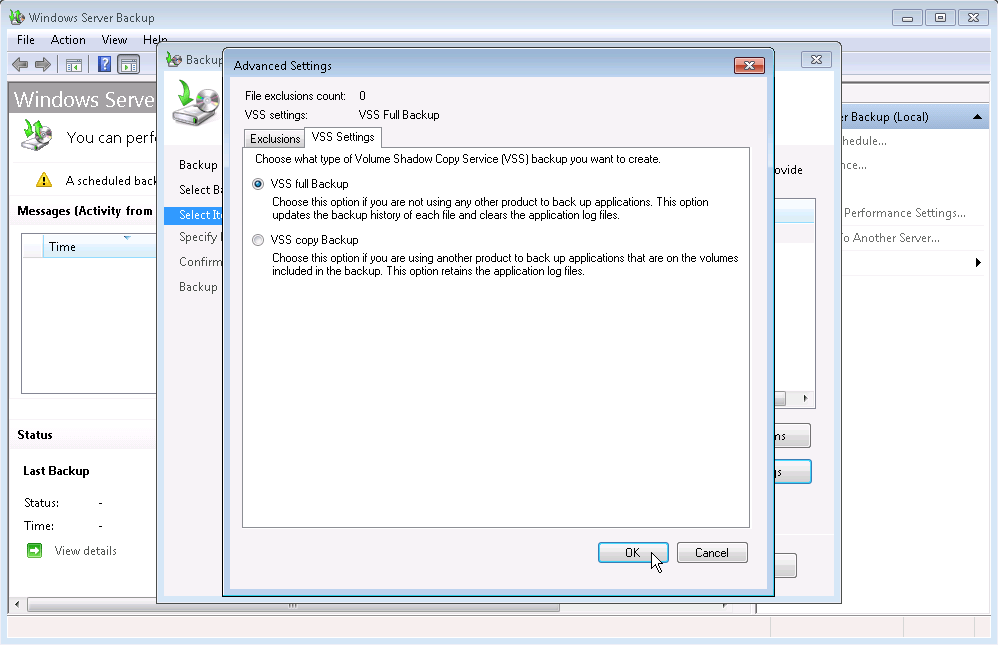
In the " Advanced Settings " window, select the " VSS Full Backup " option and click OK .
Finally return to the " Select Items for Backup " page and click Next .
The " Specify Destination Type " page appears, select the location to save this virtual machine copy. Here we select Local Drives , in addition you can perform remote backups. Click Next .

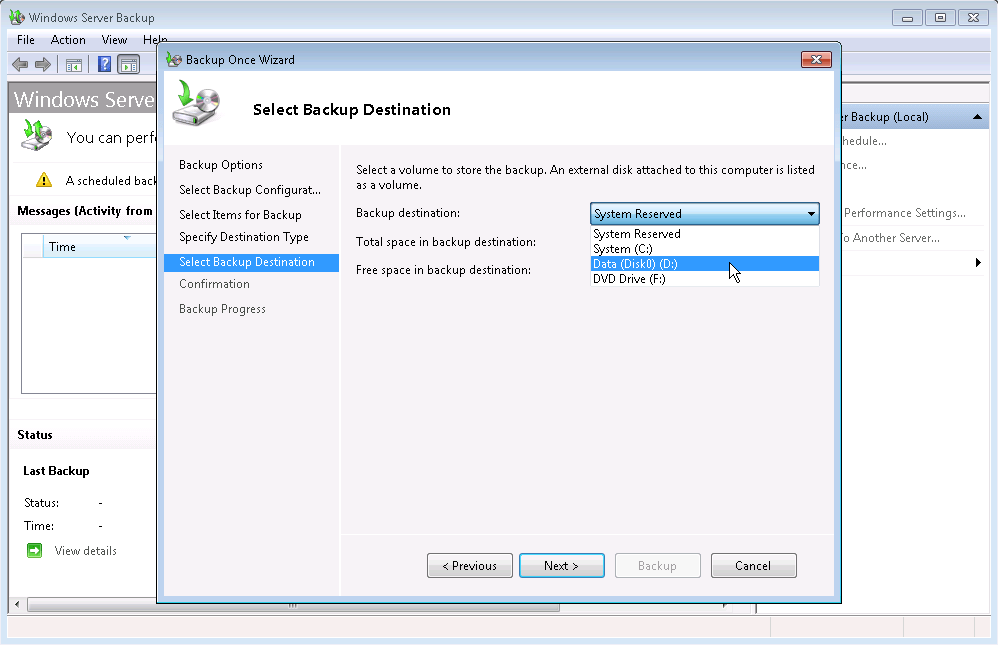
At the " Select Backup Destination " page, use the Backup destination drop-down list to select the drive to save. If you save to an external USB drive, make sure it is plugged in to the previous device and recognized. In addition, the capacity of the USB drive should be large enough to accommodate this copy. Remember that the backup capacity is always full , meaning that if you have 10GB of virtual machine capacity you will need the same or higher device to store. After selecting, click Ok .
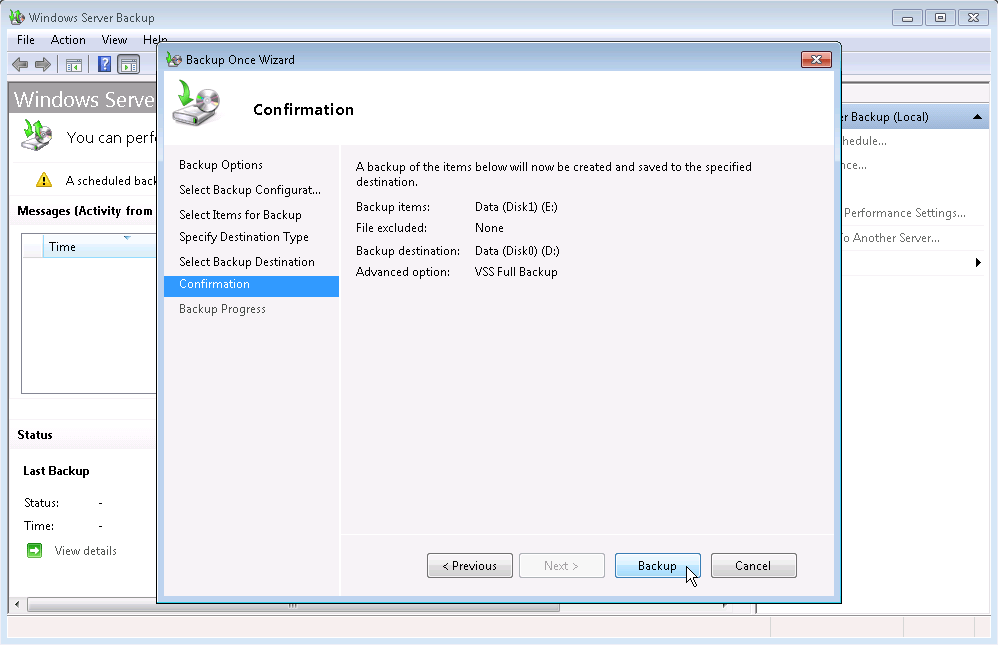
In the " Confirmation " page click the Backup button and let the backup procedure start.
If you switch to the interface to manage Hyper-V immediately, you will see that the virtual machines are taking snapshots. This is not equivalent to a Hyper-V snapshot. In fact, this is not a snapshot and has nothing to do with the VSS snapshot. Because VSS authors are registered, integrated services (components) are installed and enabled on the virtual machine, they will be backed up successfully without being stopped or interrupted. Also ICs will notify the virtual machine that a backup procedure is taking place on the parent partition, so any VSS application running in the virtual machine will also be activated (important applications like SQL, Exchange .).

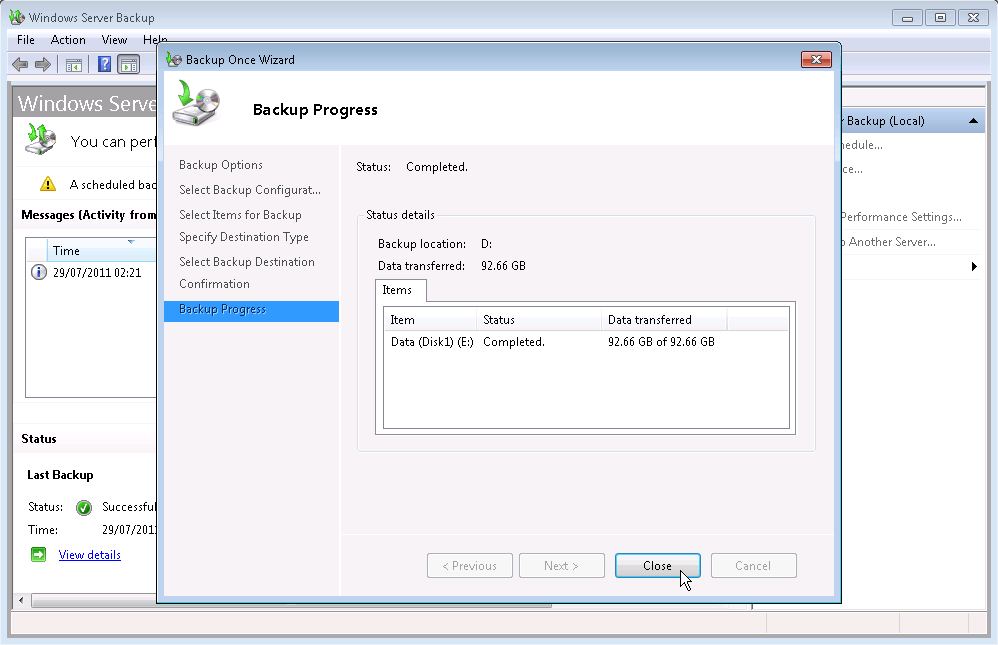
Windows Server Backup will start recording the backup file to the drive location you selected:
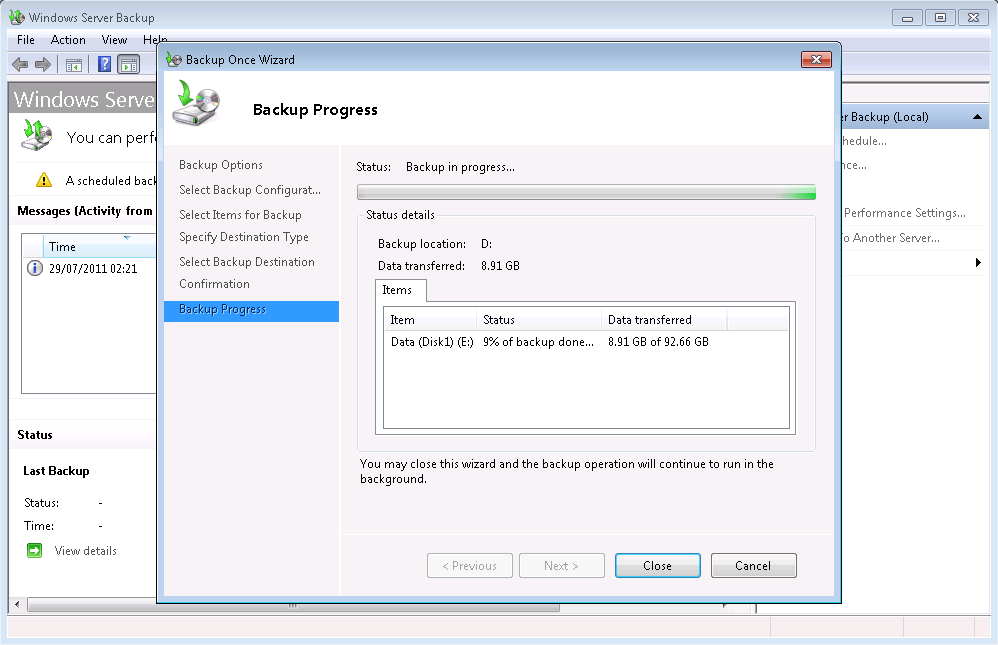
After completing this process, click Close to close.
Conclude
Backing up the virtual machine is a bit different from backing up the system in the traditional way. Because a virtual machine is just a collection of files, they are all very important and need special attention when backing up. Good luck!
Was this article helpful?
Your feedback helps us improve.
Related Articles
 Create virtual machines with Hyper-V on Windows 8 and Windows 1015 minutes read
 Create virtual machines in Hyper-V on Windows Server 20082 minutes read
 How to import Hyper-V virtual machines in Windows 1013 minutes read
 How to export Hyper-V virtual machines in Windows 105 minutes read
 How to install Hyper-V in Windows Server 20122 minutes read
 How to rename Hyper-V virtual machines using PowerShell and Hyper-V Manager5 minutes read
Reader Comments 0
Sign in with email or Google to join the discussion.