How to create beautiful shadow effects in Photoshop
How to create beautiful shadow effects in Photoshop. Creating shadow effects is an interesting ability that you can do with Photoshop. Applying this technique will make the photo more natural and beautiful.
Table of Contents
Creating shadow effects is an interesting ability that you can do with Photoshop. Applying this technique will make the photo more natural and beautiful. In this article, ThuTh ThuatPhucSoft.vn will guide you how to create beautiful shadow effects in Photoshop , please refer!
How to create beautiful shadow effects in Photoshop
Step 1: Open the photo you need to handle in Photoshop by pressing Ctrl + O .

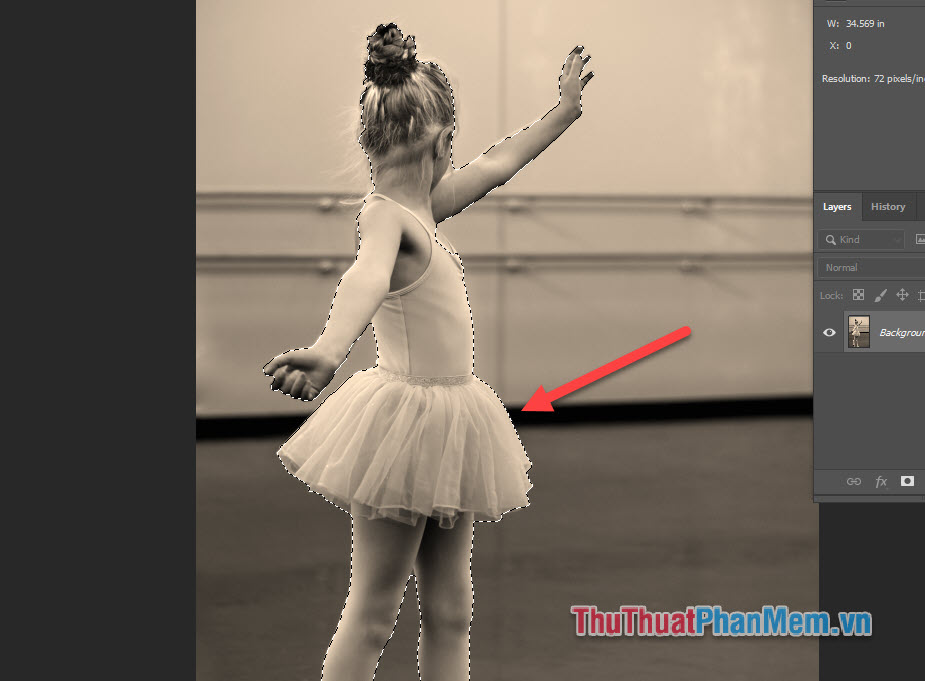
Step 2: Use the Quick Selection Tool to create a separate border of the object.

Select the object area and it will be surrounded by broken lines as follows:
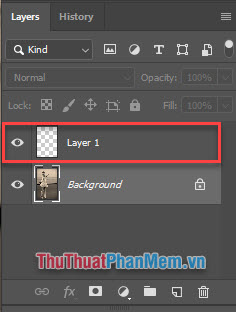
Step 3: Create Layer new combination by pressing Ctrl + Shift + N .
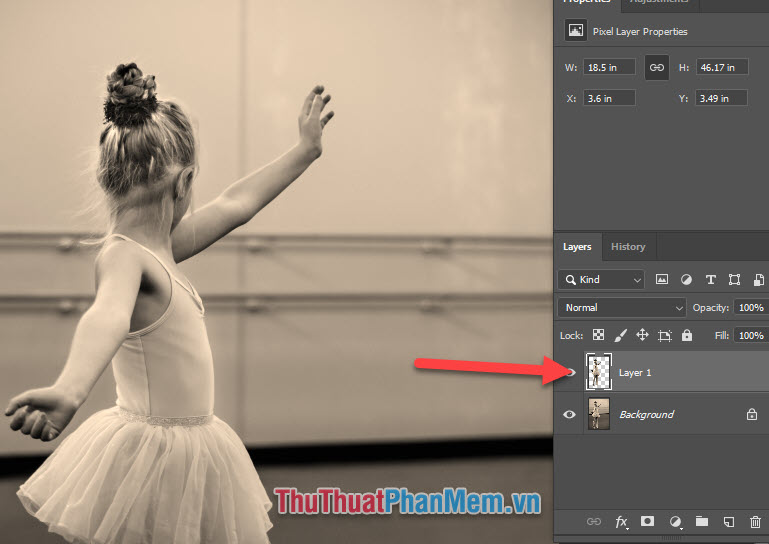
Step 4: Press Ctrl + C to copy the surrounding object, paste ( Ctrl + V ) over Layer 1 , you will get the following:
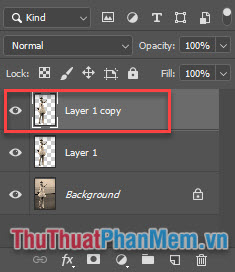
Step 5: In Layer 1, press Ctrl + J to duplicate layer, you will create Layer 1 copy .
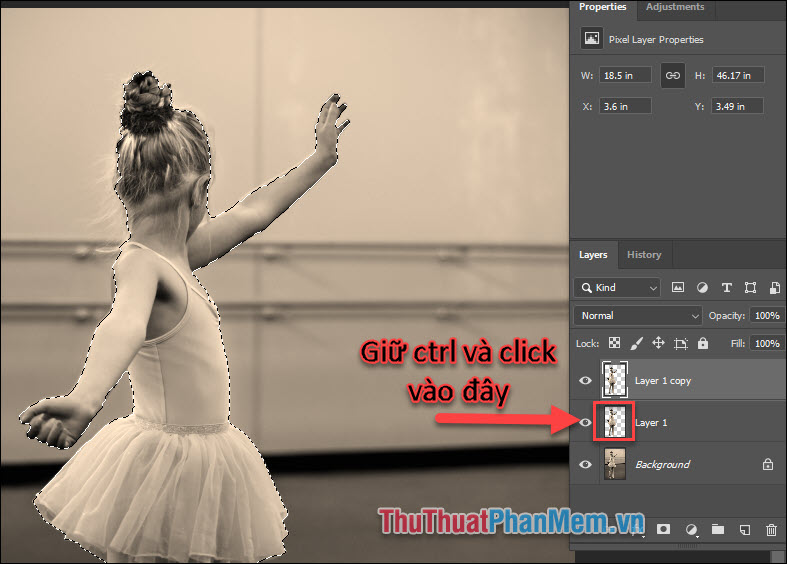
Step 6: Hold Ctrl and click on the thumbnail of Layer 1 , the object in Layer 1 copy will be surrounded:
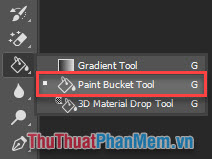
Step 7: Use the Paint Bucket Tool to fill the object with black.
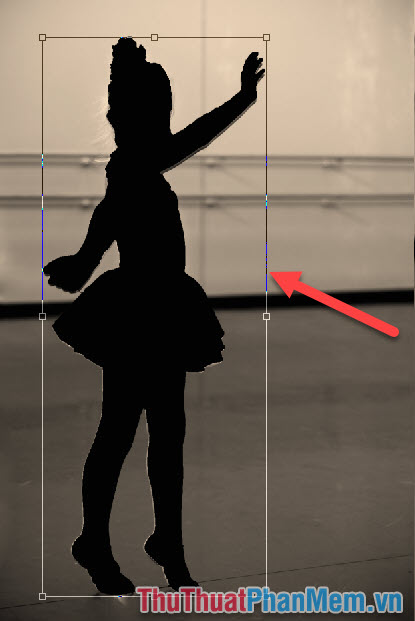
When you're done, you get the following:

Press Ctrl + D to remove dashed border.
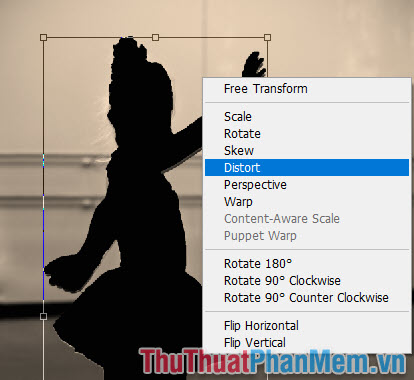
Step 8: Using the Free Transform tool (Ctrl + T) , you will see there are squares surrounding the object:
Right click and check box, select Distort .
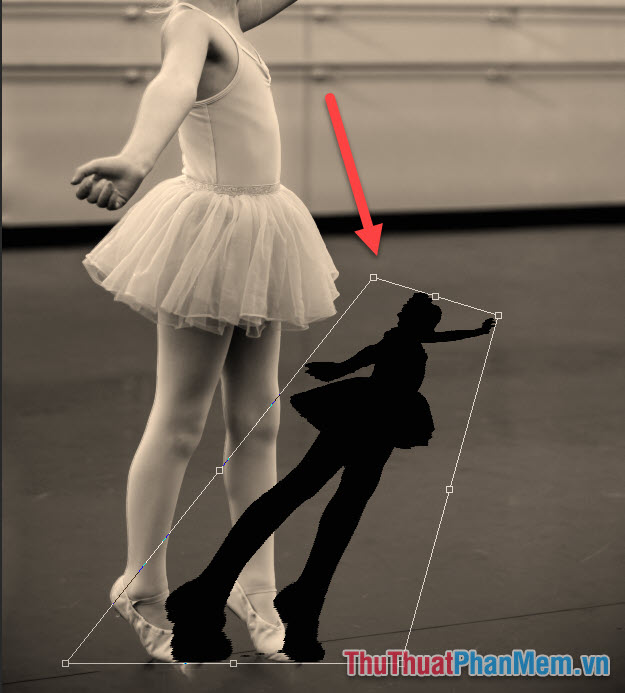
Step 9: Drag 2 upper corners of the ball to the background.

You will get a desired ball position, press Enter to apply:
Step 10: To prevent the shadow from overlapping on the object, drag Layer 1 copy below Layer 1 :

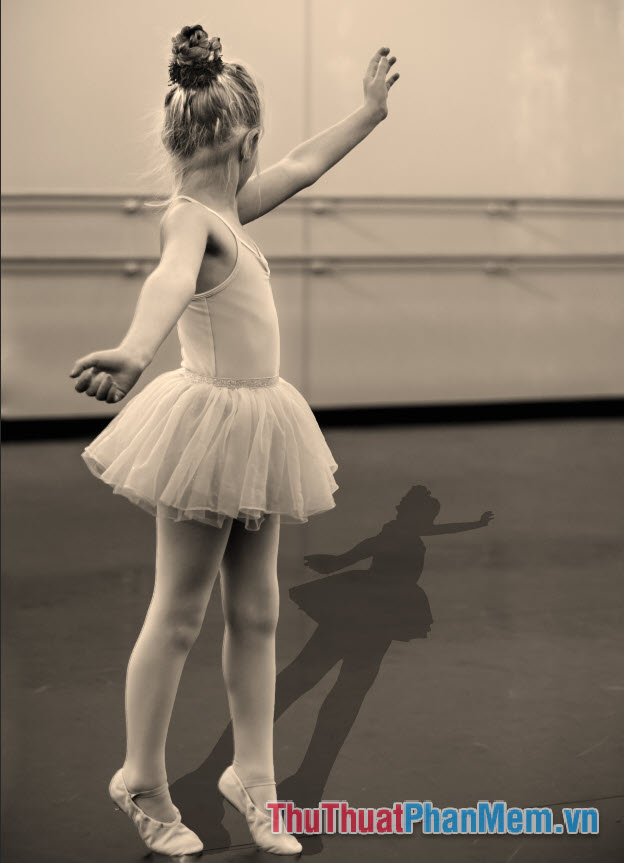
Step 11: Adjust the Opacity of the shadow down to natural, normally you should leave at about 20% to 25% .

Thus, you have successfully implemented the manipulation to create beautiful shadow effects in Photoshop. Wish you get beautiful photos with this technique!
Was this article helpful?
Your feedback helps us improve.
Related Articles
 How to create professional shadow effects in Photoshop4 minutes read
 How to create text shadow in Photoshop5 minutes read
 How to create stunning 3D pop-out effects in Photoshop8 minutes read
 How to create translucent, translucent text effects in Photoshop3 minutes read
 How to create a shadow border in Photoshop11 minutes read
 Tutorial for creating 3D photo effects in Photoshop (Part 1)5 minutes read
Reader Comments 0
Sign in with email or Google to join the discussion.