Create a quick access key in the Quick Access section in Excel
As its name implies, the Quick access toolbar provides quick access to Excel's built-in features such as undo, create new files, save files, etc. However, by default, the Quick access toolbar only contains certain keys, you want to create many quick access keys displayed on the Quick access toolbar to be more convenient for working. It is not difficult , the following article will guide you how to create a quick access key in Quick Access in Excel.
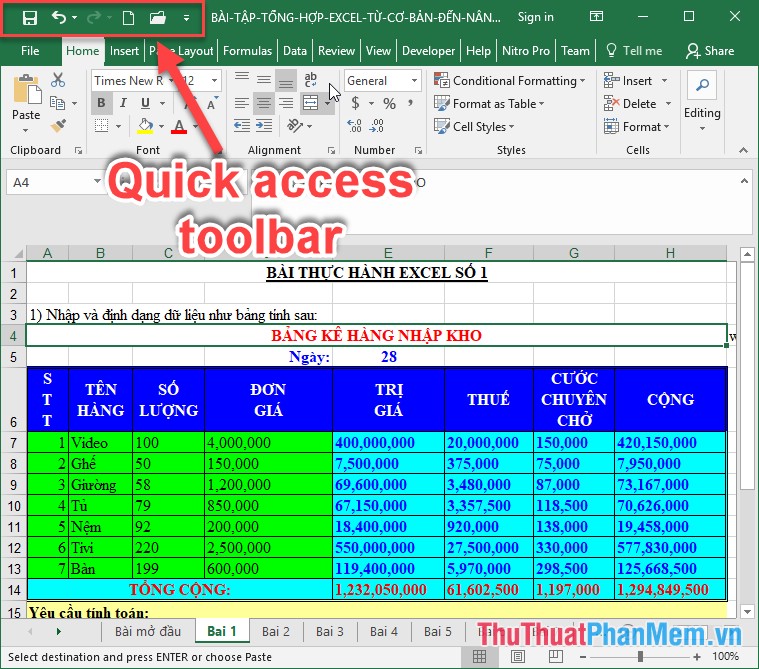
The location of the Quick access toolbar is on the top left of the interface:
To create a quick access key on the Quick access toolbar, click the dropdown arrow in the bar -> select the features you need to create, for example, create a new key to create a new file -> select New:
In addition to the features available on the toolbar, in case you want to create another key, it is not displayed on the toolbar, click More Commands:
A dialog box appears and click the Quick access toolbar in the Chosse Command from section to select the features to create more on the Quick access toolbar ( for example, select the Paste Special -> feature after selecting, click Add -> feature need to add to the Customize Quick Access Toolbar -> finally click OK to complete:
The result has been created a quick Paste Special key on the Quick access toolbar:
The above is a detailed guide on how to create a quick access key in the Quick access toolbar hoping to help you.
Good luck!
You should read it
- How to customize Quick Access menus in Windows 10 and 8
- How to change Quick Access in File Explorer on Windows 10
- Learn about the Quick Access Toolbar on Windows 10
- Trick to customize the Quick Access Toolbar on Office 2013
- How to fix Quick Access Windows 11 error not showing recent files
- How to change Quick Access on File Explorer in Windows 10
- How to turn off Recent Files and Quick Access on Windows 10
- Google Drive for creating quick access shortcuts from the desktop
May be interested
- Format Tab text in Wordintroduce how to format tab in word. step 1: enter the title lines to format tab - press the tab key on the keyboard: step 2: select the text you want to format the tab - right-click and select paragraph ...
- Number format in Wordintroduce how to format numbers in word in word, there is no support for digital formats like excel. to format the number in word, follow these steps: step 1: go to insert - text - quick parts - filed: step 2: field dialog box appears = (formula
- Format background colors and characters in Wordintroduce how to format background colors and characters in word. method 1: use the standard toolbar. - select the home tab - in the font section select the necessary formats for characters including: + b: bold. + i: italicize. + u: underline
- Format background color for text page in Wordintroduce how to format background colors for text pages in word. 1. coloring the background of a text page. - to color the background of a text page select the design tab - page color - select the color to fill the page: - in case you want to mix multiple colors in your own way
- Create Drop cap big letters in Wordintroduce how to create the large drop cap letter in word. step 1: click the position of the first letter to create drop cap - on the insert tab - text - drop cap - dropped: step 2: after clicking the drop cap to create: step 3: after creating the word drop cap candlestick
- Create borders for text pages in Wordintroduce how to create borders for text pages in word. to create a border for a text page in word 2013 there are 3 basic ways as follows: 1. use the shapes tool. step 1: go to the insert tab - illustrate - shapes - select a rectangle drawing tool. step