Table of Contents
This guide provides a practical overview of Instructions to Backup and Restore Registry on Windows 10 by Restore Point, including its main features, benefits, limitations, and important considerations.
Back up the Registry with Restore Point
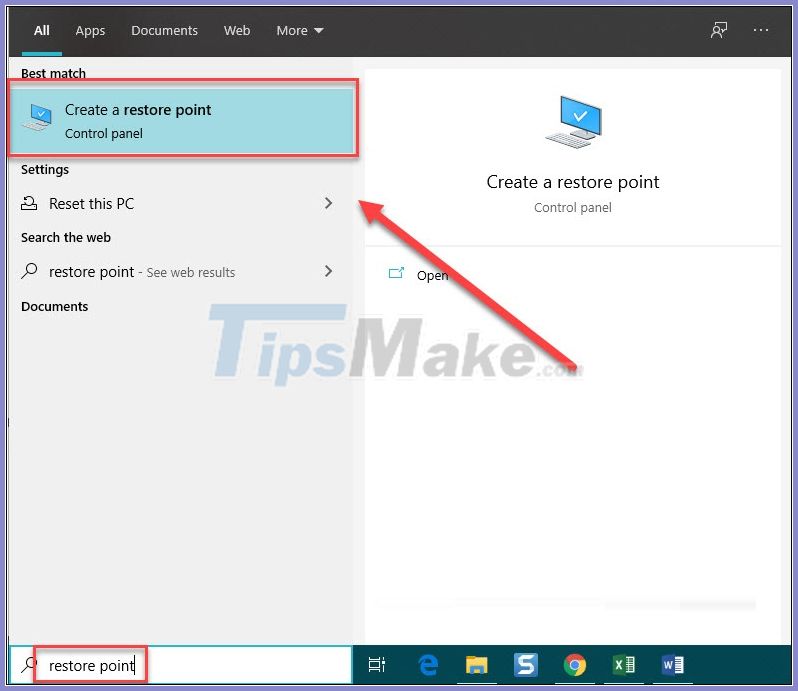
Step 1: You enter Restore point in the Search box on the Taskbar. When the results are available, open Create a Restore Point .
Step 2: When the System properties window appears, click Local Disk (C:) (System) , then select Configure .
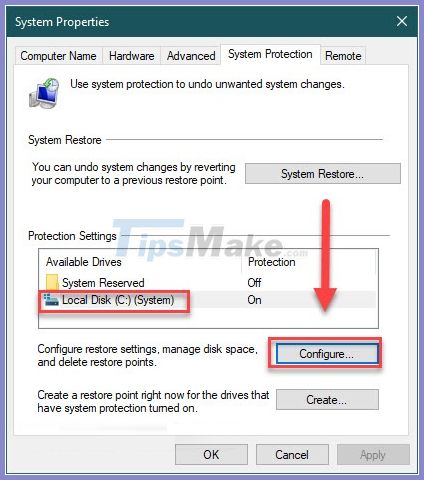
Step 3: In the Restore Settings section, select Turn on system protection . You continue to pay attention to the Max Usage section and set a value of about 7GB - 10GB (depending on your memory space).

Click Apply to save the settings.

Step 4: Back to the System Properties screen, click drive C again and then select Create.

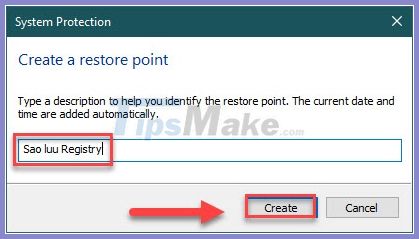
Step 5: Name the Restore Point whatever you can remember, then click Create .
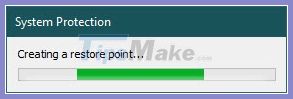
You will wait for the Restore point initialization to complete.
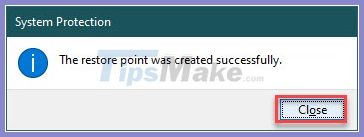
Step 6: Click Close to finish the process and you have successfully backed up the Registry.
Restore Registry
If you find that your computer is running unstable, or you accidentally made a mistake in the Registry, now is the time to restore it.
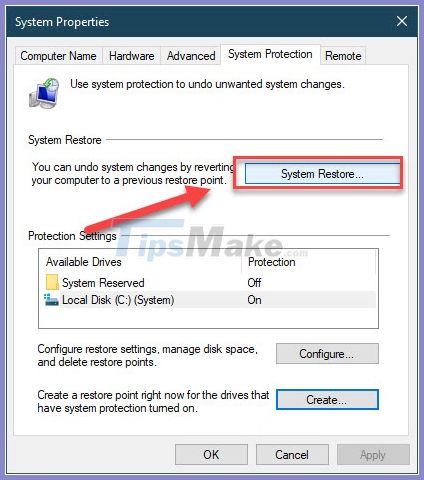
Open the System Properties window again as the first step, this time choose System Restore. in the System Protection tab.
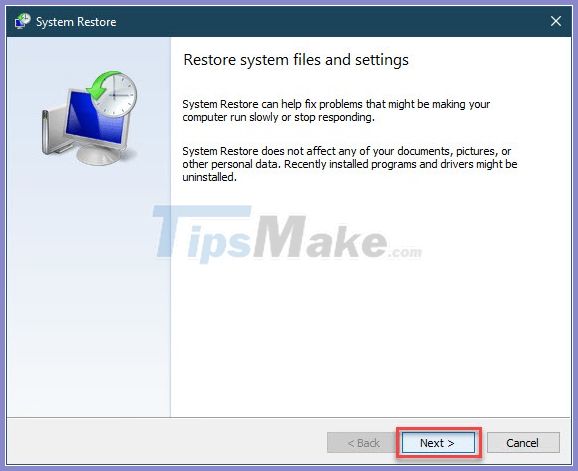
Click Next to continue.
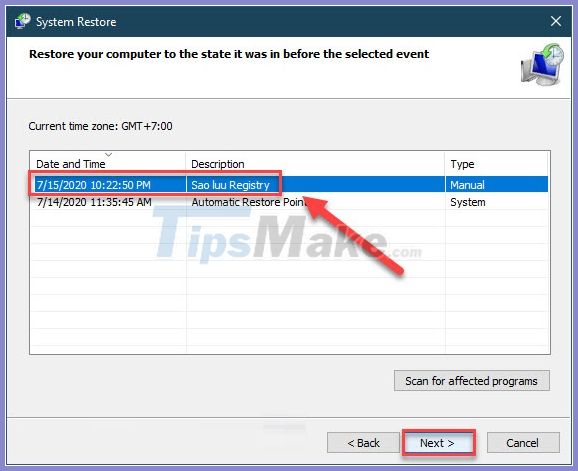
At this step, select the name of the Backup Point that was backed up and then click Next .
Click Finish in the next window.
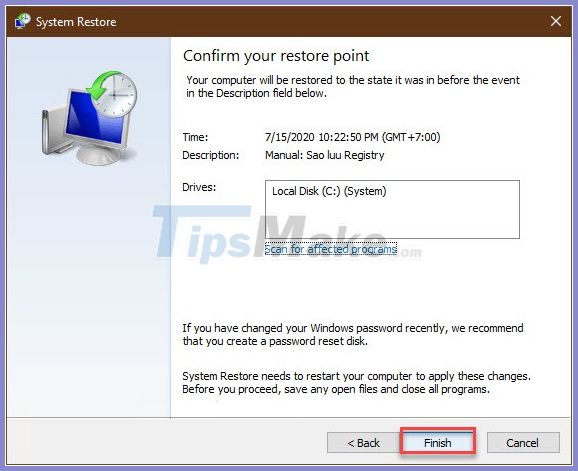
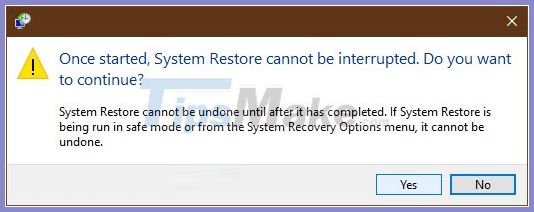
When you meet this question, choose Yes . Then the computer will automatically restart a few runs, you should wait patiently as this process may take up to 15 minutes to complete.
Hope you are succesful.
FAQ
What should I know about Instructions to Backup and Restore Registry on Windows 10 by Restore Point?
Focus on the key features, requirements, limitations, and practical use cases explained in this guide.
How do I get the best results with Instructions to Backup and Restore Registry on Windows 10 by Restore Point?
Follow the recommended steps, use current software or information, confirm compatibility, and review settings before major changes.
Are there any risks or limitations?
Potential limitations depend on compatibility, data quality, cost, privacy, support, and how the product or method is used.
Related Articles
 Windows Operating System: Backup and Restore Registry on Windows5 minutes read
 Instructions for Creating Backup and Restore Points (Restore4 minutes read
 Instructions for Restoring the System on Windows6 minutes read
 Configure the System Restore Feature in Windows 109 minutes read
 Windows XP: Backup and Restore Registry in Windows6 minutes read
 Restore: How to Get into a Computer Registry3 minutes read
Reader Comments 0
Sign in with email or Google to join the discussion.