7 Ways to Use Lightroom and Photoshop Together
Using Lightroom and Photoshop together has several advantages. You can make deeper edits to your images, remove unwanted parts of the photo, etc.
When editing your photos, you'll likely choose Adobe Lightroom or Adobe Photoshop. Since both tools are relatively complex, it is better to focus on learning one for a few months before doing the same with the other.
But as you become more proficient with both platforms, consider using them together. Using Lightroom and Photoshop together has several advantages. You can make deeper edits to your images, remove unwanted parts of your photos, and more. Here are ways you can use Lightroom and Photoshop together.
1. Image preview

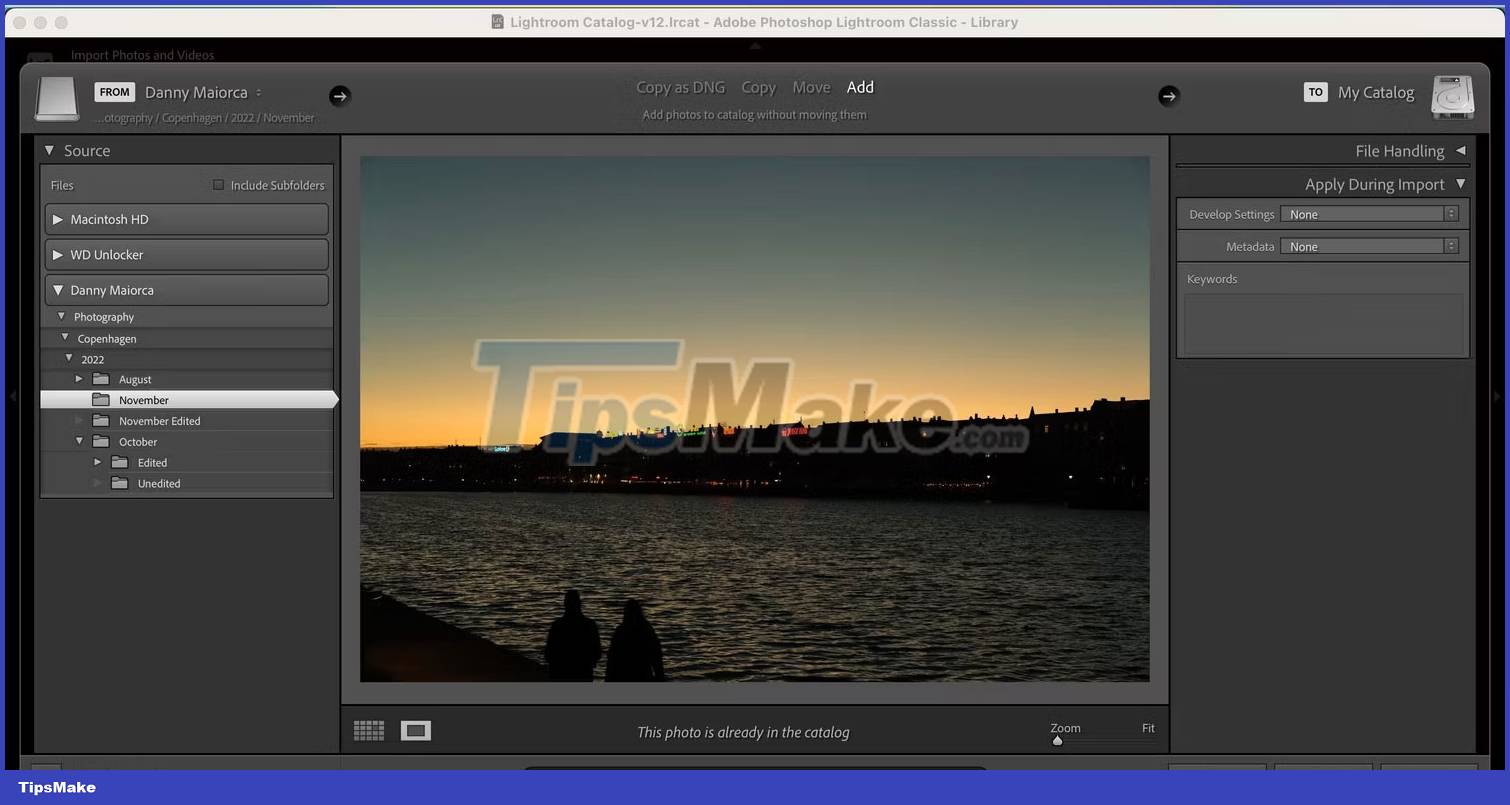
Before you edit your images, you'll want to see which images you want to change and which ones you want to get rid of. Among Adobe's editing tools, Lightroom Classic is the best choice for this.
When you select the drive to import your images into Lightroom, you can double-click the image to see a full-size preview. Once you've selected the photos you want to add to the app, you can click the Import button and start editing.
Before importing photos into Lightroom, you can also use the Zoom/Fill slider at the bottom right to zoom in and out. Doing so will help you determine if your photo is too blurry, and also help you spot other undesirables before continuing to edit in Lightroom and Photoshop.
2. Image editing
Once you've made your initial edits in Lightroom, there may be other issues that you can't remove with the app. In these cases, you can always use Photoshop to get rid of these distractions instead.
In Photoshop you will find a diverse set of editing tools available. For example, the Patching tool can replace specific areas in your image. You'll also find a Spot Healing option that works similarly to the one in Lightroom.
Photoshop also has Eraser and History Brush tools , both of which are useful to help you achieve the results you want. You can also use different features to lighten and darken specific areas of your photo.
3. Initial color grading

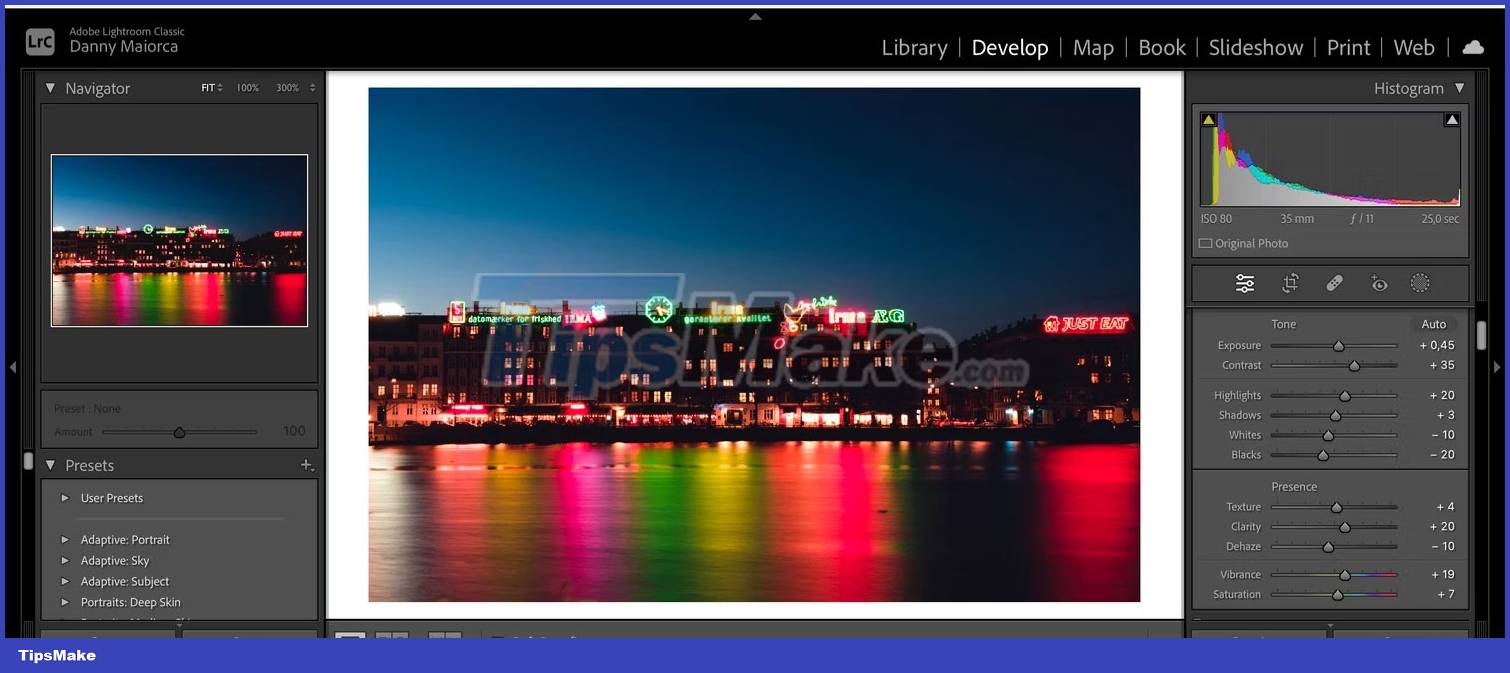
When you want to edit the original parts of your photo, Adobe Lightroom is the best place to start. For instance, you can use the Vibrance and Saturation sliders to adjust the overall image. And to fine-tune specific colors, you can use the HSL section.
However, the Color Grading wheels are arguably Lightroom's most powerful tool for changing how colors in photos look. You can use these wheels to boost specific colors in highlights, shadows, and neutral tones - and you'll find a separate wheel to adjust the entire image.
Using the Color Grading wheels, you can also increase the brightness in certain parts of the image. After doing this, your image will be ready for further editing in Photoshop.
4. Do More Advanced Color Corrections in Photoshop

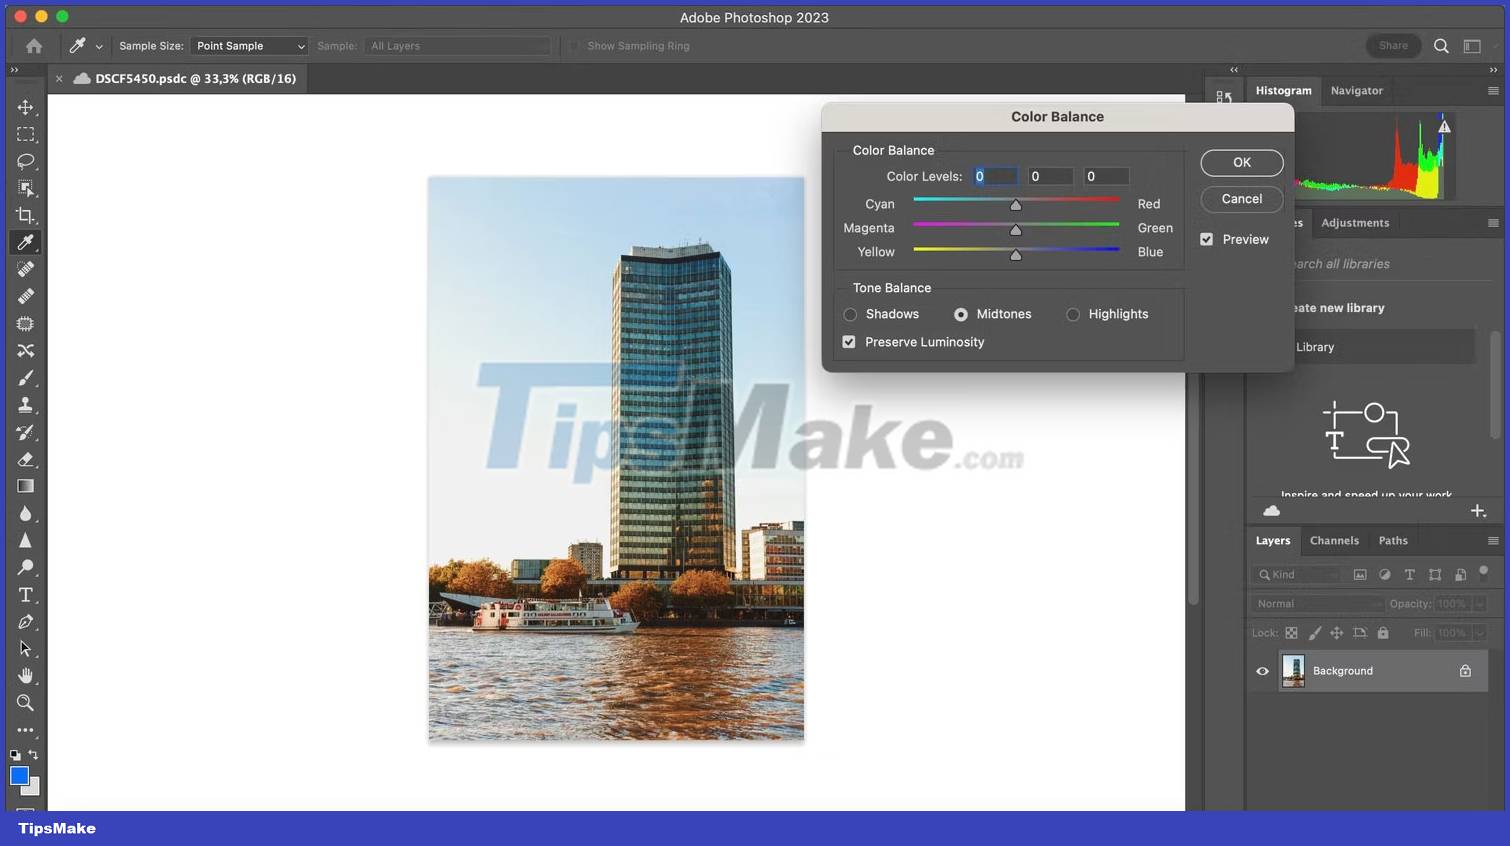
Once you've edited your original colors in Lightroom, you can take the colors in your photos to the next level with Photoshop. You can use the Auto Color tool to automatically adjust things, but it's much more fun if you do this yourself.
One of Photoshop's most useful tools for color correction is the Color Balance feature . Here you can adjust cyan, magenta, and yellow for your shadows, neutrals, and highlights.
You can also combine and replace colors in Photoshop, along with adding a variety of warm and cold filters. Go to Image > Adjustments in the top toolbar to access these tools.
5. Add multiple photos to a project
You may want to use your photos in many places, and depending on where you are going to use them, you need to exercise your creativity. For example, you can use Photoshop to create Instagram Stories.
If you want to create collages, Instagram carousels, or other forms of multi-image content, you're better off using Photoshop. You can make initial adjustments to your photos in Lightroom before using tools like banners to get the final result you want.
Once you've finished your projects in Photoshop, you can export them in JPEG, PNG, and several other formats.
6. Make Simple Edits in Adobe Lightroom

Adobe Lightroom is useful if you want to make simple edits to your photos. When using Lightroom, you will find a lot of useful tools to help you make simple adjustments. For example, you can change the exposure and contrast in your photos with just a few sliders. Similarly, you can easily adjust the camera lens profile and sharpen your photos.
Regardless of whether you use Lightroom Classic or Lightroom Creative Cloud, you can change the texture, transparency, and level of opacity you want in your photo.
7. Import directly from Lightroom CC

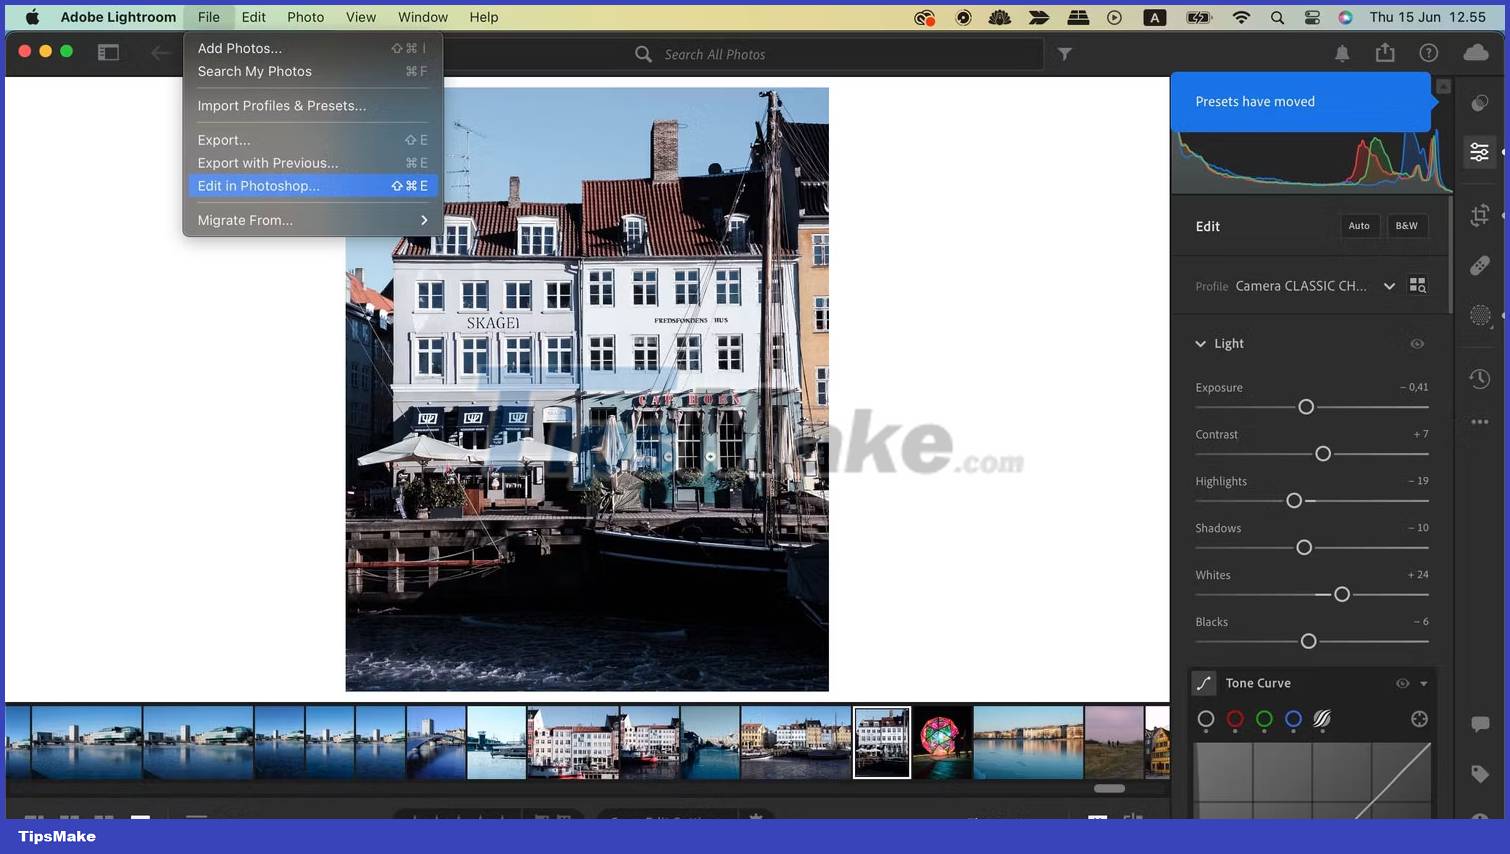
If you use Lightroom Creative Cloud, you can continue to edit your photos in Photoshop directly from the app. While you'll need to open Lightroom CC to perform the editing process, you won't need to save your files and open a new program in the first place.
To import photos from Lightroom CC to Photoshop, go to File > Edit in Photoshop . Your computer will then open the Photoshop application, where you can continue editing.
- What is lightroom? What is Lightroom software used for? How is it different from Photoshop?
- Compare Saturation and Vibrance in Photoshop Lightroom
- A set of video tutorials on how to edit photos with Lightroom
- Instructions on how to improve and speed up Lightroom
- Photo editing software for Lightroom alternative
- Summary of shortcut Adobe Photoshop Lightroom


 Lightroom CC has appeared on the Mac App Store
  10 Super Simple and Beautiful Lightroom Color Correction Formulas
  If you often use Photoshop and Lightroom Classic, don't rush to upgrade to macOS Catalina
  How to post photos to Instagram directly from Adobe Lightroom
  4 common errors on camera can be fixed in Lightroom
  How to use the Color Grading feature in Adobe Lightroom