Table of Contents
This curated overview of 4 steps to take beautiful photos with iPhone 12 focuses on useful options, standout features, and details worth checking before making a choice.
But not so that you cannot take good photos with this phone. Here are four tips to take pictures with iPhone 12:
1. Arrange the layout
To get a good photo, you first need to imagine and organize the composition of the photo in advance.
For example, To capture a landscape on a hill, look for interesting objects around (such as a rock, a flower branch, or a dry old tree) and add it to the frame. These small details help the image look fuller and tighter.

Composition is the first element of a good photo. Photo: DHgate
Then, define a path to the center scene (a trail, horizon, or a wall) to direct the viewer's gaze to the main landscape you're mining.
Finally, remember the rule of thirds. You can turn on the camera's grid mode to align elements to their correct position. However, the last rule is just a suggestion, sometimes the disruptions create beautiful images.
2. Use wide / super wide angle at the right time
iPhone 12 has two camera modes: wide angle and super wide angle. It is important to be sure of when it is best to use these two different angles.
If the subject is far away, using the ultra-wide-angle camera will make everything look further and blurred. Instead, use the standard angle to bring the subject closer and become the center of the photo.
Super wide angle mode should only be used when you have a background with lots of details. As the advice above, try to find a branch of wildflowers as the foreground and the distant object becomes the middle ground. Next, you absolutely can use the super wide angle to shoot.
3. Exposure control
The iPhone 12 is designed to automatically select the point to be exposed, but in some cases, such as a shot with a bright sky and shade, users sometimes have to manually adjust the exposure position and brightness level if desired. have nice pictures.

Basic error when not choosing the right point to exposure. Photo: Picture.Guide
In many cases of portrait photography, the surroundings are bright but the main character is dark. If this is the case, try touching the central position or person, the camera will focus on hitting the spot.
Additionally, the brightness bar that appears next to the frame can be adjusted. If everything is too bright, decrease the brightness and vice versa.
If you want better control of the brightness, you should shoot raw then use the app to manually adjust the image. Some apps such as Moment or Firstlight will help to adjust the light, shutter speed, ISO, white balance . Raw photos are not saved to the device, so you can completely edit the photos yourself.
4. Photo editing
Editing is the final element to a great photo. Even the basic photo editing tools in Apple Gallery also provide all the features such as photo filtering, highlight control, lighting adjustment, background .
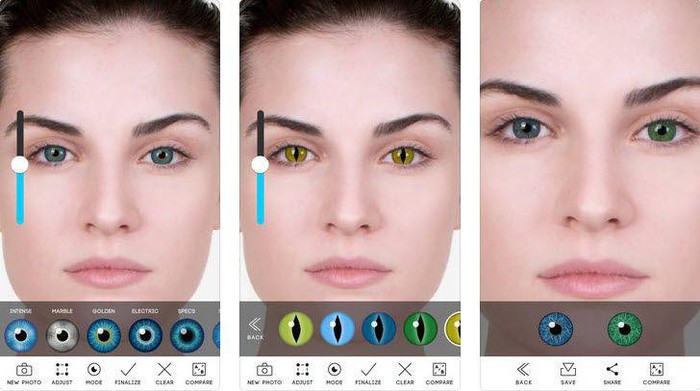
But if that's not enough, App Store now has a lot of photo editing apps, with lots of features, easy to use and free like Adobe Lightroom, Snapseed, Prisma, PicsArt, Photoshop Camera.
Key Takeaways
Use the information above as a practical reference for 4 steps to take beautiful photos with iPhone 12. Review each step carefully, confirm any requirements, and choose the option that best fits your situation.
FAQ
What does this guide explain about 4 Steps to Take Beautiful Photos with iPhone 12?
It explains the main concepts, practical considerations, and useful steps related to 4 steps to take beautiful photos with iPhone 12 without requiring advanced knowledge.
Who can benefit from learning about 4 Steps to Take Beautiful Photos with iPhone 12?
This information is useful for readers who want a clear overview, practical guidance, and reliable steps related to 4 steps to take beautiful photos with iPhone 12.
What should I check before applying this information?
Review the requirements, confirm that your device, software, or situation matches the instructions, and back up important data before making major changes.
Related Articles
 Apple Launched a Series of Short Video Tutorials on Taking Photos4 minutes read
 Some Tips and Tricks on Using Camera on iPhone (Part 2)8 minutes read
 Some Tips and Tricks on Using Camera on iPhone (Part 1)10 minutes read
 Some Tips and Tricks on Using Camera on iPhone (End Part)5 minutes read
 Tell You 10 Simple Photography Tips That Are Effective on iPhone5 minutes read
 How to Delete, Restore Photos and Videos on iPhone and iPad5 minutes read
Reader Comments 0
Sign in with email or Google to join the discussion.