How to add Presets to Lightroom
How to add Presets to Lightroom. Lightroom users often share these Preset files with each other to apply to the series of photos they want to edit. In this article, TipsMake.com will guide you how to add Presets to Lightroo
Preset Lightroom is a file that stores the parameters that you or others have edited on the image, these parameters are saved and exported to LRTEMPLATE file format. Lightroom users often share these Preset files with each other to apply to the series of photos they want to edit. In this article, TipsMake.com will guide you how to add Preset into Lightroom in a simple way, please refer!

Step 1 : Open Lightroom then select the Develop tab

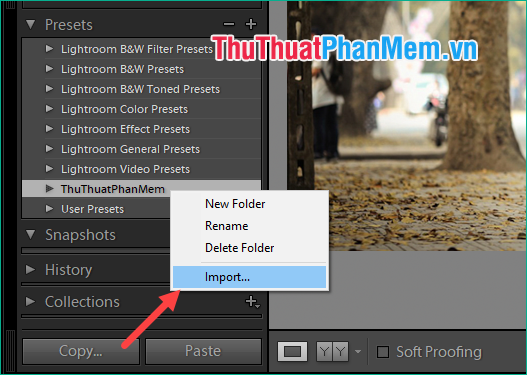
Step 2: In the left column of the screen, expand Preset, then right-click and select New Folder to create a folder containing new Presets.

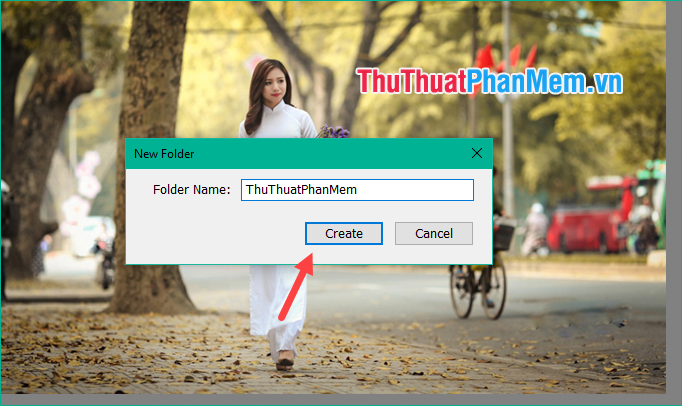
Step 3 : Name the folder and press Create to create.
Step 4 : Right-click the folder you just created and select Import
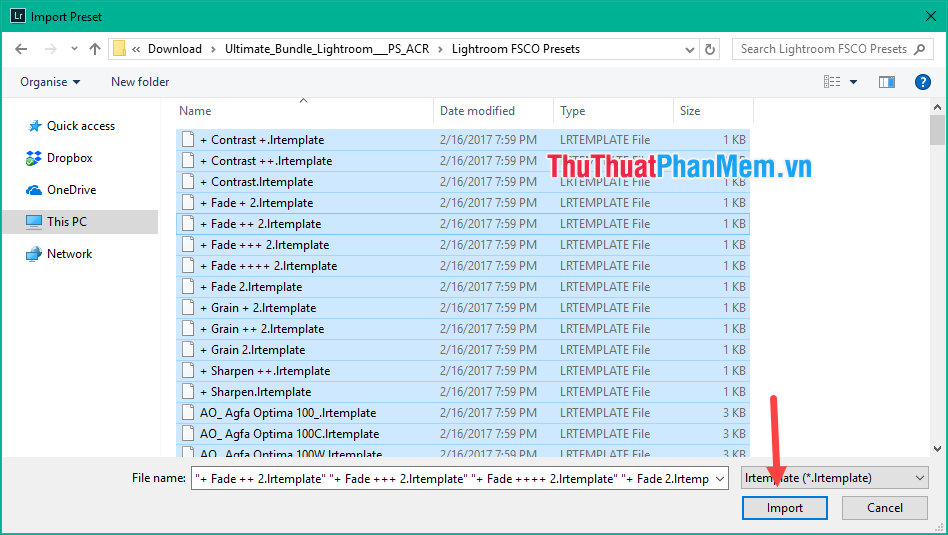
Step 5: Select all the presets that you have downloaded and click Import
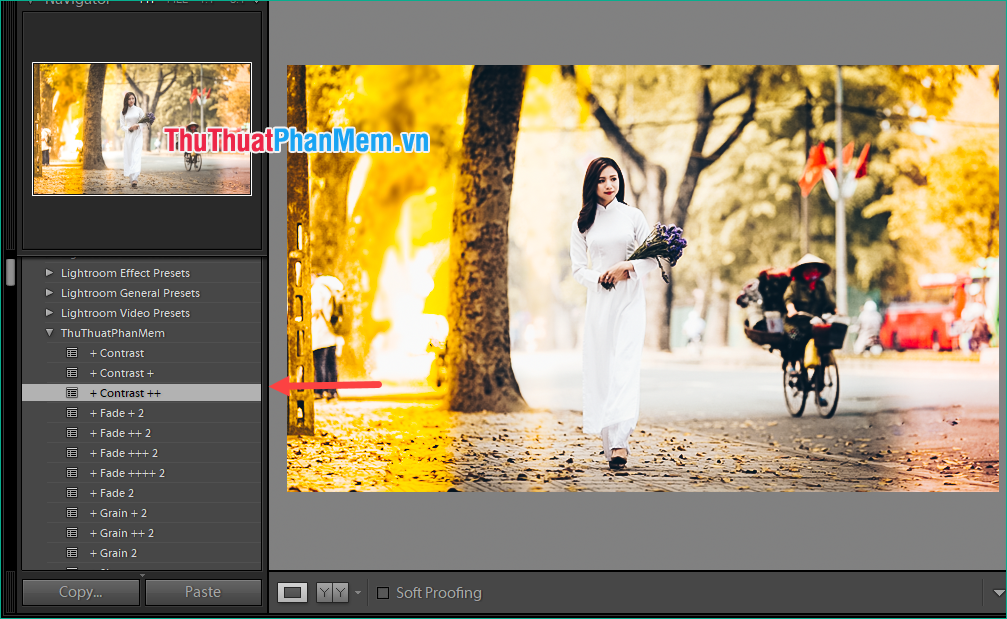
After the import process is complete you can see the presets have been added to Lightroom, now you can use the presets to edit photos.
Above is a tutorial on how to add Presets to Lightroom, hope the article will help you. Good luck!
Was this article helpful?
Your feedback helps us improve.
Related Articles
 Instructions on how to improve and speed up Lightroom7 minutes read
 Lightroom - Download Lightroom here4 minutes read
 Reasons to use presets when editing photos4 minutes read
 10 Lightroom mistakes that can ruin your photos13 minutes read
 7 Ways to Use Lightroom and Photoshop Together6 minutes read
 Instructions on how to pair HDR photos on Lightroom5 minutes read
Reader Comments 0
Sign in with email or Google to join the discussion.