Steps to create USB Boot using Command Prompt
Before creating a USB Boot in this way, prepare a USB Boot ISO file like Windows, Hiren Boot and a USB with a capacity of 4GB or more.
1. Format USB Boot with CMD
Step 1: You open CMD with Administration rights. To open cmd with Admin rights on Windows 10, open Search (1) => enter the keyword cmd (2) => Run as administrator (3).

Step 2: You enter the command diskpart => press Enter.
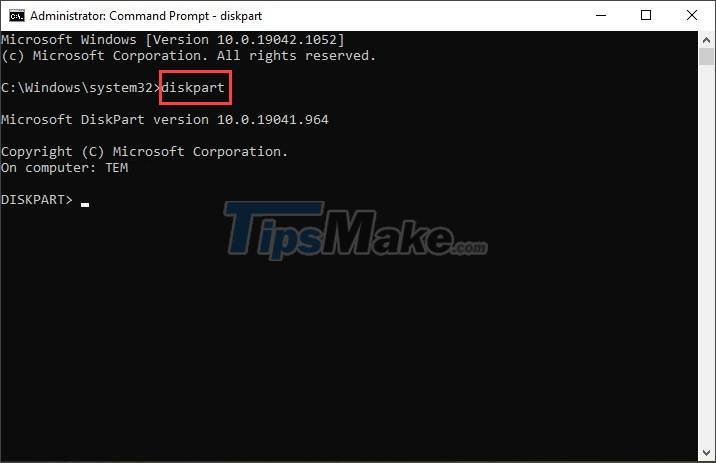
Step 3: You enter the command list disk => press Enter. At this point, the system will display the available drives on your computer and you can base your USB stick on the capacity of the USB stick.
For example, a 32GB USB stick will show Size as 28GB and as Disk 1 in the sample below.

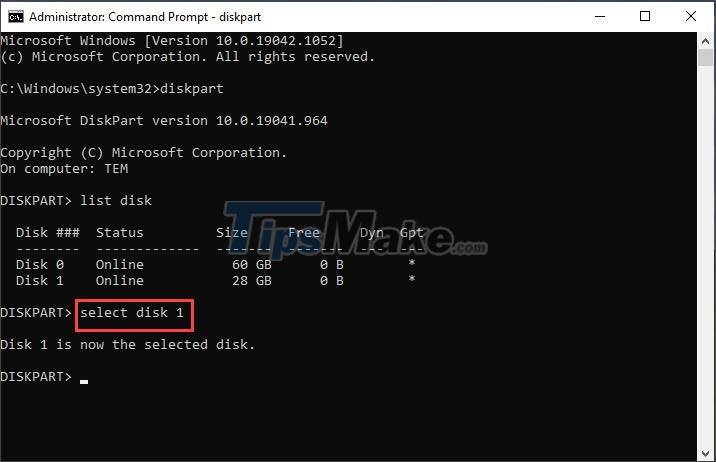
Step 4: You enter the command select disk 1 => press Enter.
In which: select disk 1 you can replace it with select disk 2, select disk 3. depending on your USB order.
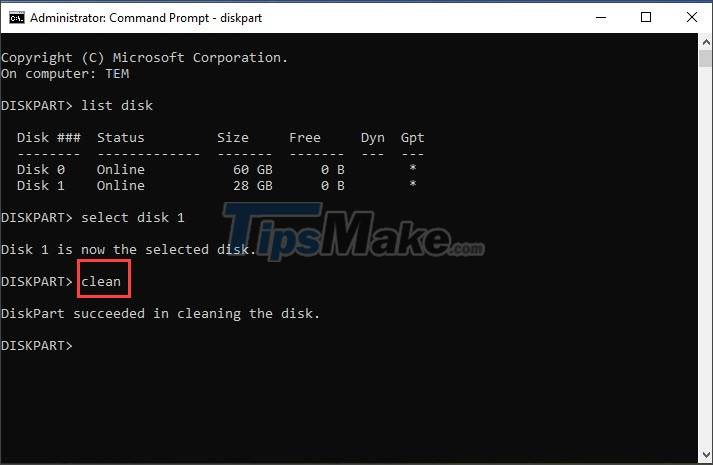
Step 5: You enter the clean command => press Enter to delete the USB partition.
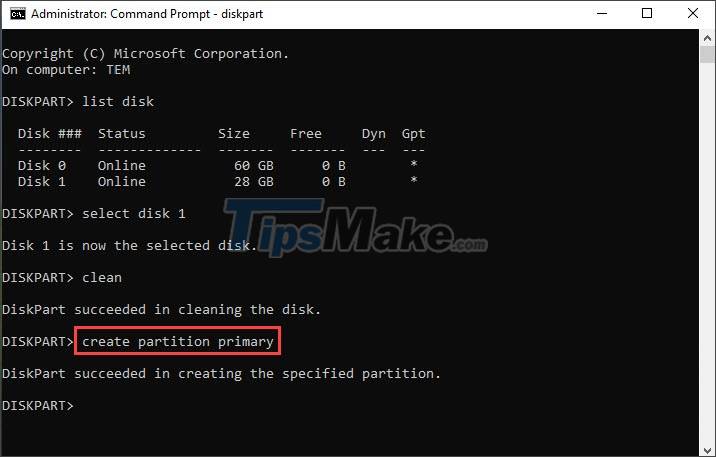
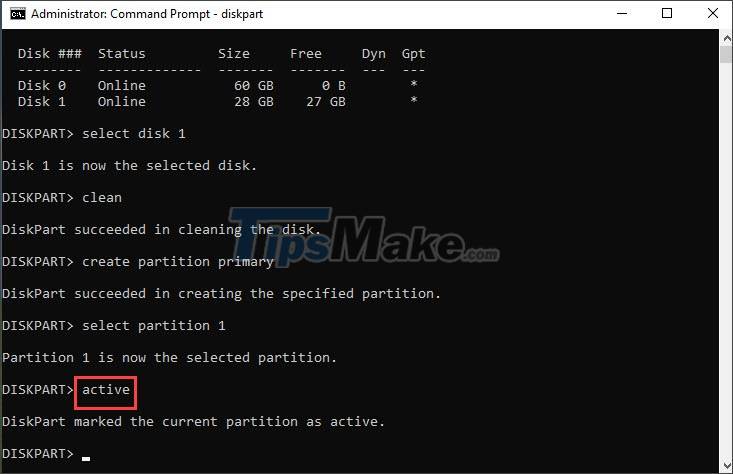
Step 6: You enter the command create partition primary => Enter to create a primary partition for the USB.
Step 7: You enter the command select partition 1 => press Enter.

Step 8: You enter the active command => press Enter to activate the partition on the USB.
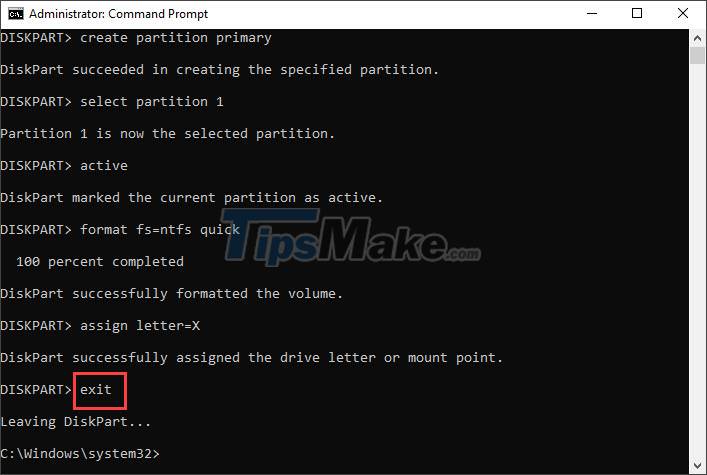
Step 9: Enter the command format fs=ntfs quick => press Enter to format the USB as NTFS.
For the USB Boot installer with a capacity of less than 4GB, you can use the format fs=fat32 quick command to format the USB quickly in FAT32 format.

Step 10: You enter the command assign letter=X => Enter to assign the abbreviation to the USB. You can replace X with another drive name such as D, E, F, G, H .

Finally, enter the command exit => press Enter to exit Disk Part and move on to the following operation.
2. Copy files from USB Boot installer to USB using CMD
Step 1: Extract the Boot ISO file to the virtual drive. On Windows 10, you can extract the file by right-clicking on the ISO file (1) => Mount (2). After successfully mounting the virtual drive, you will see the new drive containing the installation file (3).

Step 2: Remember the letter name of the virtual drive (1) and USB (2) exactly copy the file from the virtual drive containing Boot to the USB.
In the picture below, drive D is a virtual drive mounted from an ISO file and drive X is a USB created in part 1.

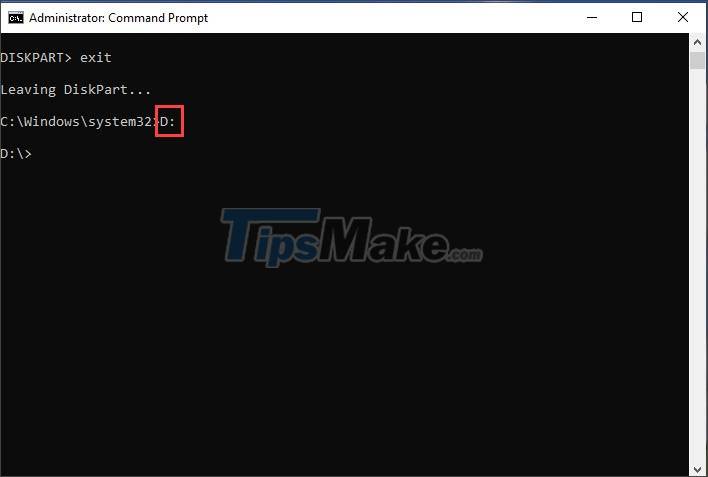
Step 3: You return to Command Prompt and enter the command D: => press Enter.
Where D: is the letter name of the virtual drive containing the Boot file.
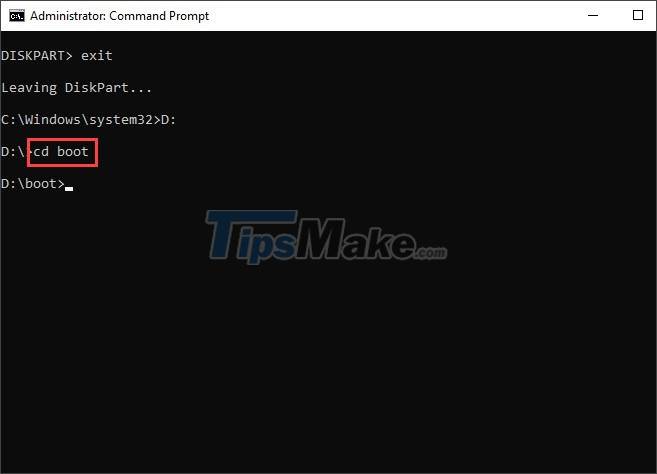
Step 4: Enter the command cd boot => press Enter.
Step 5: You enter the command bootsect /nt60 X: => press Enter.
Where X: is your USB drive's name.

Step 6: You enter the following command => press Enter.
xcopy D:*.* X: /E /F /HERE
- Inside:
D: is the virtual drive name
X: is the USB drive name
/E: Execute the command to copy all directories, subdirectories except empty directories.
/F: Display source and destination file while copying
/H: Execute the command to copy properties and hidden files. By default, the xcopy command does not allow you to copy properties and hidden files.

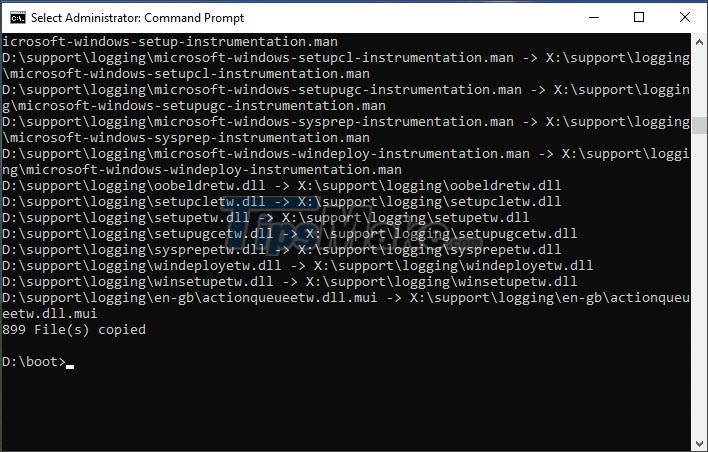
After copying is complete and no error message appears, it is successful. Please close the Command Prompt window.
Step 7: After creating a successful USB Boot, remember to remove the USB and virtual drive by right-clicking on the drive (1) => Eject (2).

Through the instructions in the article, you can learn more how to create a new USB Boot without using support software, which is to use Command Prompt (CMD) to create.